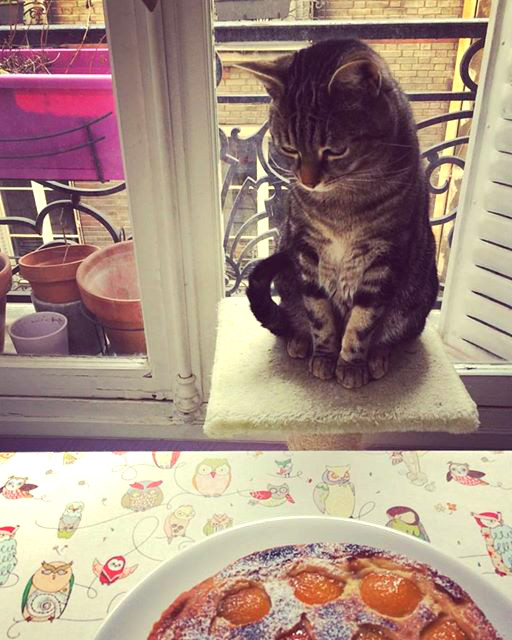
Valentine’s Day is just around the corner once again… This year, how about serving your sweetheart (or yourself) some light, crunchy vanilla clouds topped with rich coconut cream and colorful, juicy fruit? Meet the pavlova, a meringue-based cake named for Russian ballerina Anna Pavlova (rumored to have been created in 1926 in New Zealand), but in a mini version. It’s vegan too!

The actual origins of this fancy dessert are debated, but the Russian and potential New Zealand connections are reason enough to consider this an “Around the world” recipe.
It’s based on an airy meringue shell made from the brine from a can of chickpeas (or other legume – brine from navy, kidney or other beans works too). In yet another international connection, this culinary innovation, which opened up a world of new possibilities for vegan and egg-free cuisine, was discovered by French tenor and occasional food blogger Joël Roessel back in 2014. Aquafaba, as the brine came to be known, also makes it possible to create other items such as French macarons, chocolate mousse, the topping for lemon meringue pie, royal icing and even cheese and butter.
This is a fairly simple recipe, but it does require some time because the meringue-baking process is long and each batch of meringues must cool fully inside the oven once the baking time is up. For this reason, I recommend making the meringue shells the day before you plan to serve this dessert. Be sure to transfer them immediately to an airtight container once they’re finished cooling in the oven to ensure that they don’t absorb humidity and become sticky, losing their crunch. And when you’re ready to serve them, remove them from the airtight container and add the toppings only at the very last minute.
A side benefit to making this recipe is that you’ll have a freshly opened can of chickpeas on hand. And that means you can make hummus, chickpeas in spicy tomato sauce or my famous chickpea of the sea salad! But for now, roll up your sleeves so we can make these pavlovas!
Mini pavlovas
Makes around 10 pavlovas
For the meringue shells
- 1/2 cup (118 ml) aquafaba (chickpea brine from the can or jar)
- 1/2 cup (100 g) granulated white sugar (table sugar)
- 1/4 teaspoon liquid vanilla extract (do not use any flavoring containing oil)
- 1/4 teaspoon cream of tartar (optional)
For the whipped coconut cream
- 3/4 cup (200 ml) coconut cream, chilled
- 1 or 2 tablespoons powdered sugar or maple syrup
- 1/4 teaspoon liquid vanilla extract
For the topping
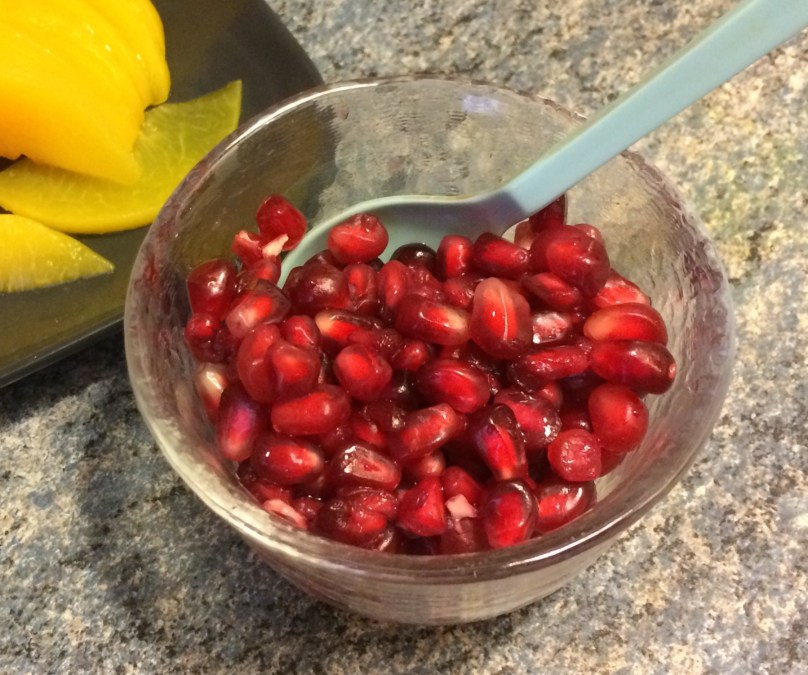
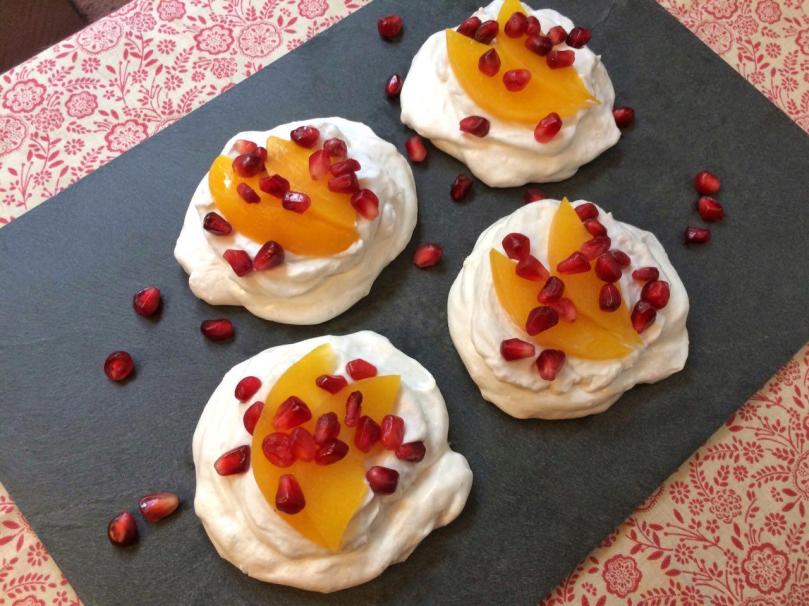
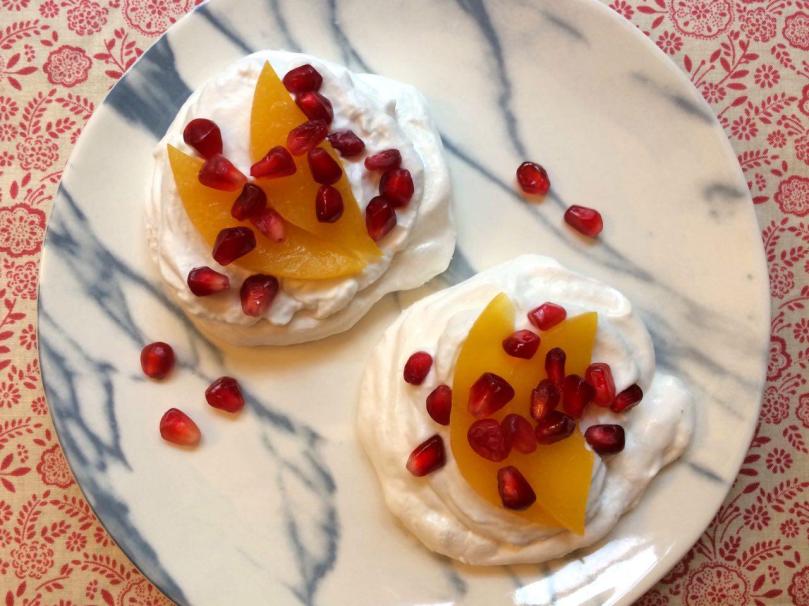
- Seasonal or canned fruit. I used canned peaches and fresh pomegranate seeds, but consider kiwi, strawberries, raspberries, blueberries, passionfruit or a combination of these.
Equipment needed: hand or stand mixer with “egg” beater attachments, metal or glass bowl (not plastic), baking sheet with baking paper, airtight container for storing the finished meringues (can be plastic).


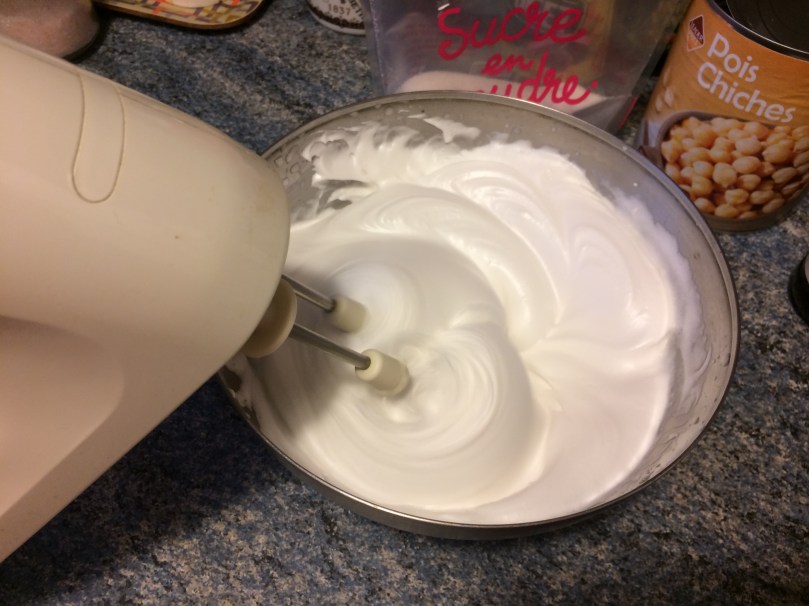
If this is the first time you’ve whipped aquafaba, get ready to see a fun transformation. Turn your mixer to the highest setting and in a matter of about three minutes, the clear brine will magically turn into something fluffy and white that looks just like whipped egg whites.

The aquafaba is ready for the next step once stiff peaks have formed and it stays in the bowl when you turn it upside down, as shown. Add the vanilla extract and cream of tartar, if using, and beat until incorporated.
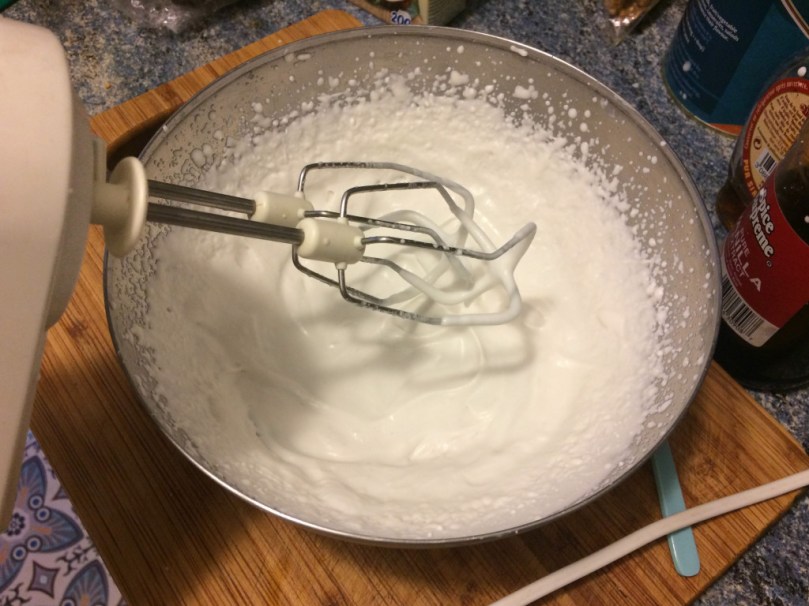
Now you’ll add the sugar. Continue beating, pouring the sugar in bit by bit. The mixture is done once it looks glossy. At this point, it will look and taste just like marshmallow fluff. In fact, you can even use some of it as marshmallow fluff if you like (but it will deflate after a while, so would need to be used right away).
At this point, you can begin preheating your oven to 210°F (100°C). Be careful not to get these two numbers mixed up, as I did the first time around!


On a clean sheet of baking paper, deposit some blobs of meringue mixture of a similar size. With the back of a spoon, spread each blob out into a flatter round shape and make a depression in the center. This is where you’ll place the coconut whipped cream and fruit once the shells have baked.
Place the sheet in your preheated oven and bake for 70 to 75 minutes. Any shorter, and you risk having a crunchy outside but a gooey, gummy inside. When the time is up, leave the meringues where they are for a further 45 minutes to fully cool without opening the oven door.
When they’re done baking, as shown in the third photo above, the meringues are no longer shiny and may also have spread out a bit.
Up to an hour before serving the pavlovas, whip your coconut cream together with the powdered sugar or maple syrup and the vanilla extract until it holds a shape. Store the whipped cream, covered, in your refrigerator.
Immediately before serving the pavlovas, top each meringue shell with a dollop of the coconut whipped cream, then add the fruit. Note that the meringue will begin to gradually break down as soon it comes into contact with the whipped cream, so prepare only the number of pavlovas that will be eaten right away.
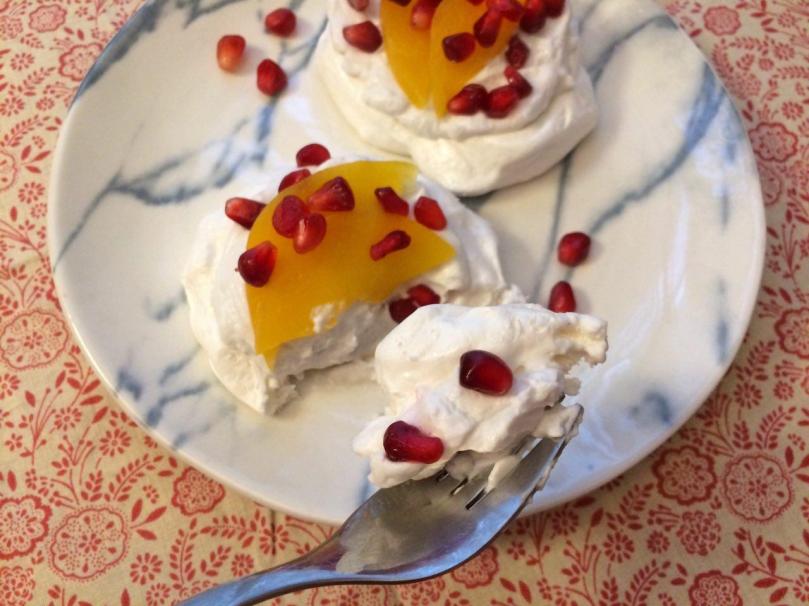
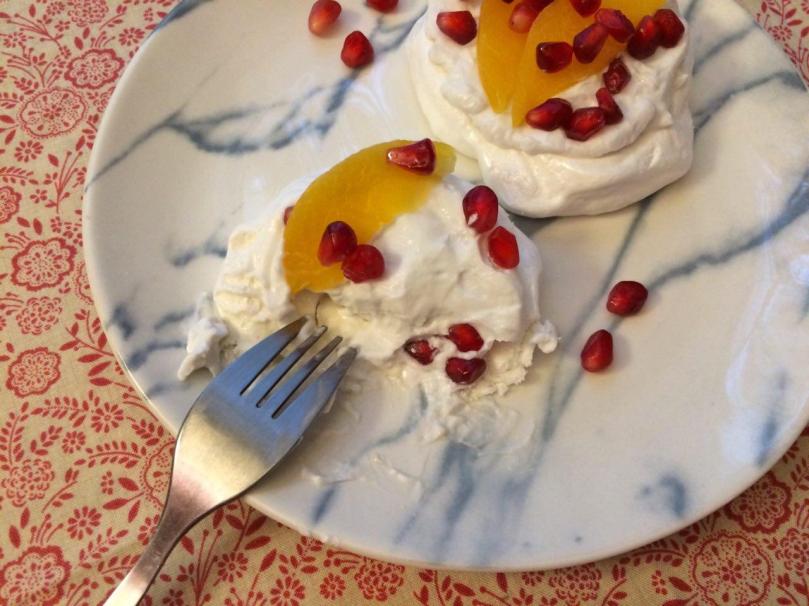
Crunch, crunch. Yum!


If you have enough pavlovas and there’s still some meringue mixture left, you can make meringue “kisses” such as the ones above by making blob shapes with a teaspoon or, if you want to get fancy, with a pastry bag. If you want to add jimmies, sprinkle them on top before putting the meringues in the oven. Bake as directed above.

Brew yourself a pot of tea and enjoy your mini pavlovas this Valentine’s Day!
In search of other Valentine’s Day recipes? Check out my recipes for heart-shaped sugar cookies with rosewater-raspberry icing and French-inspired white chocolate mendiants.