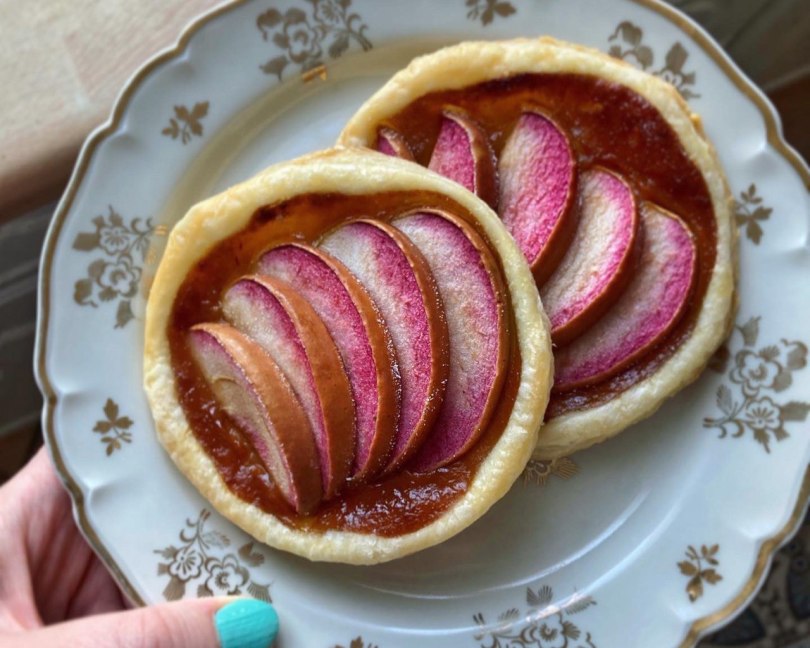
Here’s an easy recipe for some pretty autumnal apple tarts. What I love most about them is the delectable citrusy miso “caramel” between the flaky pastry base and the fruit (a simplified version of the miso sauce from my apple-miso turnovers of a few years ago).
I was inspired to make them upon discovering a wonderful pink color inside the nondescript apples I had bought at an organic shop. They were unlabeled (I found them on the store’s anti-gaspi shelf of discounted produce), but a little research suggests they may be the Pink Pearl variety.


The pink color is beautiful against the orange of the miso caramel, but you can use any tart apple or even pear. If you want pinkness but can’t find the right apples, you could try coloring regular apples with the juice of thawed frozen raspberries (I have not experimented with this myself, but let us know if you try it). The miso caramel is easy and fast to whip up, and if any extra remains you can use it as a fruit dip. Be sure to use a liquid sweetener rather than granulated sugar, which might not incorporate so well.
Here are some behind-the-scenes photos, followed by the recipe.
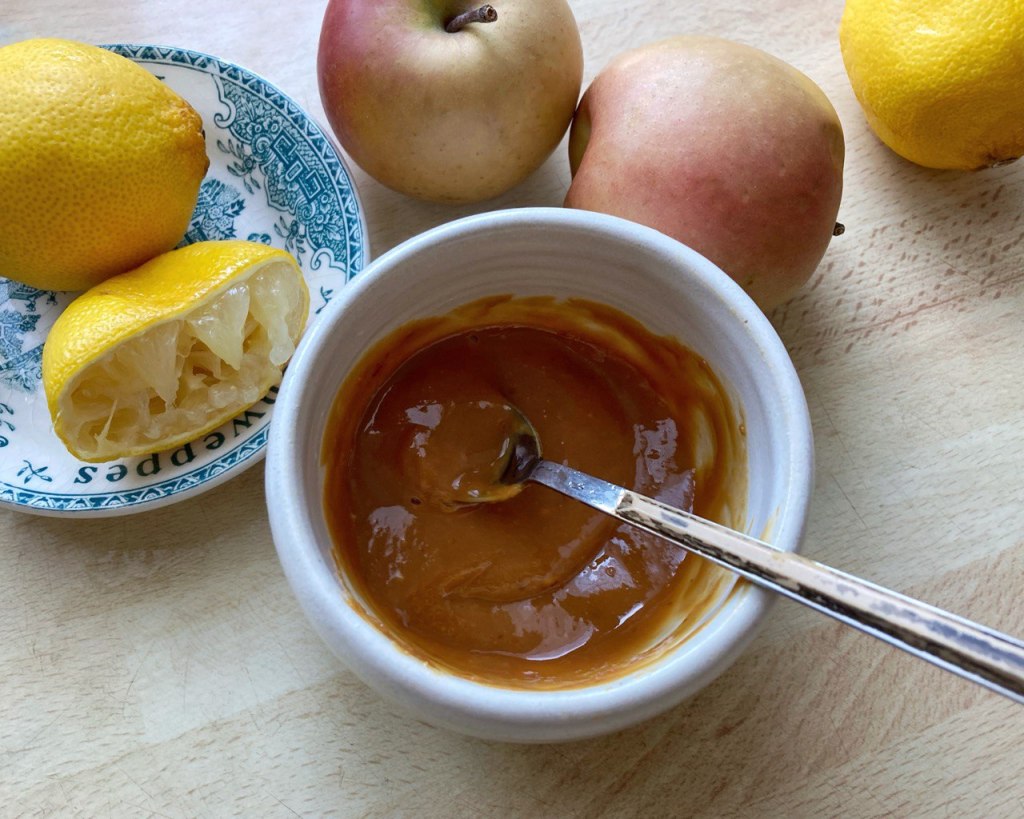
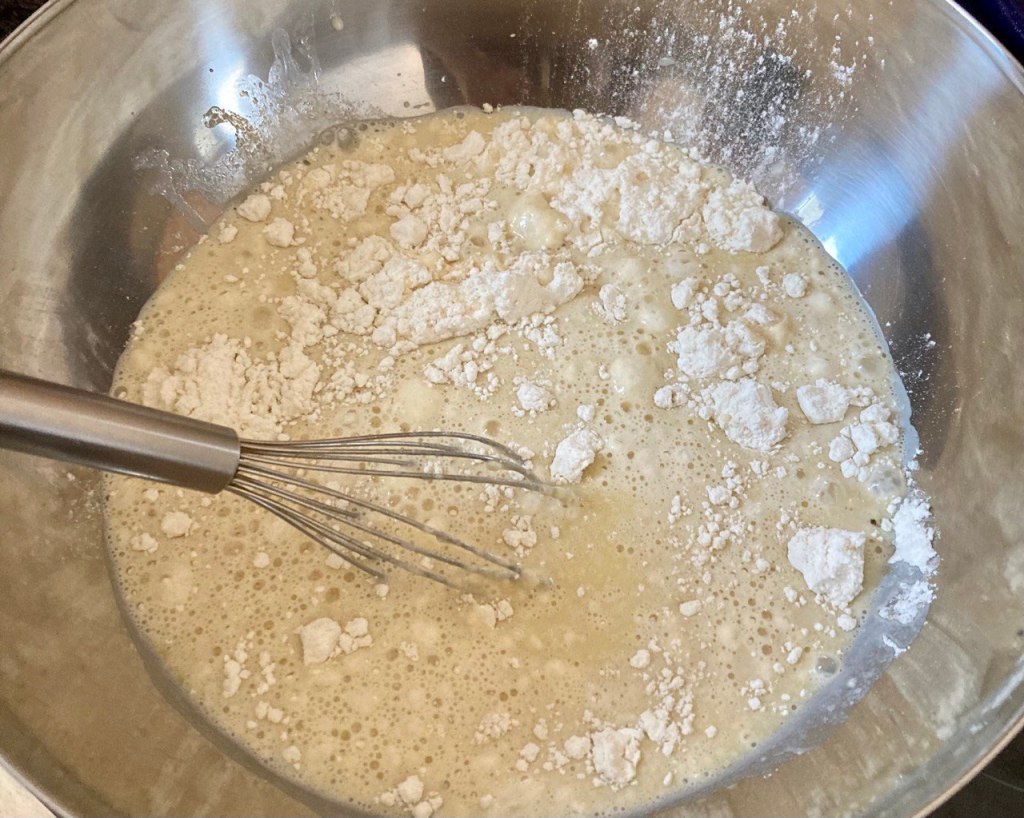
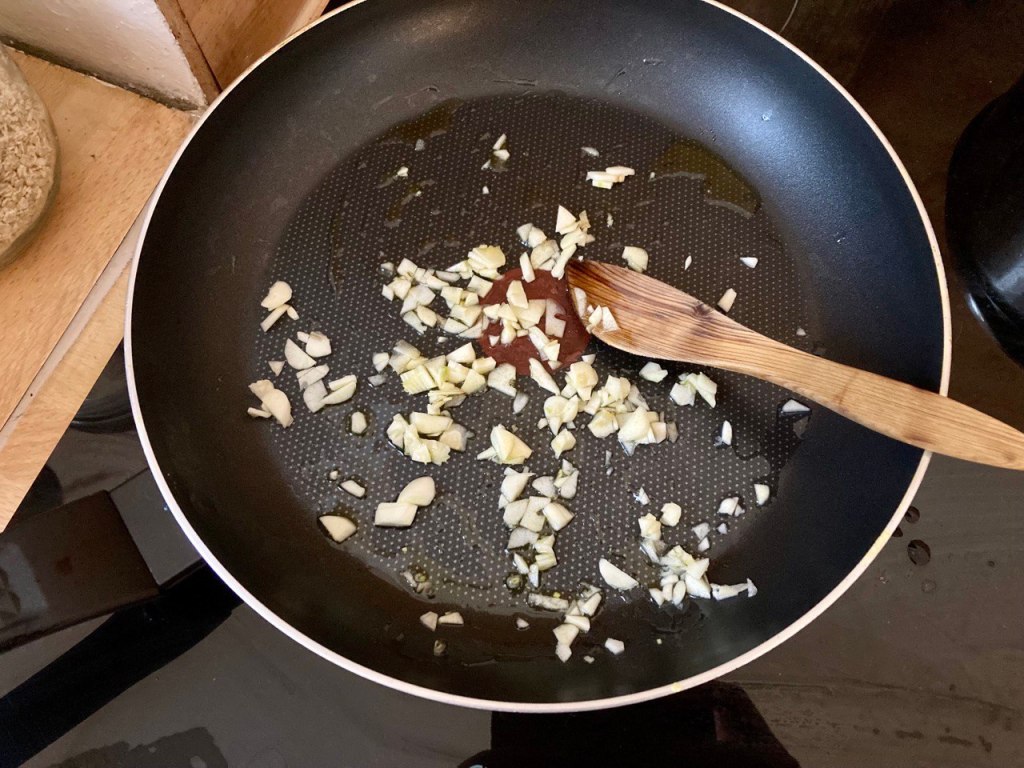
Miso caramel preparation

Tracing circles on the flaky pastry dough
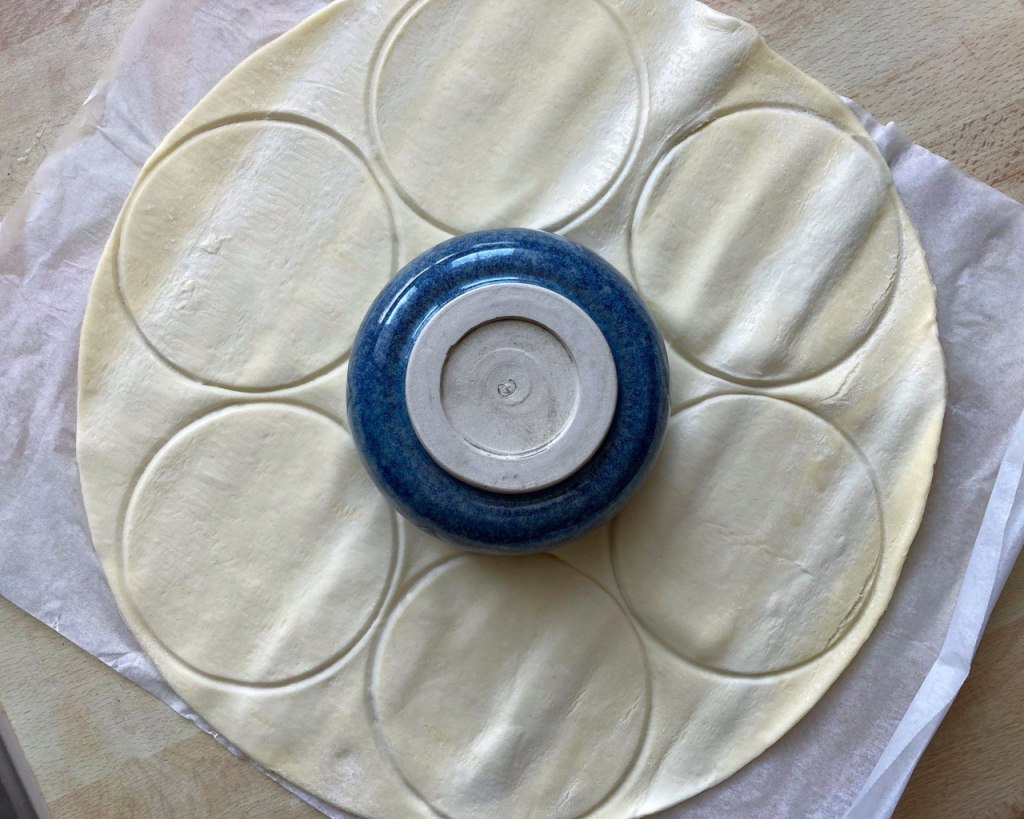
I got seven rounds out of mine, so had a few left over for another batch!
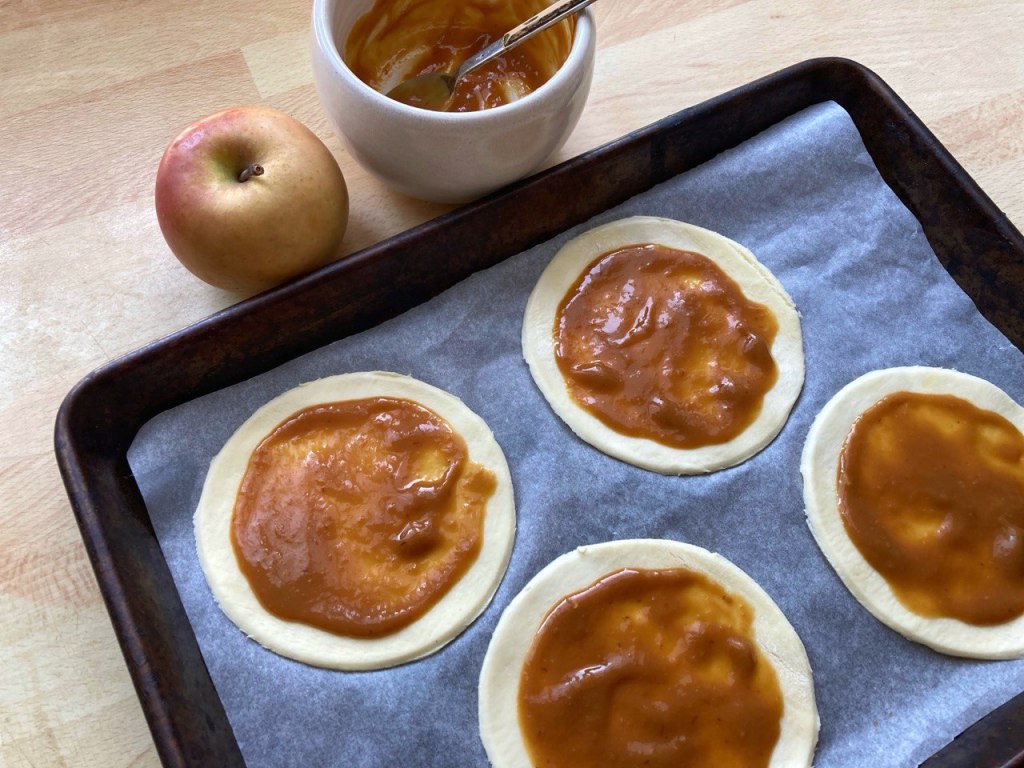
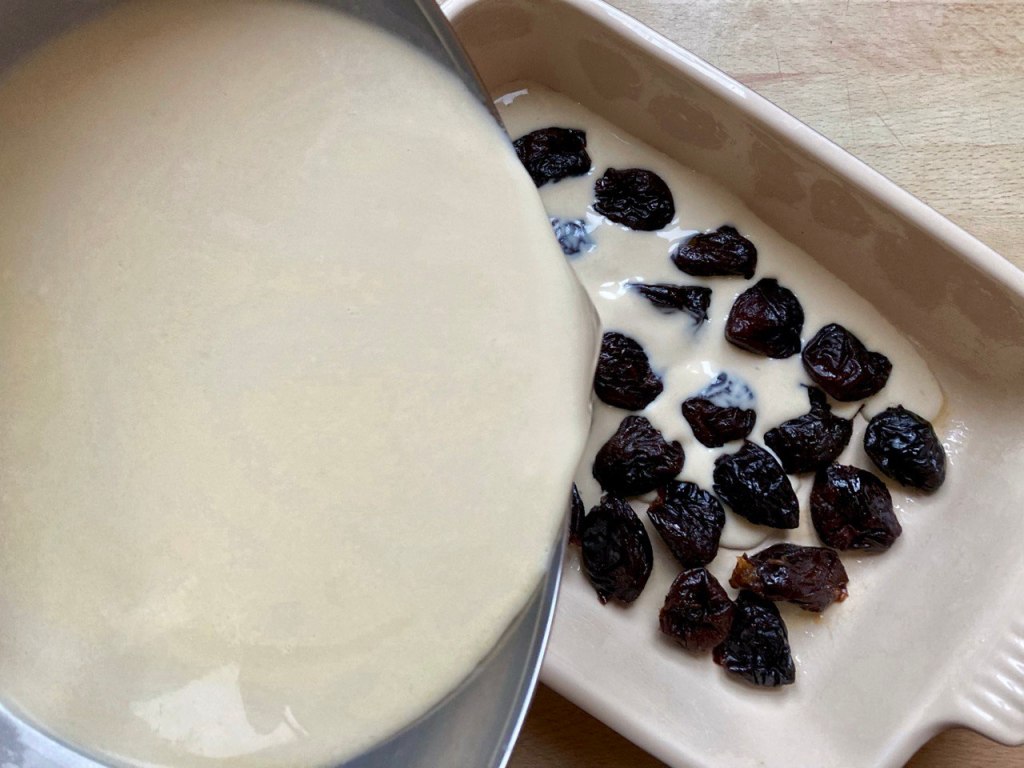
Miso caramel spread on the flaky pastry bases

Apple slices spread out on the pastry rounds

These colors!

The caramel is great with raw fruit too
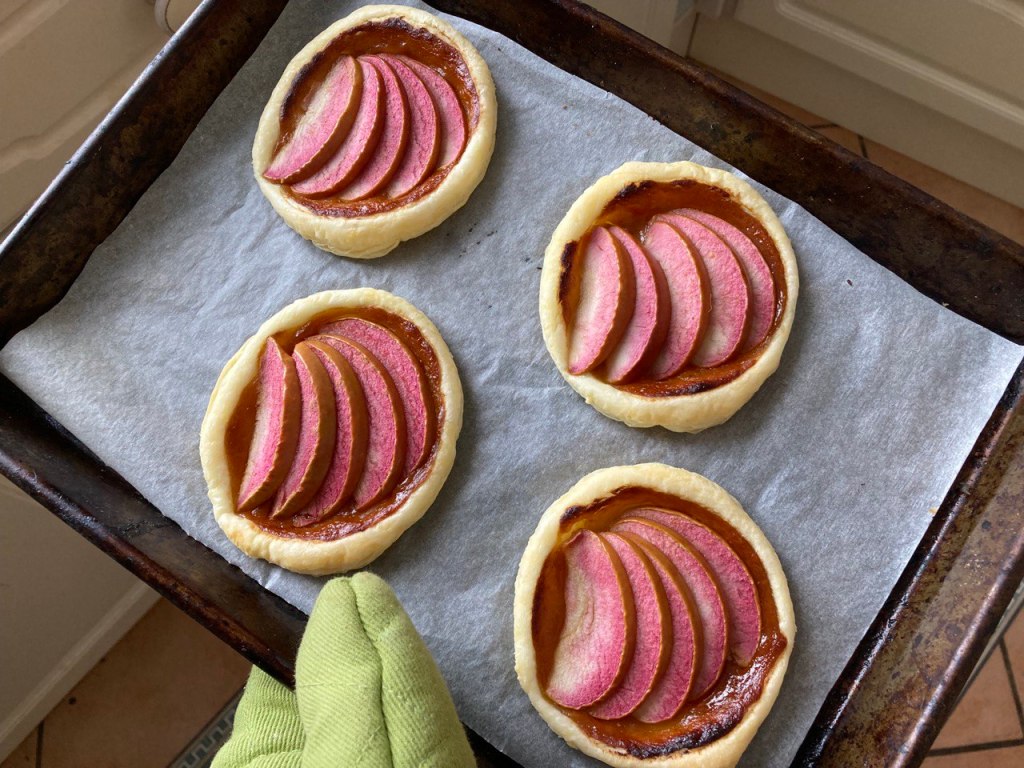
Fresh from the oven

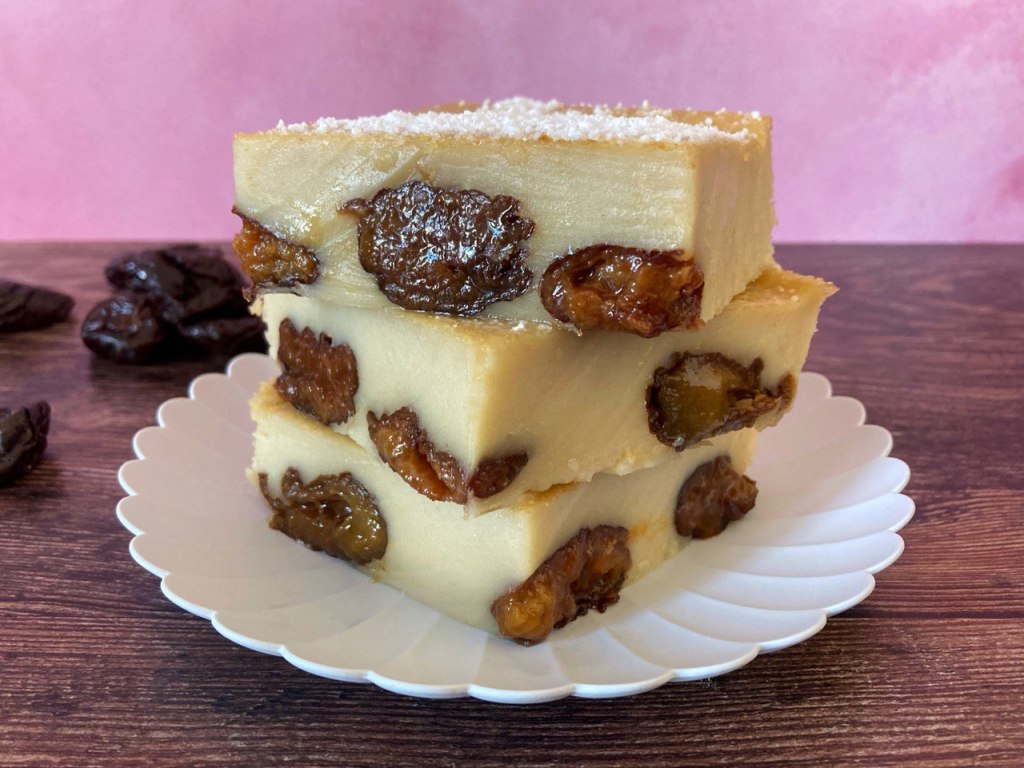
Apple and miso caramel tarts
Makes four tarts
- 2 tablespoons shiro (light-colored) miso
- 2 teaspoons fresh lemon juice
- 2 teaspoons agave syrup or other neutral-flavored liquid sweetener
- 1 or 2 tart apples or pears
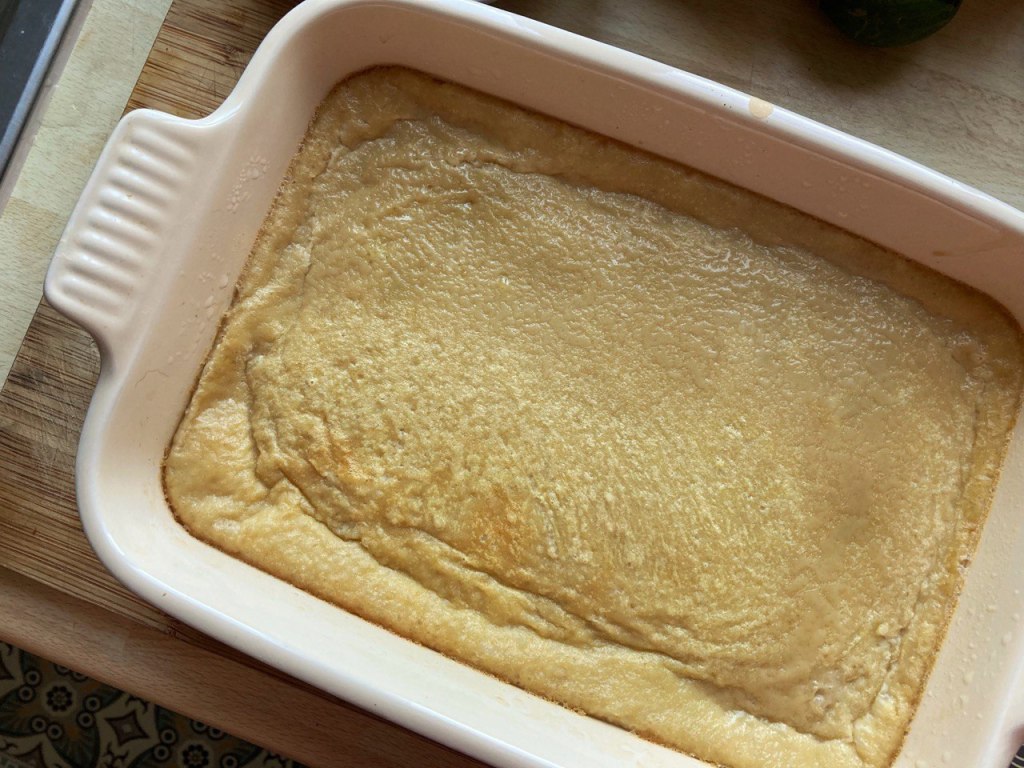
- 1 prepared flaky pastry crust (keep in the fridge until the last moment)
Directions
- Preheat your oven to 350°F (180°C).
- Prepare the miso caramel: stir together the miso, lemon juice and agave syrup (or other sweetener). Taste and adjust the lemon juice and sweetener to your taste if desired.
- Take your pastry crust out of the fridge and trace circles onto it by pressing down with a smallish bowl, then cutting along the lines with a butter knife. Transfer the circles to a baking sheet prepared with a sheet of baking paper, taking care not to stretch them.
- Spread a teaspoon or two of the miso caramel onto each pastry round, leaving a margin around the edges.
- Cut your apple into thin slices of equal thickness and place on top of the pastry rounds in a fan shape. In my case, five slices fit nicely onto each one.
- Place the baking sheet in the oven and bake for around 20 minutes, checking occasionally to be sure the pastry isn’t getting too brown around the edges. While the tarts are baking, enjoy the remaining apple with the remaining miso caramel!
- Remove from oven and allow to cool. If you like, you can drizzle more liquid sweetener on top of the tarts or dust with some powdered sugar.
And there you have it, your new favorite fall dessert!