Cranberry sauce for expats

When the holiday season comes around, Americans and Canadians living abroad often find themselves with a dilemma: cranberry sauce, or even just the (whole, uncooked) cranberries you would need to make your own sauce from scratch, cannot be found in every country. And cranberry sauce is a cornerstone of Thanksgiving and Christmas dinners. So this is a truly serious (first-world) problem. 😉

Of course, there are sometimes ways to get imported cranberry sauce from local stores specializing in North American foods. But this option is always expensive, and you might not be able to get to the store if it’s remote or has limited opening hours, or if you don’t live in a major city.

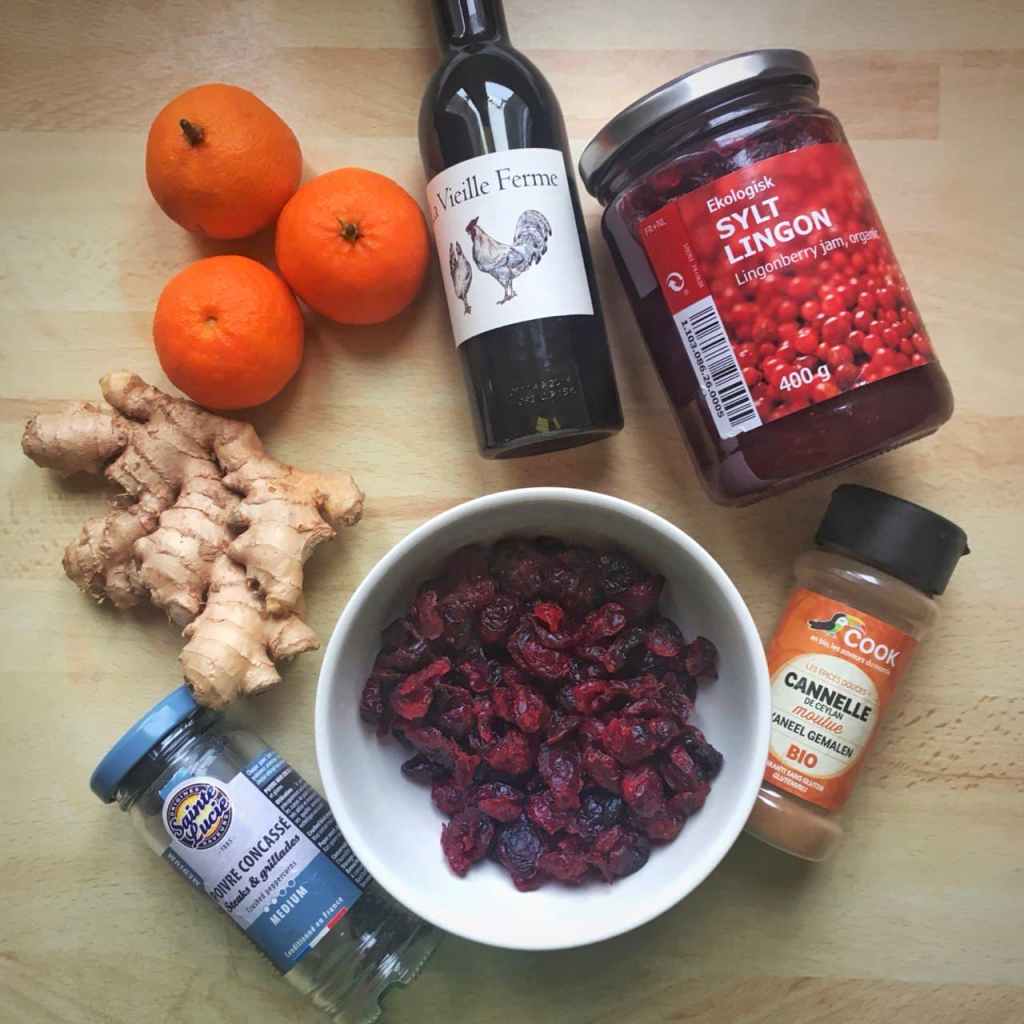
Having lived in France for over 12 years now, I’ve missed having cranberry sauce over the holidays many a time. But this year, I decided to try an idea that popped into my head: why not make a sauce from dried cranberries, which are abundantly available here in Paris at organic and now even mainstream grocery stores? To extend the tart, fruity flavor, I added some lingonberry jam (from IKEA), which has a similar flavor as cranberry, but any red jam will do. Finally, I mixed in some red wine, spices, orange juice and zest and fresh grated ginger.

I gave it a shot yesterday and was very pleased by the results. Read on for the recipe!

Cranberry sauce

Makes a little over 1 cup (236 ml) of sauce.

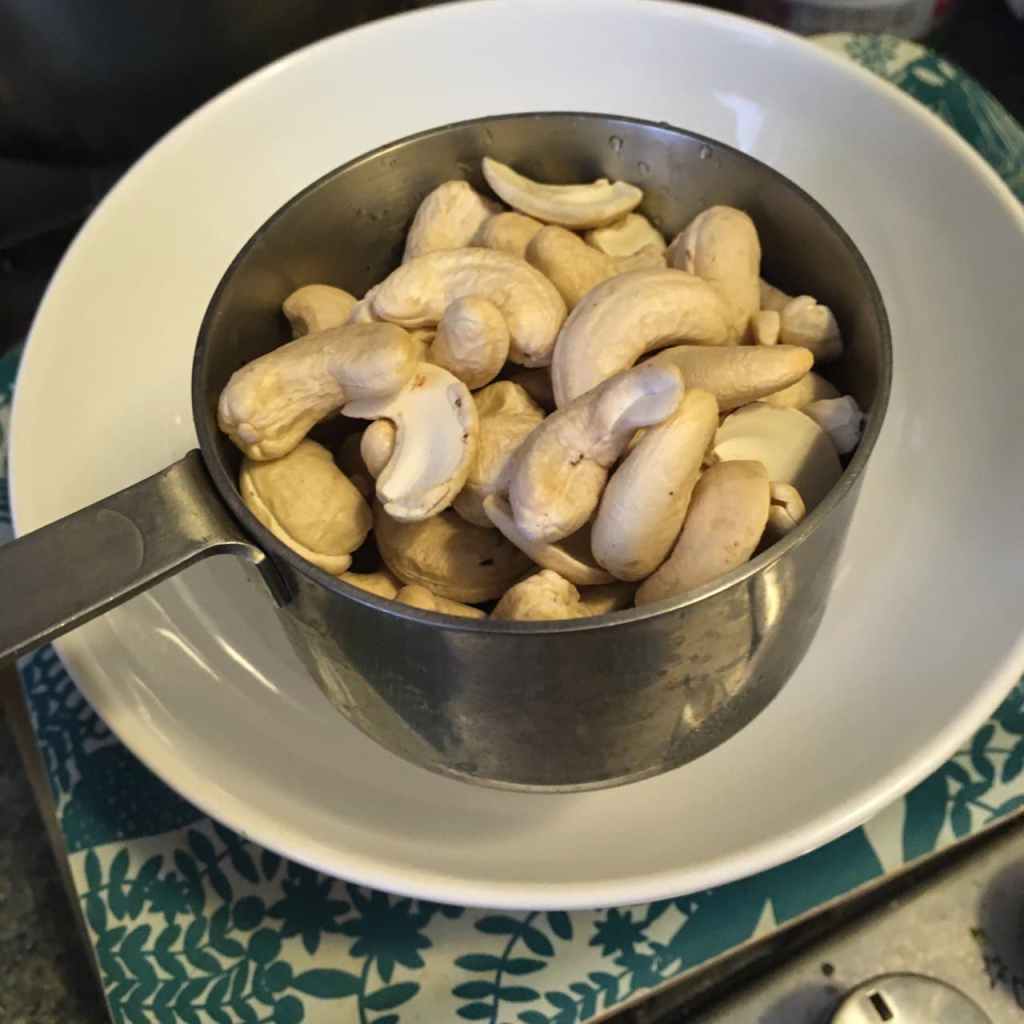
  • 1 cup dried cranberries
  • 1/2 cup (118 ml) water
  • 1/4 cup (60 ml) orange juice
  • 1/4 cup (60 ml) inexpensive red wine
  • 2 tablespoons red jam (raspberry, strawberry etc.)
  • 1 teaspoon grated orange zest
  • 1/2 teaspoon grated ginger root, or more to taste
  • 1/4 teaspoon ground cinnamon
  • 1/4 teaspoon ground black pepper
  • small pinch salt

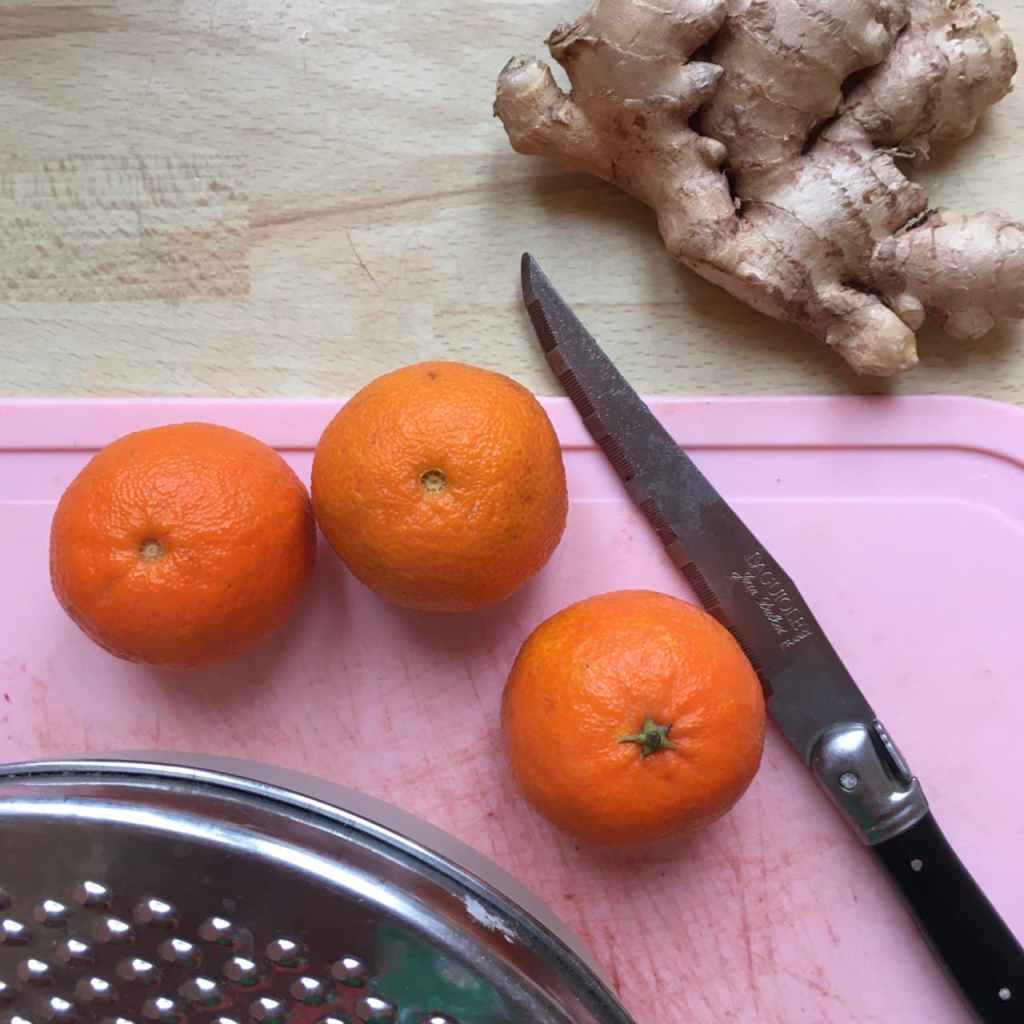
Grate your orange(s), squeeze to obtain the juice, and grate your ginger root (remove the skin with a spoon). Roughly chop the dried cranberries – or alternatively, process the sauce at the end to make it smoother – and add these to a medium-sized saucepan along with all the other ingredients.

Stir all the ingredients together while heating over medium heat. When the mixture is just starting to boil, reduce heat to low and simmer, stirring occasionally, until the sauce has thickened (maybe 5 to 10 minutes). Taste and adjust the ingredients as necessary – you may wish to add sugar or mix in more jam if it’s too tart.

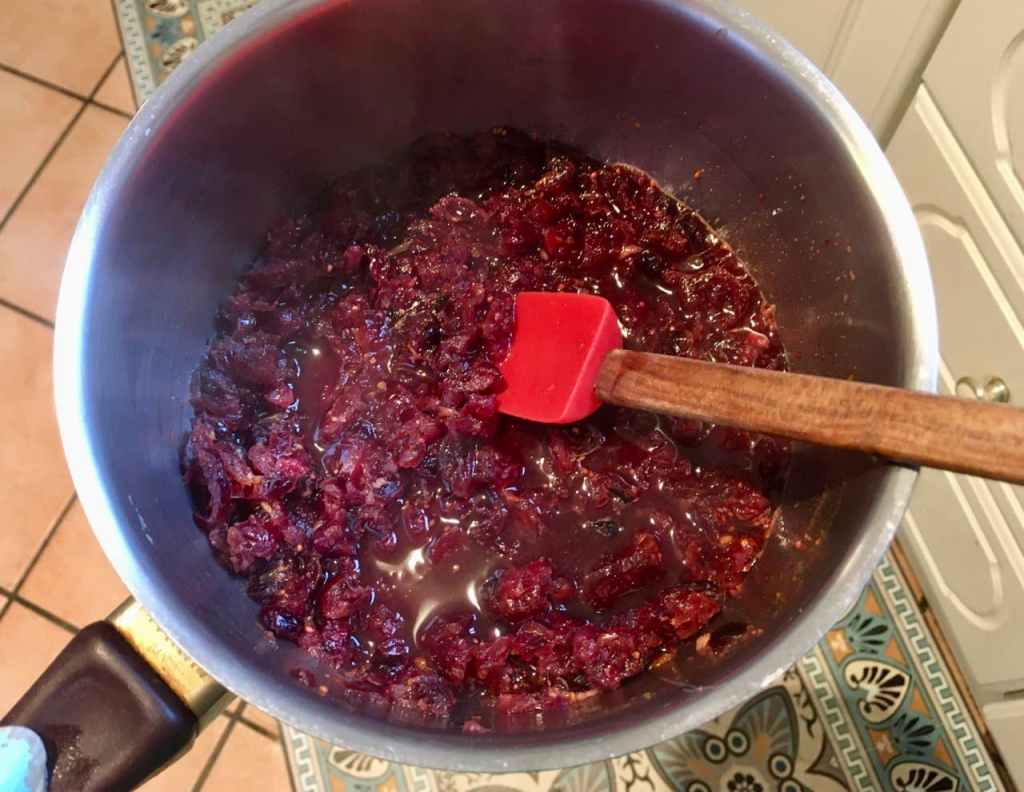
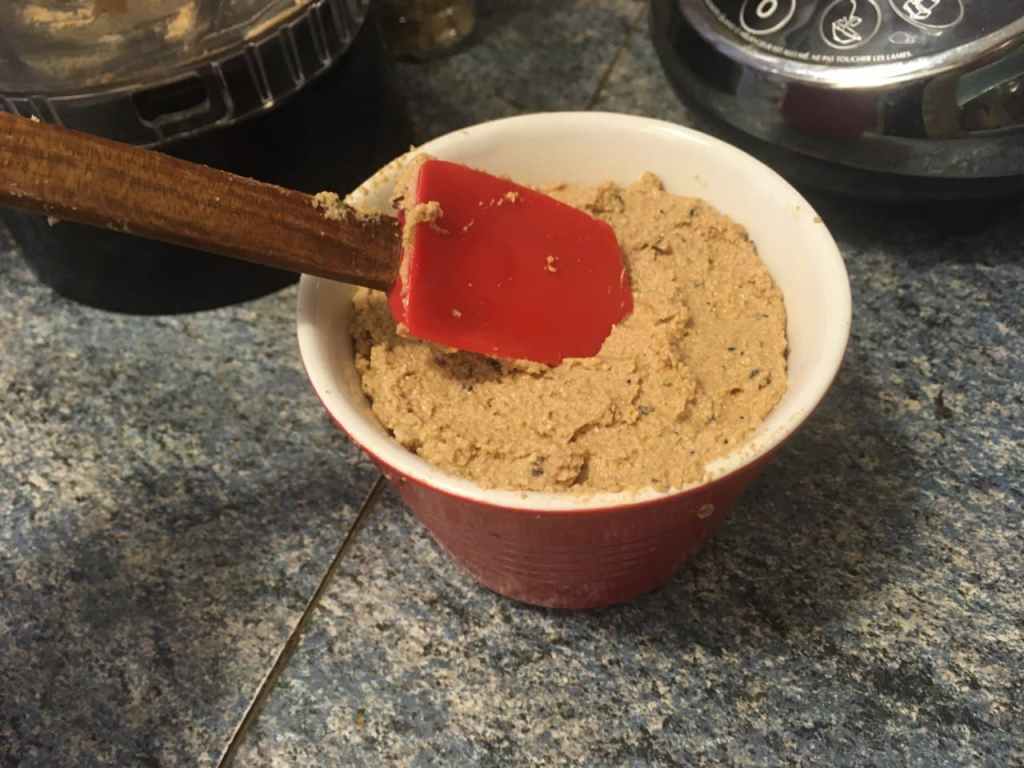
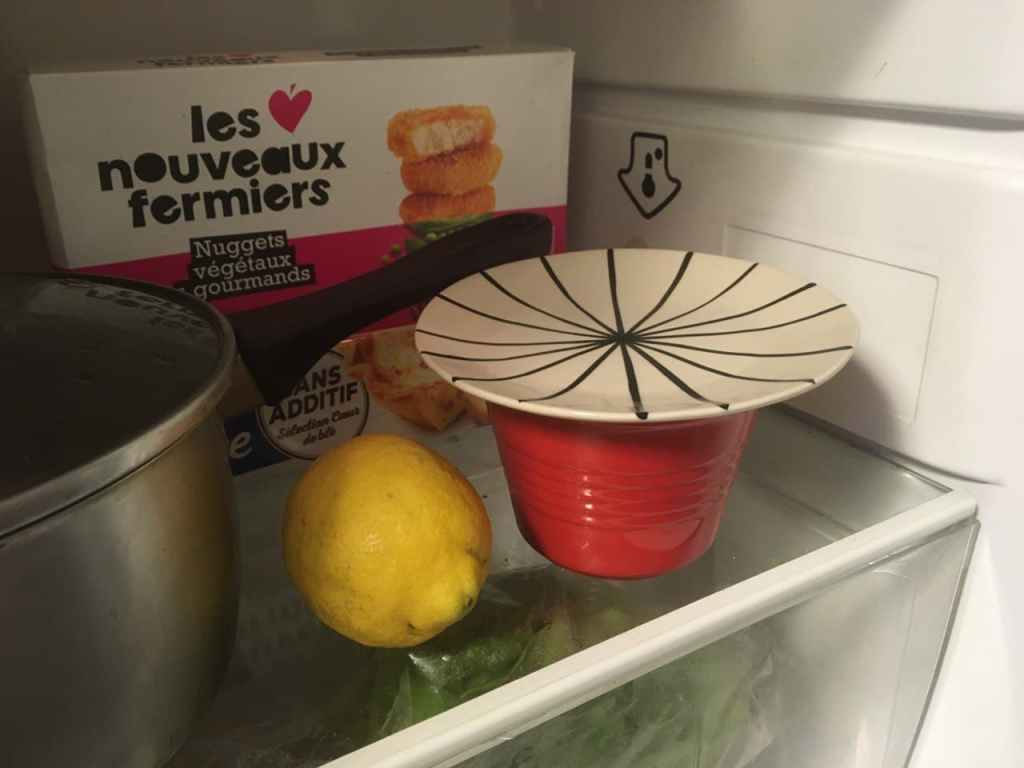
As the sauce cools it will thicken further (above, the sauce just after taking it off the heat). Allow to cool fully, then transfer to a serving dish or storage container for the fridge if you won’t be using it right away.

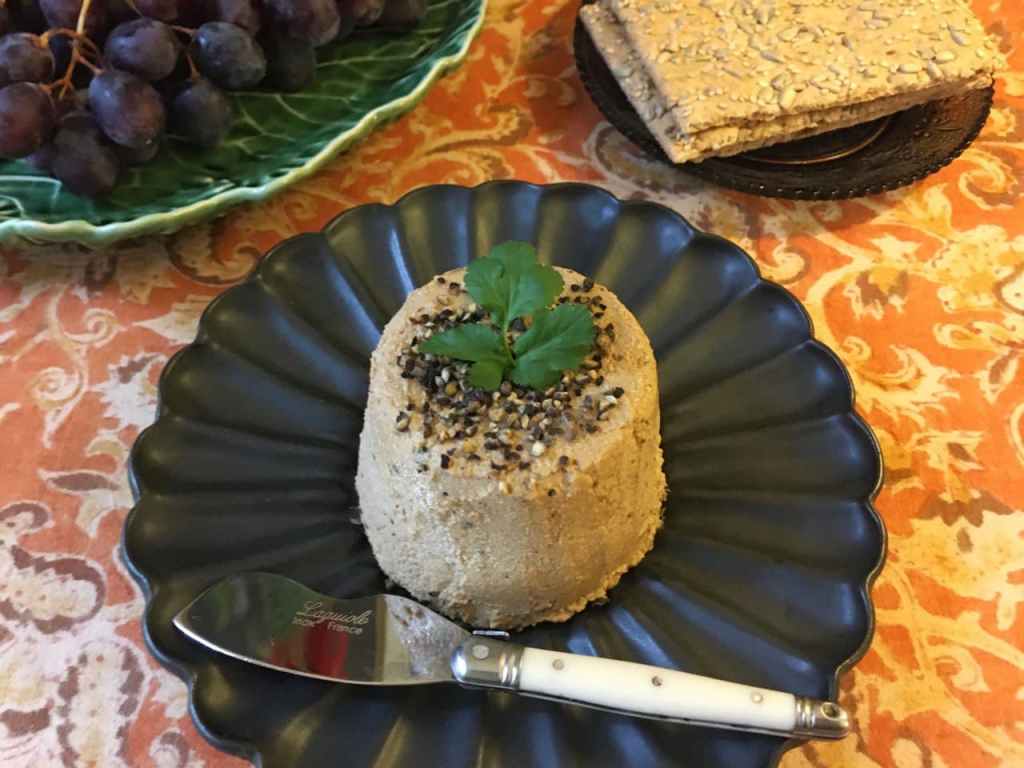
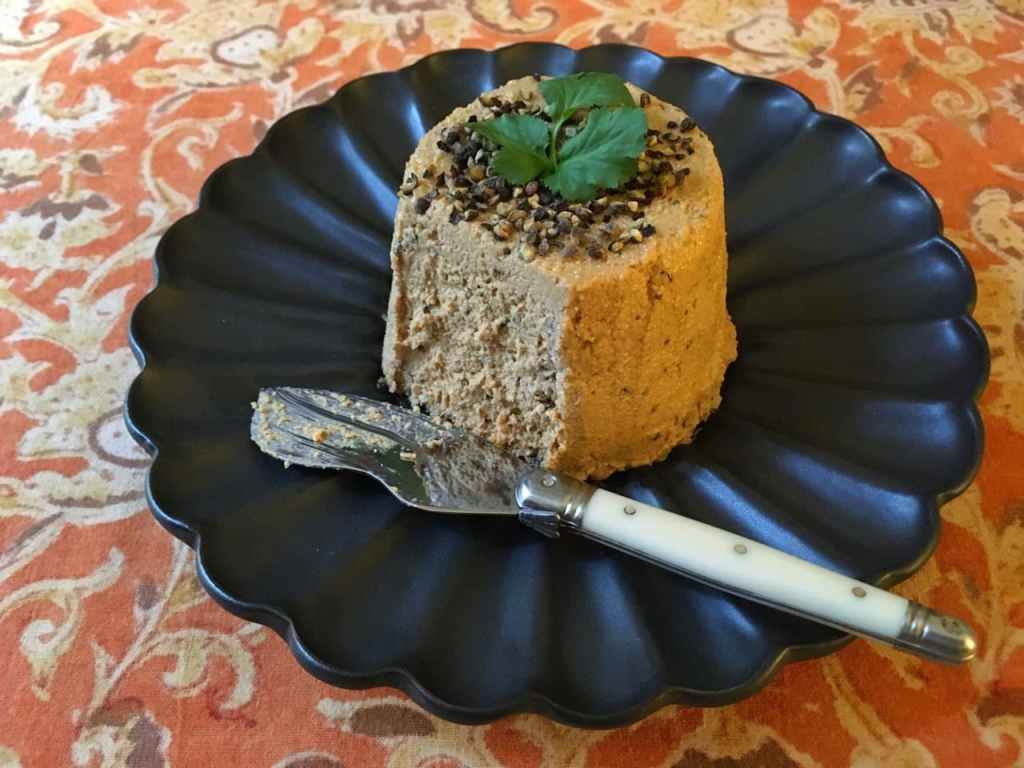
Serve chilled or room-temperature as a condiment for your favorite holiday dishes (lentil Wellington, Tofurkey roast, stuffing and green beans or mashed potatoes with gravy).

You might also like to try it in a dessert, in a mixed-fruit turnover or an apple crumble, topped with vanilla ice cream or whipped cream.

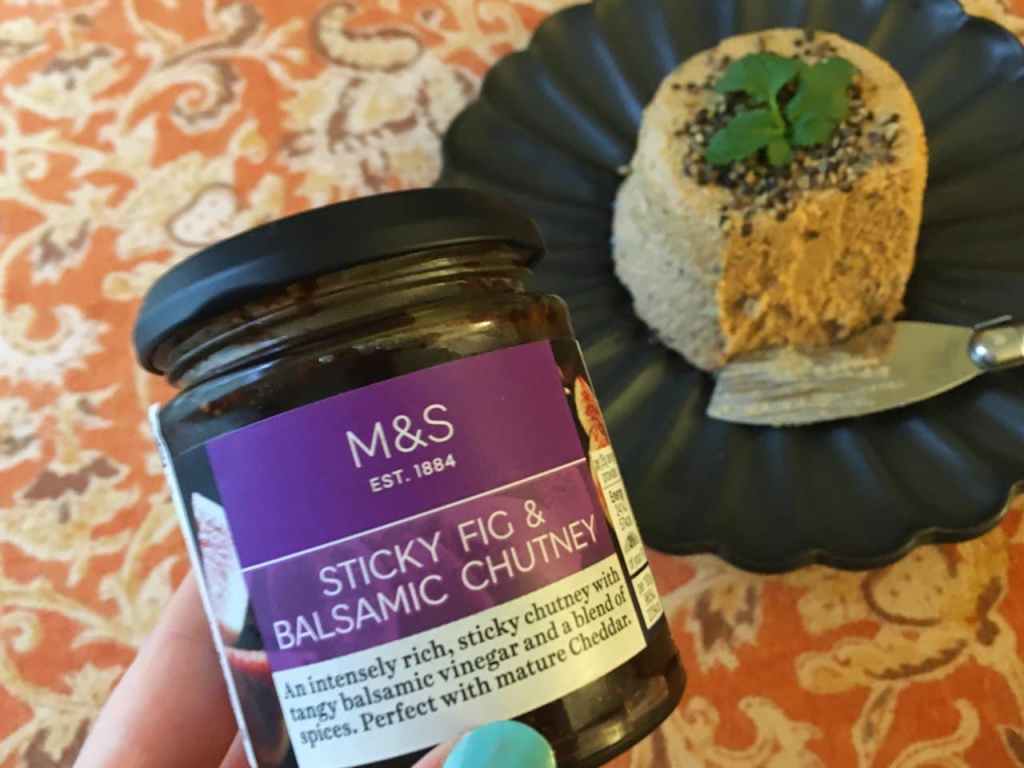
Variations: Add additional spices (nutmeg, allspice, cloves) and other dried fruit such as apricot or fig. To make it into a savory chutney to serve with cheese and baguettes, add some sautéed shallot and a dash of tamari.

DIY Advent calendar

We’re just past the middle of November, and Christmas decorations are already popping up everywhere. You’ll have seen Advent calendars in stores too – the ones that consist of opening up a new piece of candy or some other small surprise every day of December until Christmas. They’re fun, yet predictable since you know more or less what you’re getting before you open them.

So what can you do if you’re tired of them, don’t want to ingest so much sugar, or are a minimalist? You can make your own customized Advent calendar that will bring a smile to someone’s face and warm their heart – an Avent calendar that’s more about giving than receiving.

This is something I did once in the past with a partner, and it was a really fun experience. This project is ideal for two people living together, but at the end I’ll talk about ways it can be customized for families, groups of three or more, or even a single person.

Advent calendar for two people living together: Each person separately writes 24 or 25 uplifting little messages to the other consisting of a compliment, a love note, a drawing, an inside joke or reference that’s special just for the two of you, a “gift certificate” for something like a massage, a dinner or a free pass on a household chore, making sure that the recipient cannot see what they are writing or drawing. Each person should use a separate, easily identifiable type of paper – different colors or one with lines, one without – so it’s clear who wrote which ones (in this post, the notes shown are example ones that I created to give you an idea, so they’re on just one type of paper). Each should then fold up their notes into a small size.

Then you’ll need something to contain the notes. Above is an Advent calendar I originally got from Ara Chocolat in Paris a few Christmases ago (the one they have this year is different). It came with a piece of chocolate inside each of the striped boxes, which could be removed from the cardboard tree. I was glad I saved the calendar after the chocolate was gone, because the little boxes were also the perfect size to hold two little notes.

Another idea is to get a large poster board and attach little paper pockets to it, with a number on each one (remember doing this kind of thing in elementary school?). Small envelopes would also serve this purpose well. Alternatively, tape the envelopes directly to the wall if you have the right kind of (non-damageable) wall surface. And the most minimalist solution of all would be to have each person write numbers from 1 to 24 right onto their folded messages.

Mix up each separate collection of notes so they aren’t in any particular order. Put one note from each person into each box or pocket/envelope.

Below are some example messages.

Then, every day of December, either in the morning after breakfast or some other time when you’re usually together, each of you opens the message written by the other and you get to watch each other’s reaction. It’s a lot of fun!

Other ideas:

  • Treasure hunt: On one or more of the days, send your partner hunting through your house for a small gift using easy or cryptic clues that take them from one spot to another until they finally find it. This requires some advance planning and preparation, but you could for example get up early in the morning and plant all the clues before your partner gets out of bed.
  • Appreciation messages collected over the year. This one takes a lot more advance planning and requires keeping the project in mind over time, but it’s well worthwhile. Over the course of the year, whenever you feel especially appreciative of your partner (if they’ve showed special kindness or support to you or someone else, or just for no special reason), take a few minutes to write down what you feel or describe what happened and how much you appreciated them. Then put that note into a jar or box and take them out at the end of November to use as December Advent calendar messages (if you don’t have 24, or if both partners don’t have the same number, it’s okay). Alternatively, you could bundle together your notes from the year and present them to your partner all at once, for Christmas or any other time of year. Little notes like these can create a great deal of closeness and are an opportunity to share and strengthen your love. Opening one after a fight could be helpful in coming back together and forgiving each other.
  • Advent calendar for a family or group of roommates/flatmates: Here you could opt to focus more on giving the gift of services (offering to do a chore in someone’s place) or covering small household expenses (you pay for the next container of laundry detergent). You could also write about a memorable experience that the whole group had together or just express your appreciation for the family or group.
  • Advent calendar for your child: If they’re old enough to understand, write notes about favorite shared memories or times when the child did something they could be proud of (showing kindness to a classmate, sharing their toys). Or tell them things that are great about them, being careful to stress personal qualities, or just that they are themselves, rather than mentioning achievements, looks or other external things. Older children could be encouraged to join in making heart-warming notes for their siblings and/or you or their grandparents.
  • Advent calendar for yourself: Spend some time in November remembering times when you accomplished something impressive or when you were just proud of yourself, and write notes to yourself about them. Alternatively, note down small goals you want to accomplish in the month of December or small treats you would like to indulge in. By mixing up the notes, you’ll be drawing one at random each day and can feel like destiny has selected that day for you to indulge in the treat! (and who are you to question destiny?)
  • Advent calendar for two people not living together: Same as for the first calendar described above, except that each person takes all of the other person’s messages at once and has to promise not to peek at any of them early. They can be kept together in an envelope or jar and pulled out at random. You can call each other every morning at a certain time and share your reactions in real time, or take a photo of the message you open each day and send it to the giver along with your thoughts.

Have you ever tried something like this, or do you have suggestions for other ways to vary the Advent calendar experience? Share in the comments!

Peppery cashew cheese

In this post I’ll be showing you how to make your very own homemade cashew cheese. It’s the perfect addition to your Thanksgiving, Christmas or New Year’s table!

This super-easy, hard-to-mess-up recipe is endlessly variable – I’ve made a black pepper version here but you could easily omit the pepper and add fresh or dried herbs or your favorite ground spices (try smoked paprika, cumin, coriander, curry powder etc.).

Peppery cashew cheese

Makes around 1 cup of spreadable cheese.

Cashew mixture

  • 1 cup (100 g) unroasted, unsalted cashews
  • 2 tablespoons freshly squeezed lemon juice
  • 1 teaspoon miso paste (white for a milder cheese, brown for a stronger flavor)
  • 4 teaspoons nutritional yeast
  • 1/2 teaspoon garlic powder
  • 1/2 teaspoon onion powder or flakes
  • 1 tablespoon olive oil
  • 4 teaspoons crushed black peppercorns
  • soy sauce or tamari to taste (optional)
  • herbs for garnish (optional)

Agar-agar mixture

  • 1/4 cup water
  • 1/2 teaspoon agar-agar powder

Equipment needed: food processor with S-blade and (ideally) plastic wrap.

Begin by soaking the cashews in water for at least 8 hours (or even up to 24). If you’re in a hurry you can alternatively use 3.5 oz. (100 g) prepared cashew butter without any sugar or other additives and skip to the step where you add the lemon juice and other ingredients.

When the cashews are done soaking, drain and rinse them and transfer them to the food processor.

Add the lemon juice, nutritional yeast, miso paste, garlic powder, onion powder/flakes, crushed black pepper and olive oil.

Process everything together, stopping to scrape down the sides as needed. Taste to see if the mixture is salty enough for you. If not, add a bit of soy sauce or tamari, blend thoroughly and taste again. Adjust the other seasonings and ingredients to taste, if needed.

In a small saucepan, bring the 1/4 cup water to a boil and add the agar-agar powder. Reduce heat and simmer for at least one minute (to activate the agar-agar), stirring constantly.

Immediately add the agar-agar mixture to the cashew mixture and blend. Scrape down the sides and blend some more to ensure that the agar-agar gets combined into all of the cashew mixture. Transfer into a large ramekin or two or more smaller ramekins, ideally lined with a bit of plastic wrap (I didn’t have any when I made this, but it makes the cheese much easier to unmold and also keep fresh). If you don’t use plastic wrap, oil the inside of the ramekin to be able to remove the cheese more easily later.

Cover and refrigerate for at least one hour to allow the agar-agar to set.

Unmold the cheese onto a serving dish, smoothing out the top and sides as needed with a knife as if you were applying frosting to the side of a layer cake. Garnish the top with additional crushed black pepper or nutritional yeast or the herbs you have used if you’ve made a different version.

Serve with crackers or slices of baguette and some fresh fruit (grapes, figs, sliced apple or nectarine, etc.).

Something I really love to have with cheese is a fruit chutney of some kind, such as this accidentally vegan one from Marks & Spencer.

Variations: instead of pepper, you can use fresh or dried herbs or any other seasonings you like (smoked paprika, cumin, coriander, curry powder, etc.). Garnish with more of the seasonings – a dusting of paprika could make it particularly appealing. Experiment with larger or smaller quantities of the other ingredients (miso, nutritional yeast etc.) to tailor the cheese to your own personal preferences.

Black scalloped plate by Masakazu Yoshida
Cheese knife by Laguiole

Easy upcycled paper garland

The other day I was feeling a bit creative and decided to make some homemade decorations. I documented the process to share it with you!

I realize you already know how to make a paper chain from your kindergarten days, but have you made one lately? And have you thought of making one from old calendar pages? It’s a great way to recycle nice images printed on somewhat sturdy paper. Magazine covers would also work well, although the inside pages would probably be too fragile. You can alternatively buy construction paper in your preferred colors – red and green for Christmas, orange and black for Halloween, or just whatever colors would coordinate nicely in the room you have in mind.

This project is easy to adapt for different purposes. If you want a garland to wrap around a small tabletop Christmas tree, just make your paper strips fairly narrow and short so the links are smaller. If you want it to be more prominent, make larger links (as I have done). You can also tailor the length of your chain as you like, but if you’re using different colors, plan the placement of each link ahead of time so you don’t run out of any particular color.

Materials and supplies required:

  • Used calendar pages, magazine covers or other sturdy paper (make sure all the paper you will use is of the same thickness/weight)
  • Scissors
  • Pencil if strips need to be measured
  • Ruler (for drawing straight lines)
  • Glue, tape (washi tape works well) or stapler

paper chain garland 13
I used the pages of my calendar from this year (except December, which is still on my wall).

paper chain garland 05
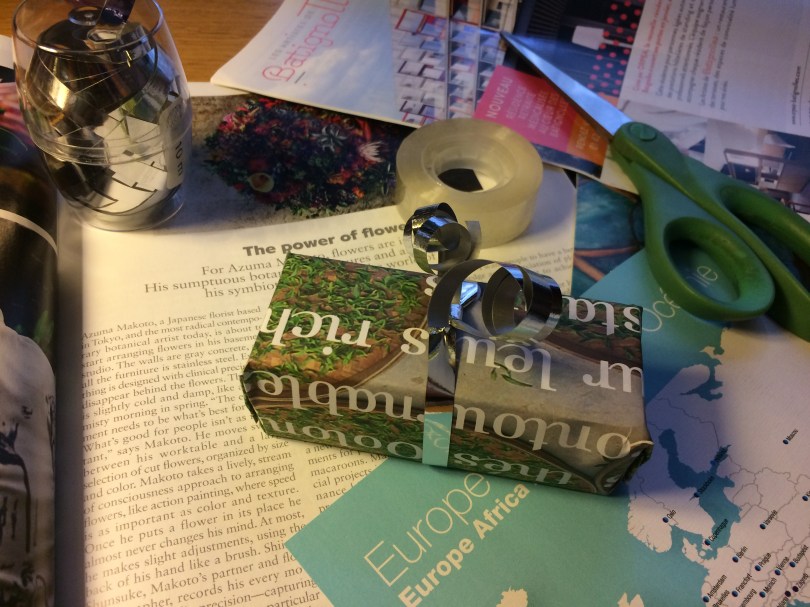
Look for pages with large expanses or gradations of a single color.

paper chain garland 03Cut the paper into strips of the same width and length. Another benefit of calendar pages is that straight lines are already drawn on them.

paper chain garland 06Here, I’ve opted to use four main colors: beige, pink, green and blue.

paper-chain-garland-09.jpg
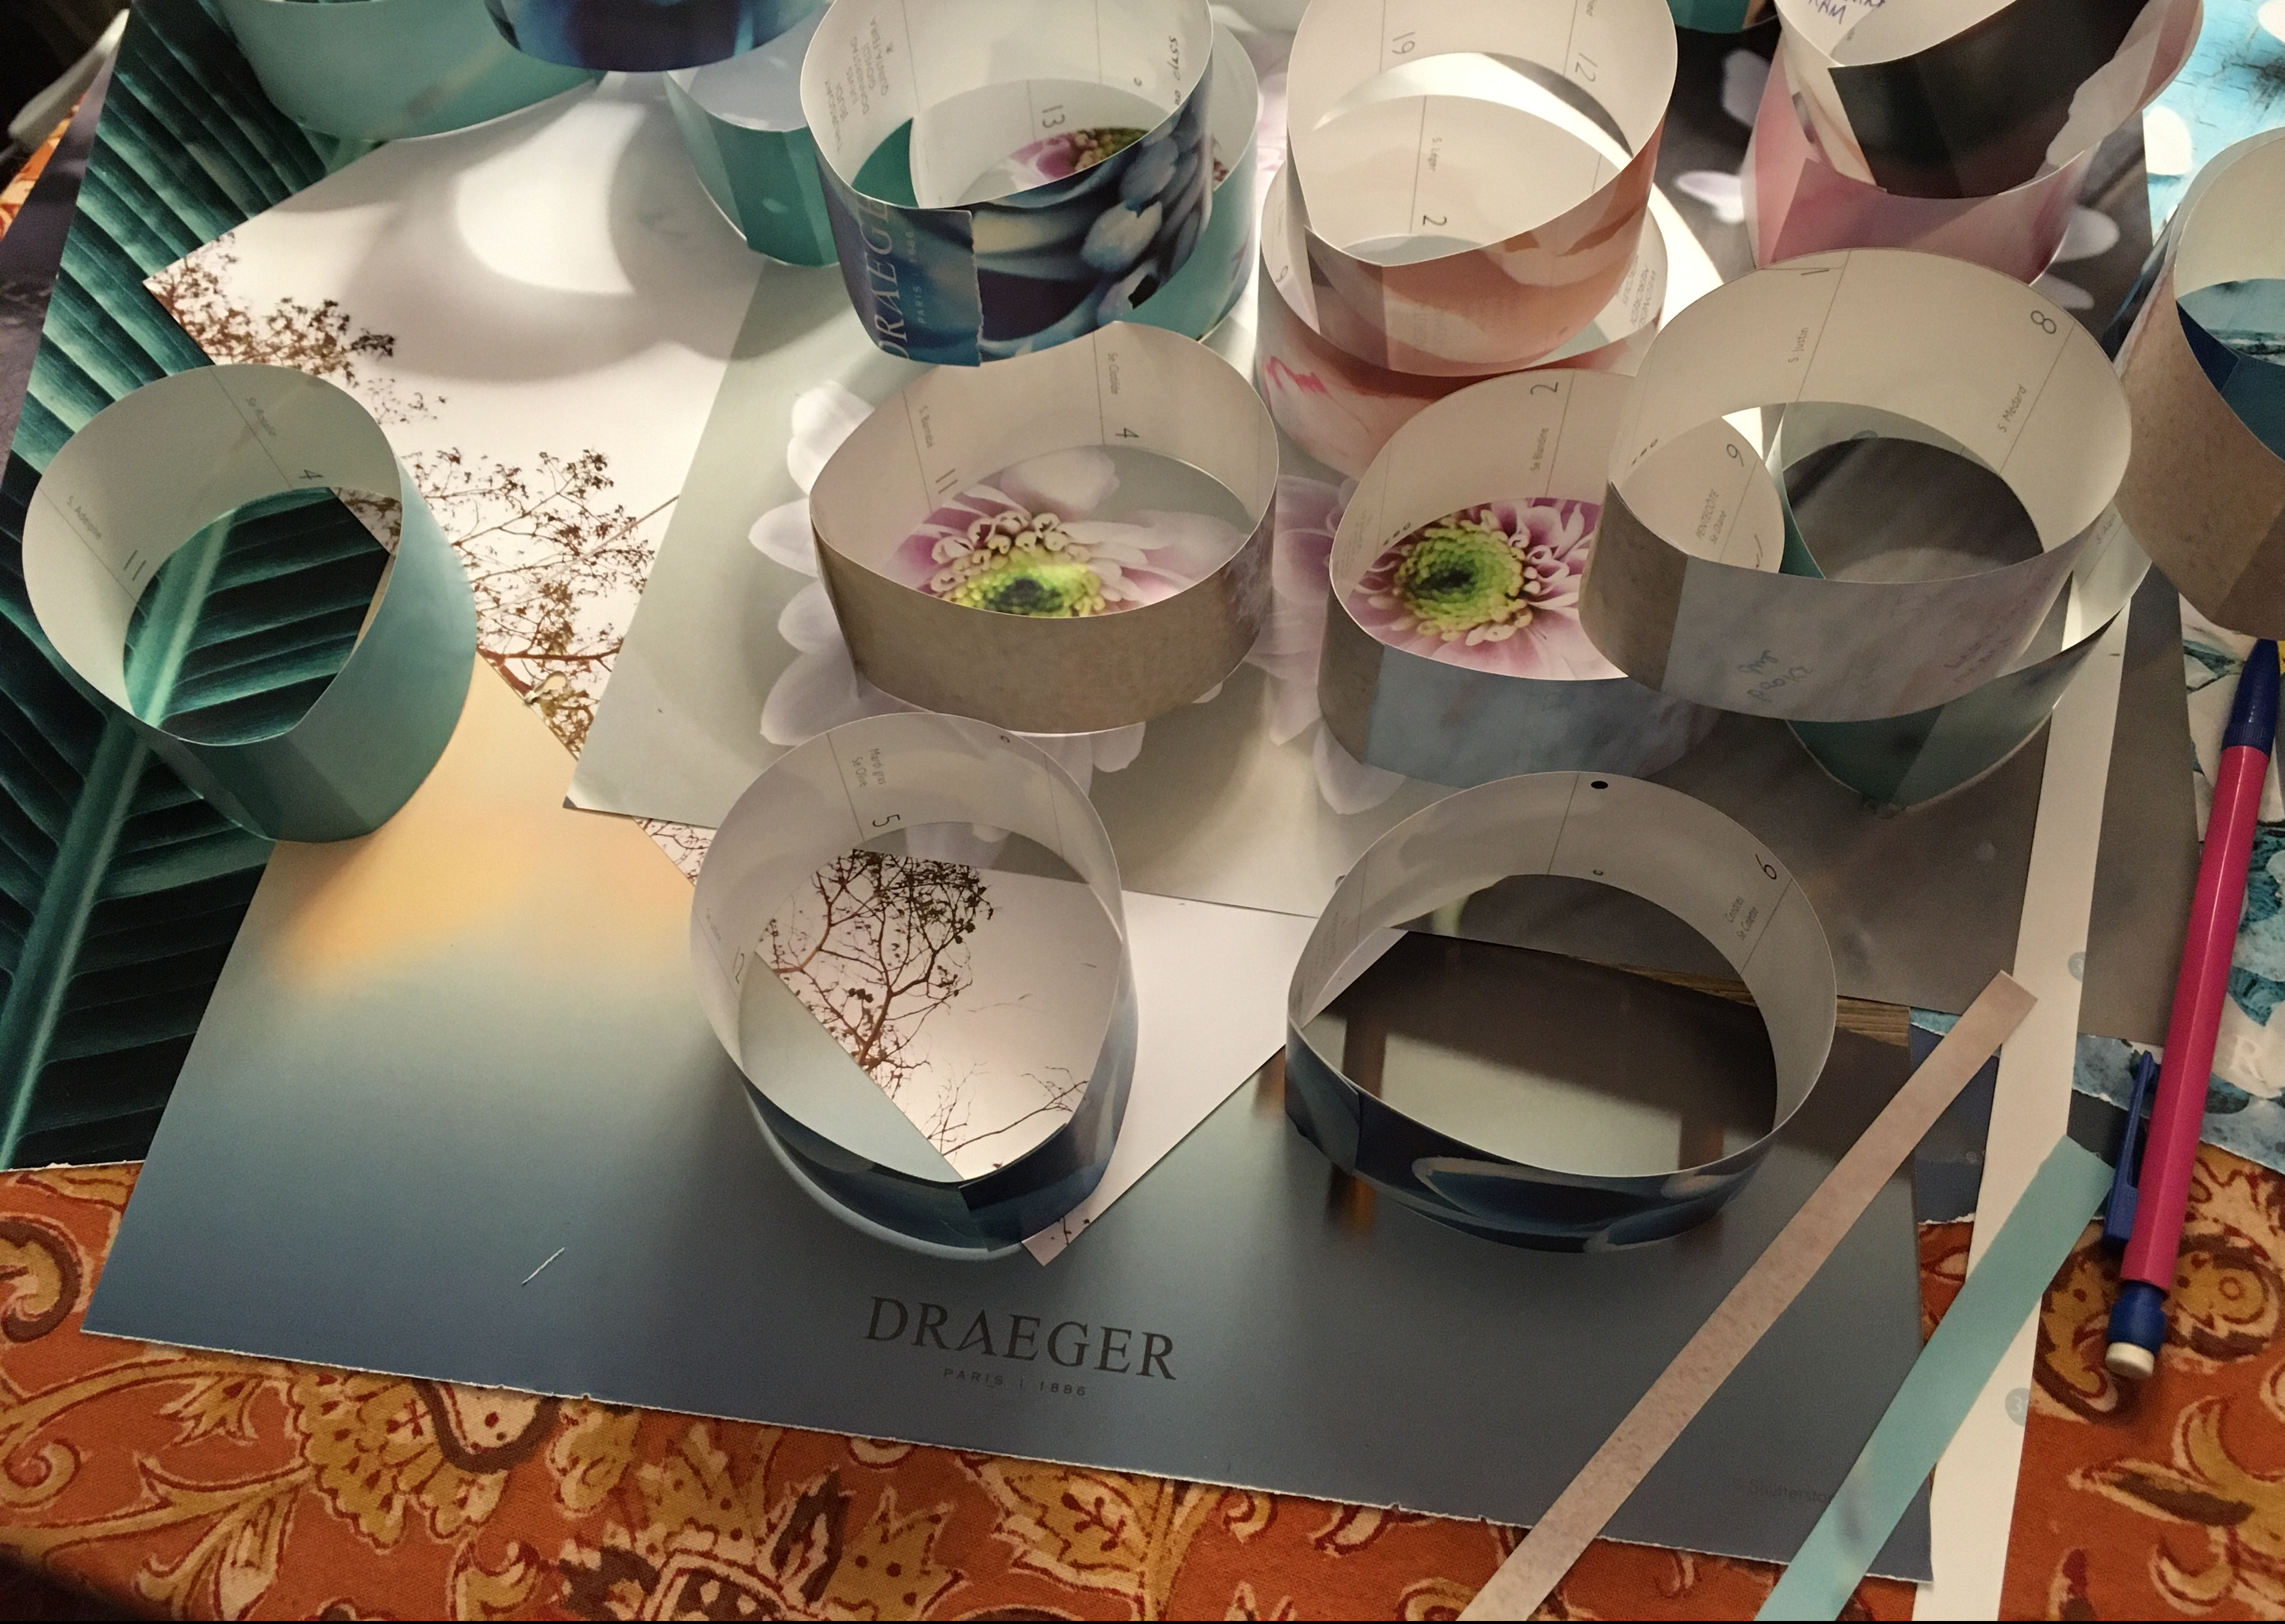
Create links out of these by gluing, taping or stapling the ends together. Make sure that the overlap is the same in each one so they’re all the same size.

paper chain garland 07
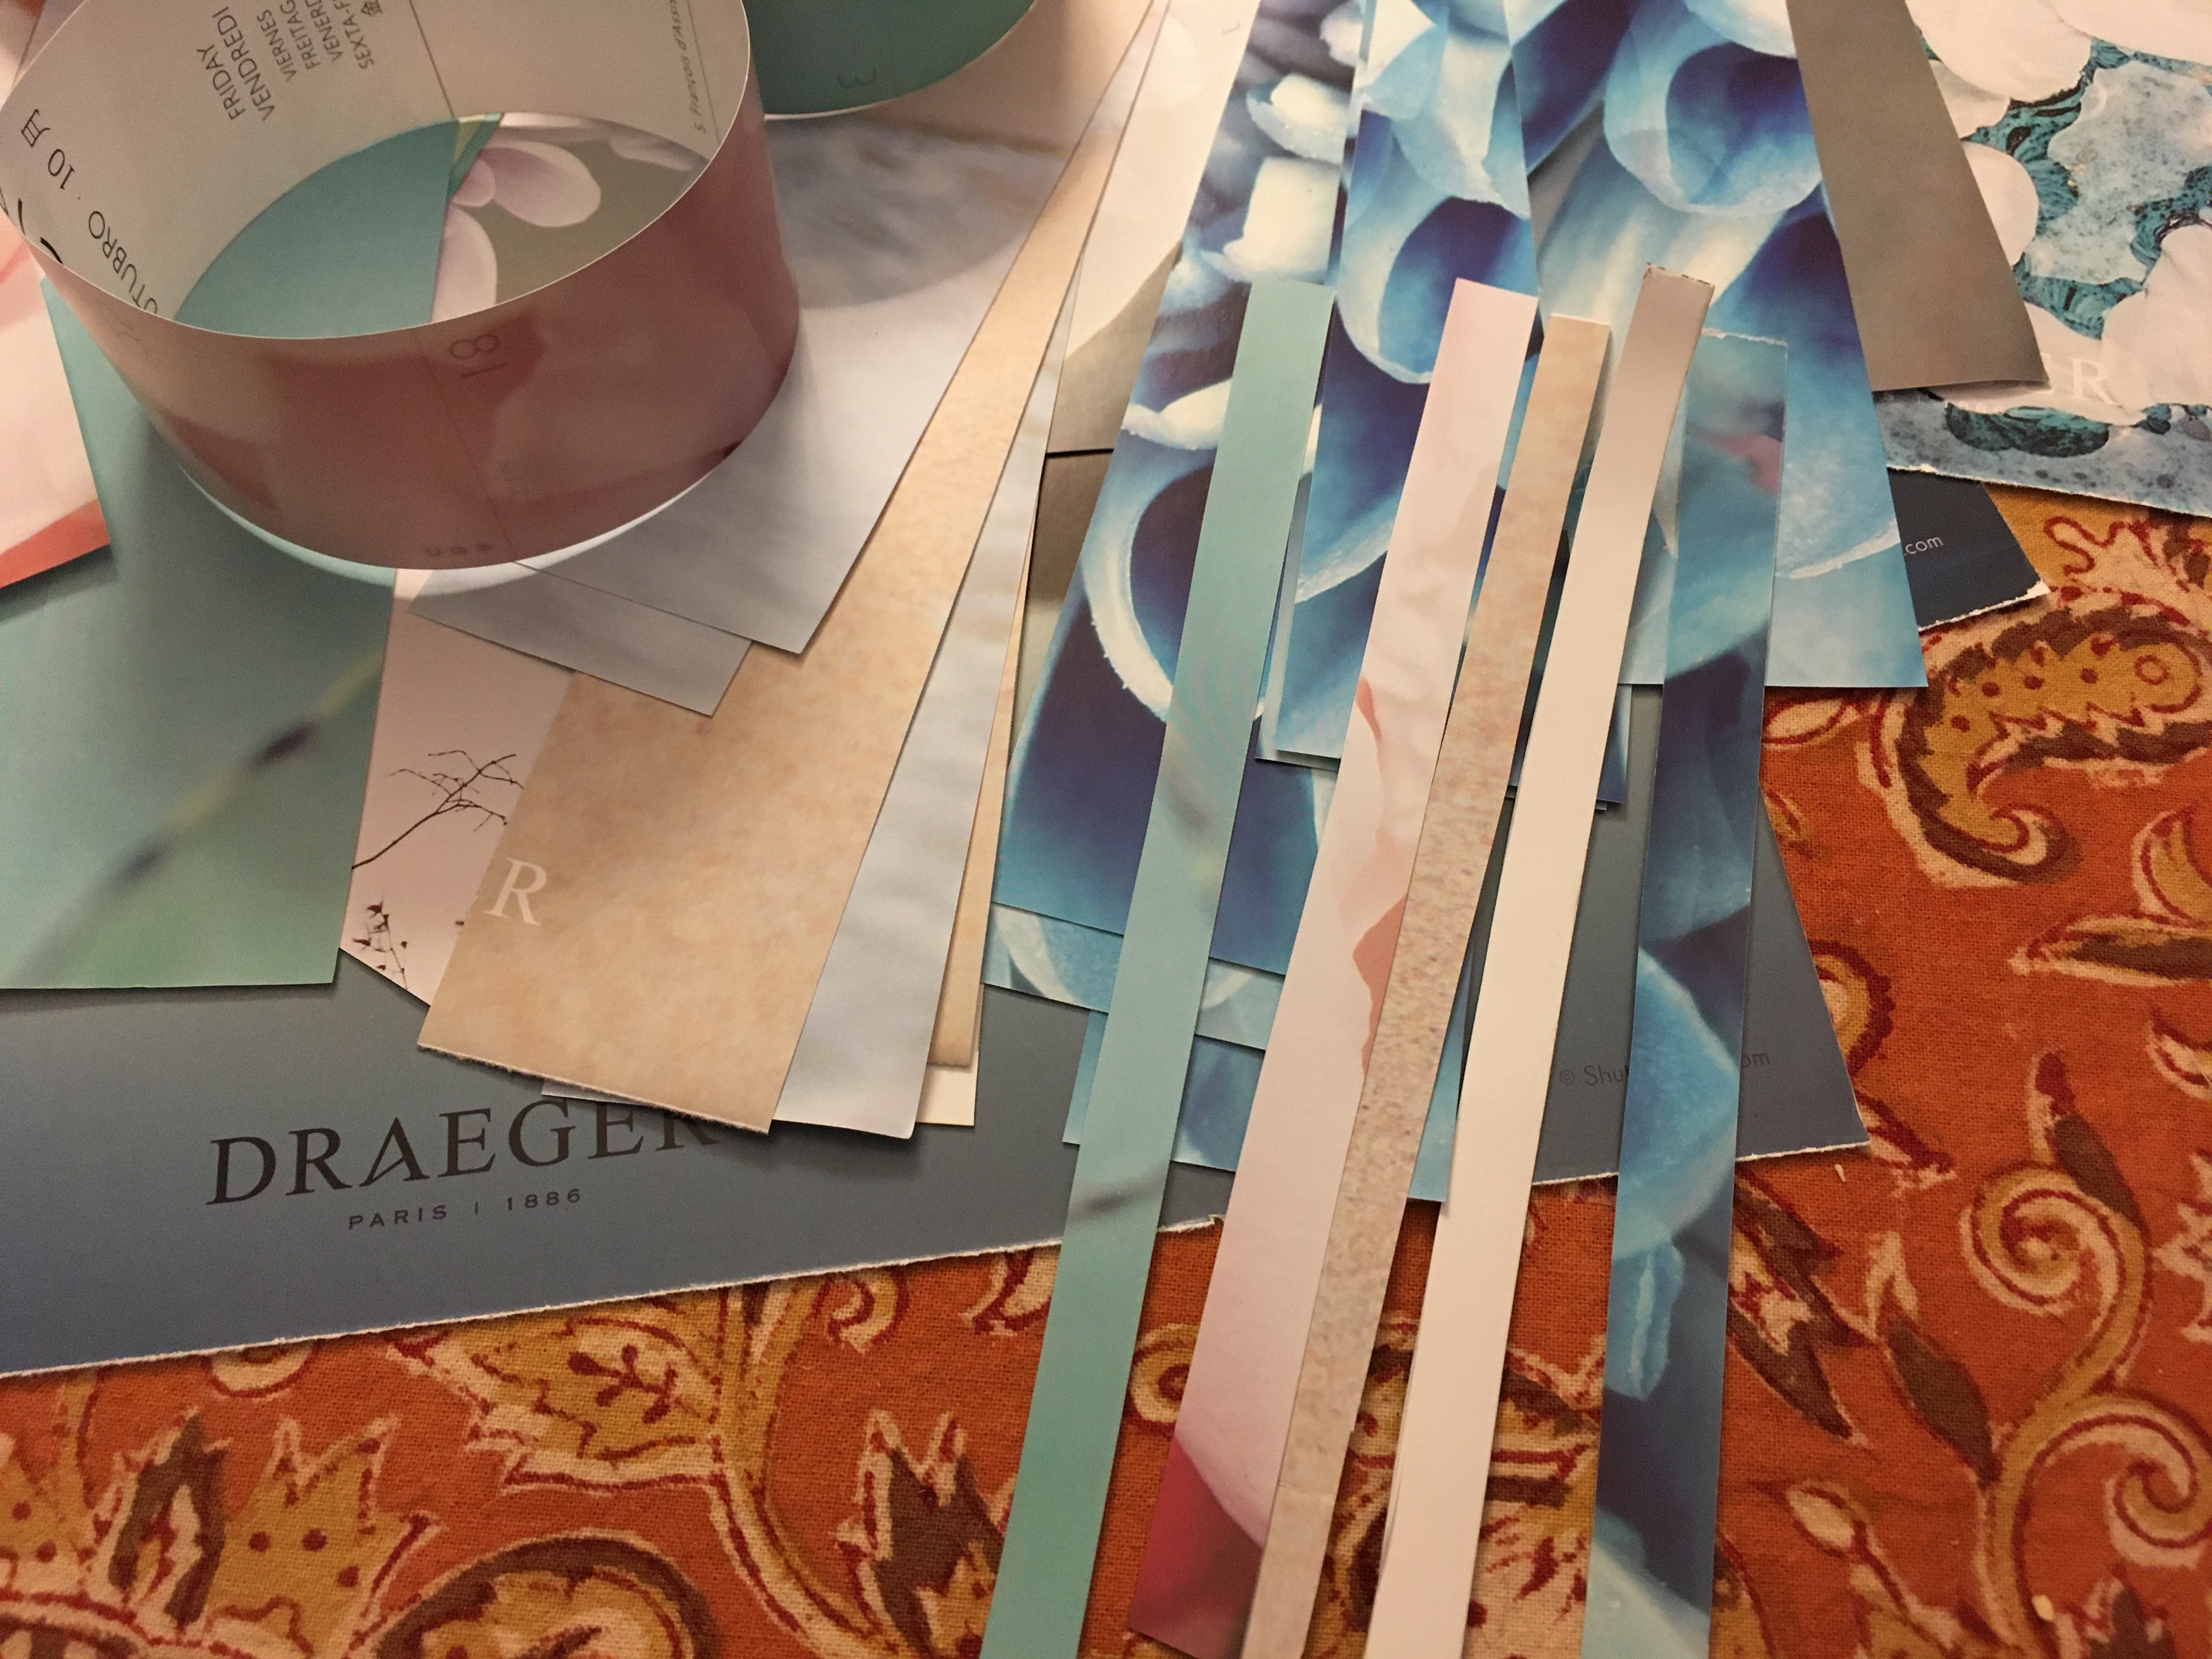
Also cut some narrower and shorter strips to use as the connecting links. These links should be long enough to allow for flexibility in the paper chain – so it can bend around a corner, for example (see my kitchen window photo below).

Alternatively, you can omit the smaller connecting links and just connect links of the same size. The disadvantage of this is that only half of the links will be visible at a time from each side. But if you’re hanging your garland from the ceiling or under a doorway, this won’t matter as much since people will see it from different sides and angles.

paper chain garland 14
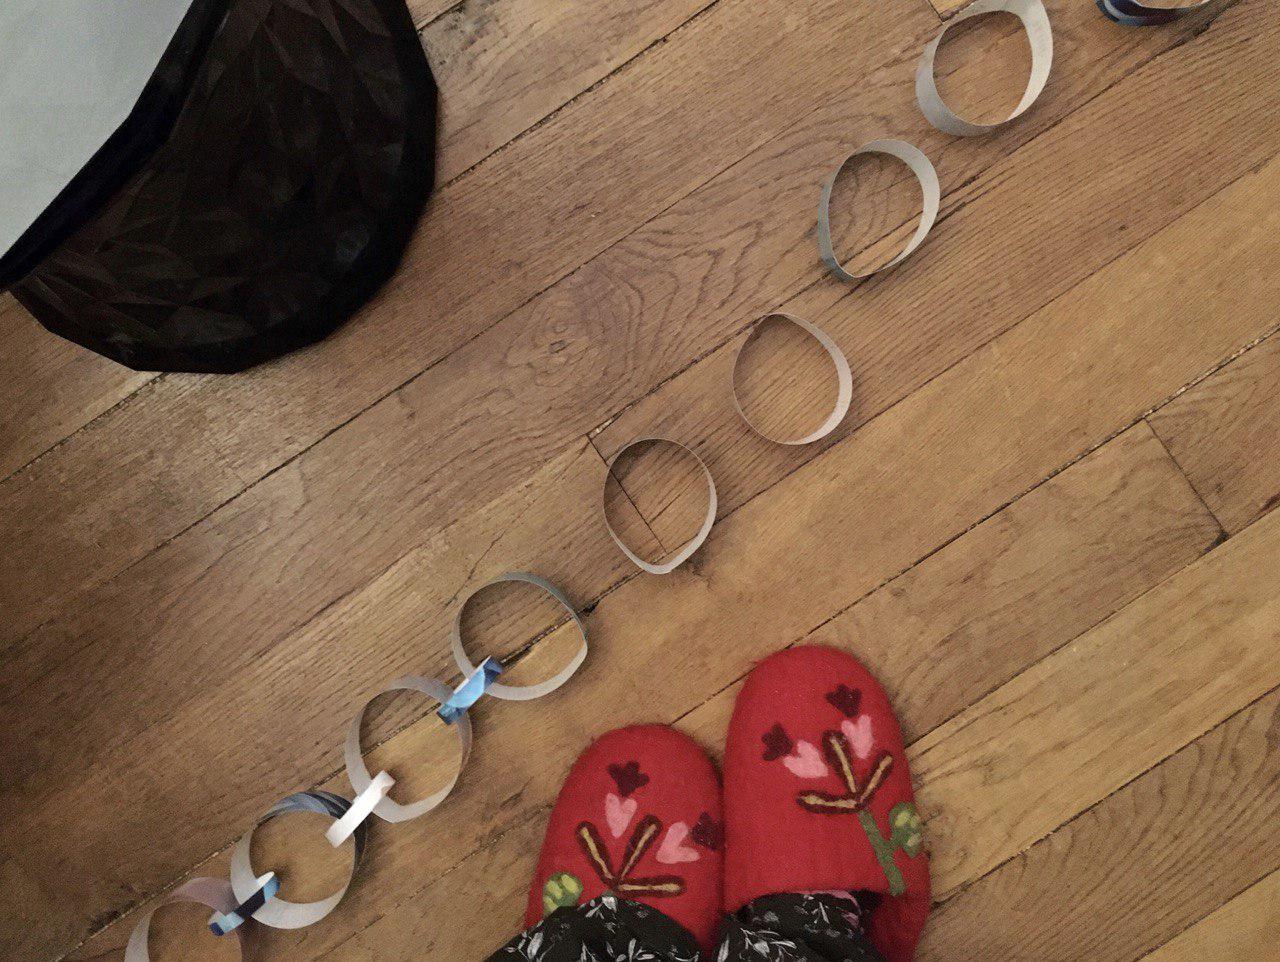
To see how long your finished garland will be, so you know whether you should add another color to the rotation to make it long enough for the spot you have in mind, place them end to end on a long table or the floor.

Best IMG_6114Now connect the links in the chain by gluing or taping the shorter, narrower strips into loops between them. Your garland is done!

paper-chain-garland-10-1.jpgI hung mine up in the kitchen to liven up an otherwise fairly plain window frame.

If you’ve written on your calendar, your garland will also contain little vestiges of past events. Mine has the final day of my year-two Japanese class this past June and reminders of my relatives’ birthdays.

Another good use for old calendar pages, magazine pages, newspaper or any old paper is to wrap gifts in them (see my tutorial here). I also like to use them to make custom envelopes and gift tags.

Cookbook challenge

Those of you who know me from my Facebook days may remember my cookbook challenge.

I started it a few years ago, inspired by a friend who did the first one I’d ever heard of. At her New Year’s Eve party one year, chatting with some guests who were admiring her cookbook collection, she realized she wasn’t using them as often as she would like. To remedy the situation, she set herself a resolution to be completed over the next 365 days, and that was to make one recipe from each of her 100 cookbooks. The challenge included posting a photo and description of each dish on Facebook. In spite of obstacles including limited daylight hours (important for a good photo) at the beginning and end of her challenge, she made it, posting the last few recipes in mid-December.

And what began as a simple can-I-do-it personal dare turned out to be a great way to be an ambassador for veganism. A frequent question vegans get from meat-eating folk is “But what do you eat?” and with this challenge, all her Facebook friends got to see real-life examples of what she actually eats. It turned out my friend had a talent for food photo styling too, so the dishes in her photos looked especially beautiful and scrumptious.

As her challenge got into full swing I realized there were several cookbooks in my own growing collection that I still hadn’t tried, and decided to do a challenge of my own. Since I had fewer books (around 40 at the time) I resolved to make five recipes from each one, but over a longer period of time, with no end date. I was ambitious as I started, even making a bold promise not to buy any new cookbooks until the challenge was done—I failed at this part, seduced embarrassingly soon afterwards by a new superfoods book.

My collection was made up mostly of vegan cookbooks—no surprise there since going vegan is what made me get into cooking in the first place—but I also had some vegetarian ones and even an omni one that came with a set of pastry circles I’d ordered online. But they were all to be included in the challenge, with vegan adaptations as necessary. Most of my books were in English but several were in French, one in Catalan and one in Icelandic (!), which of course adds a fun extra dimension (remember, I’m a translator!).

I focused on one book at a time, posting the cover image first and then adding the photos of the recipes as I made them. In some cases I skipped ahead and made a recipe from another book, but then would save that photo until later when covering the book in question.

In the process of this challenge, which is still technically underway, I’ve discovered recipes that have since become some of my very favorites and have gained a firm place in my day-to-day repertoire (the cheese sauce from Vegan Yum Yum, for example, and the Scandinavian tofu balls from Boulettes et galettes végétales, which I later translated and posted here). The challenge has also obliged me to try recipes that I might not have made otherwise, for example if there was no photo for them in the book, and some of these turned out to be excellent.

For one of the books, Vegana i catalana, I found myself translating from Catalan, which I loved. I wouldn’t do that professionally, but for a handful of recipes for personal use, it was a fun challenge and not too hard since I know French and some Spanish. I posted one of them here on the blog too.

Here are some highlights from the books I’ve done so far…

Lentil crêpes with a garlic-parsley yogurt sauce from Curcuma en cuisine and date bars from Délices déshydratés.

Black rice with soybeans from Kansha and Thai seitan curry from Coco.

Crêpes with dulce de leche and sweet plantains from Viva Vegan! and cashew-stuffed capsicums in a coconut-curry leaf sauce from World Food Café 2.

Fideuada from Vegana i catalana (see my version of the recipe here) and crispy millet and peanut butter buckeyes from Thug Kitchen.

Chocolate-banana crêpes with coconut cream and berries from Rawsome Vegan Baking and potato latkes from Mayim’s Vegan Table.

Fiery fruit and quinoa salad from Salad Samurai and chocolate-orange curd tarts from Pies and Tarts with Heart.

Plum knödels from Mes festins végétaliens and spiced carrot and almond soup from The French Market Cookbook.

Millet balls with orange-arugula sauce from Boulettes et galettes végétales and raw apple turnover from Le Bon cru.

And as I mentioned, this challenge is still not finished! When I began this blog in October 2016 and started working on recipes for it, I had less time and energy for other recipes and sort of put this on hold. But I plan to continue it, especially since I got only about half-way through it (24 out of 40-some books). I will post the results on my Instagram and maybe also on the Red Violet Facebook page if people there are interested. In the interest of completeness, I’ll be posting all the photos from the cookbooks previously covered too. To see them on Instagram, just do a search for #redvioletcookbookchallenge which I’ll include among the hashtags for each of them.

When I’m finally done with the books I already have (there are maybe around 50 now), I’ll have made 250 recipes! So one of the benefits is learning a thing or two: techniques, new flavor combinations, shortcuts and so on.

Another of the eventual outcomes of this challenge will be a binder of my favorite recipes from the challenge (and other favorites from before it) that I’ll create to keep in my kitchen for easy access.

The biggest challenge in this challenge, translating and making ICELANDIC recipes, still lies ahead! Will I be able to pull it off? Stay tuned!

In the meantime, why not try a cookbook challenge of your own? You never know what gems you may unearth from your dusty collection!

DIY gift wrapping

Store-bought gift wrapping has often struck me as a senseless waste, given that it’s usually thrown away after just one use. Of course, it sometimes can be reused without too much social disapproval, for example in a family or among sympathetic friends. But another option is to make your own wrapping paper out of things that were going to be recycled anyway. Not only is it more sustainable and cost-effective, but it’s also a lot more fun. You can select specific images for each gift, either to match one of the recipient’s areas of interest or to hint at the package’s contents. Choosing and matching colors and patterns is also something I find quite satisfying.

img_3705

This year, as I set out to wrap some Christmas gifts, I looked through my magazine piles and selected some free publications that I wasn’t going to look at again. These included an old Air France magazine, a Palais des Thés tea catalogue, a free cinema magazine from a local theater, and the summer edition of my district’s magazine (yes, in Paris each of the 20 arrondissements has its own free magazine to keep residents in the know—nice, huh?). Other things that can be upcycled into gift wrapping are brochures from art exhibitions, newspaper pages, comics and even old maps. Anything with interesting colors and visuals can work as long as the paper is thick enough.

I put some Christmas music on to create a festive mood, made myself some tea and began selecting pages.

img_3712

Magazine pages are especially good for small items. This particular gift was wrapped with a page from the tea catalogue. I then wrapped a smaller accompanying box with a strategically selected section of a page showing a map of Air France destinations.

img_3732

Sésame took a break from his busy day to help out by supervising my work from beneath our “tree” (pine branches in a vase). He approved overall, despite the disappointing lack of cat images.

img_3745

Pages from a cinema magazine are especially nice when you’re wrapping a gift for a film-loving friend. For bigger items, you will need to tape two or more pages together (taping them on one side is usually enough). Here you can see that I’ve chosen to leave the ripped edge as is, rather than trimming it, partly because cutting it would mean losing part of the image, and partly for an artisanal deckle effect. For this kind of homemade item, precision and perfection are actually not what you want.

img_3748

The item I was wrapping was too big for just the two magazine pages to cover it, so I added more to the top, choosing contrasting colors. Keep in mind that the edges will not be visible once the paper is folded around the gift, but with some maneuvering you can probably get the right part to show.

img_3758

Finally, add some colorful ribbons and possibly some washi tape, and you’re done!

img_3986img_3985img_3988img_3761img_3980