

The other day I was feeling a bit creative and decided to make some homemade decorations. I documented the process to share it with you!
I realize you already know how to make a paper chain from your kindergarten days, but have you made one lately? And have you thought of making one from old calendar pages? It’s a great way to recycle nice images printed on somewhat sturdy paper. Magazine covers would also work well, although the inside pages would probably be too fragile. You can alternatively buy construction paper in your preferred colors – red and green for Christmas, orange and black for Halloween, or just whatever colors would coordinate nicely in the room you have in mind.
This project is easy to adapt for different purposes. If you want a garland to wrap around a small tabletop Christmas tree, just make your paper strips fairly narrow and short so the links are smaller. If you want it to be more prominent, make larger links (as I have done). You can also tailor the length of your chain as you like, but if you’re using different colors, plan the placement of each link ahead of time so you don’t run out of any particular color.
Materials and supplies required:
- Used calendar pages, magazine covers or other sturdy paper (make sure all the paper you will use is of the same thickness/weight)
- Scissors
- Pencil if strips need to be measured
- Ruler (for drawing straight lines)
- Glue, tape (washi tape works well) or stapler

I used the pages of my calendar from this year (except December, which is still on my wall).
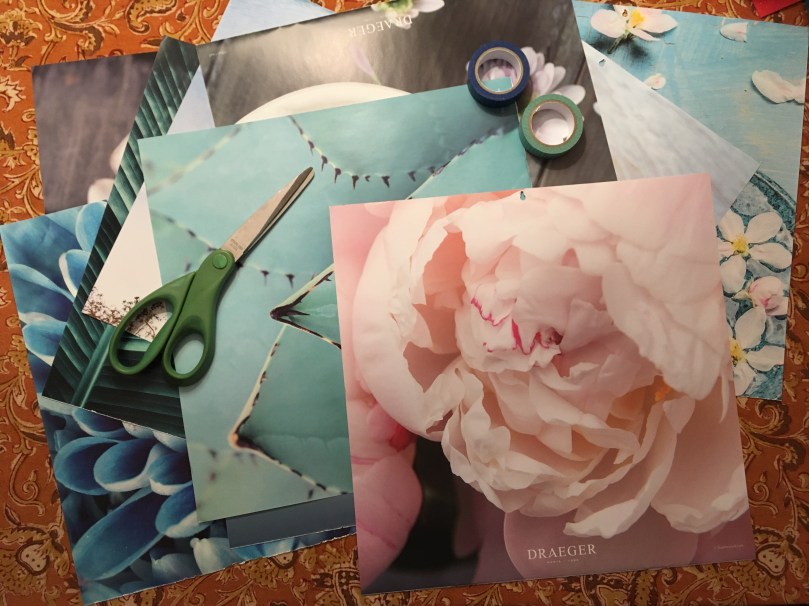 Look for pages with large expanses or gradations of a single color.
 Cut the paper into strips of the same width and length. Another benefit of calendar pages is that straight lines are already drawn on them.
 Here, I’ve opted to use four main colors: beige, pink, green and blue.
 Create links out of these by gluing, taping or stapling the ends together. Make sure that the overlap is the same in each one so they’re all the same size.
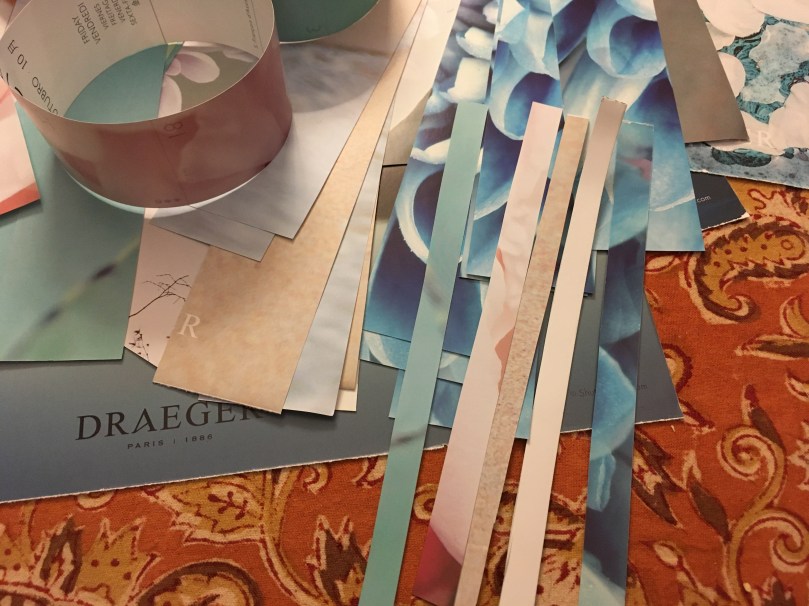 Also cut some narrower and shorter strips to use as the connecting links. These links should be long enough to allow for flexibility in the paper chain – so it can bend around a corner, for example (see my kitchen window photo below).
Alternatively, you can omit the smaller connecting links and just connect links of the same size. The disadvantage of this is that only half of the links will be visible at a time from each side. But if you’re hanging your garland from the ceiling or under a doorway, this won’t matter as much since people will see it from different sides and angles.
 To see how long your finished garland will be, so you know whether you should add another color to the rotation to make it long enough for the spot you have in mind, place them end to end on a long table or the floor.
 Now connect the links in the chain by gluing or taping the shorter, narrower strips into loops between them. Your garland is done!
 I hung mine up in the kitchen to liven up an otherwise fairly plain window frame.


If you’ve written on your calendar, your garland will also contain little vestiges of past events. Mine has the final day of my year-two Japanese class this past June and reminders of my relatives’ birthdays.
Another good use for old calendar pages, magazine pages, newspaper or any old paper is to wrap gifts in them (see my tutorial here). I also like to use them to make custom envelopes and gift tags.
