My mom’s birthday is in March, and her favorite film is Moonstruck (1987), starring Cher and Nicolas Cage as Loretta and Ronnie, Italian-Americans in Brooklyn who meet and, against all odds, rather abruptly fall in love. The charming story, set in and around neighborhood shops and Loretta’s beautiful family home, features a close-knit clan whose members nevertheless have their secrets. One of the most endearing characters, who doesn’t come into the plot nearly enough for my taste, is the old Italian grandpa who seems to always be walking his five or six dogs, or preparing to walk them, or coming back from walking them.
Memorable moments in this film include Ronnie meeting Loretta, his future sister-in-law, at his bakery, immediately launching into a long melodramatic rant about how his brother ruined his life, asking for a knife so he can kill himself, and then – about an hour after meeting her – knocking over his kitchen table, scooping her up and taking her to his bed.


The next night, they go to see La Bohème at the beautiful Metropolitan Opera, which I visited two years ago to take some photos for my mom.

Moonstruck is a favorite of mine too, so we tend to rewatch it every time I’m back home. The last occasion was this January, during my extended Christmas visit in Wisconsin. For some reason I noticed the breakfast that Loretta’s mother makes for her one morning while questioning her about her life: slices of bread with an egg cooked in the center of each one and topped with sautéed red pepper. It’s apparently a traditional breakfast dish in Italy (but also in other places), and is sometimes called egg-in-a-hole.


It looked fun. Could it be made vegan, I wondered? Challenge accepted!
I experimented once I got back to Paris, and as the results were quite successful, decided to share the recipe here this month in honor of both my mom’s birthday and nice mother-daughter moments.
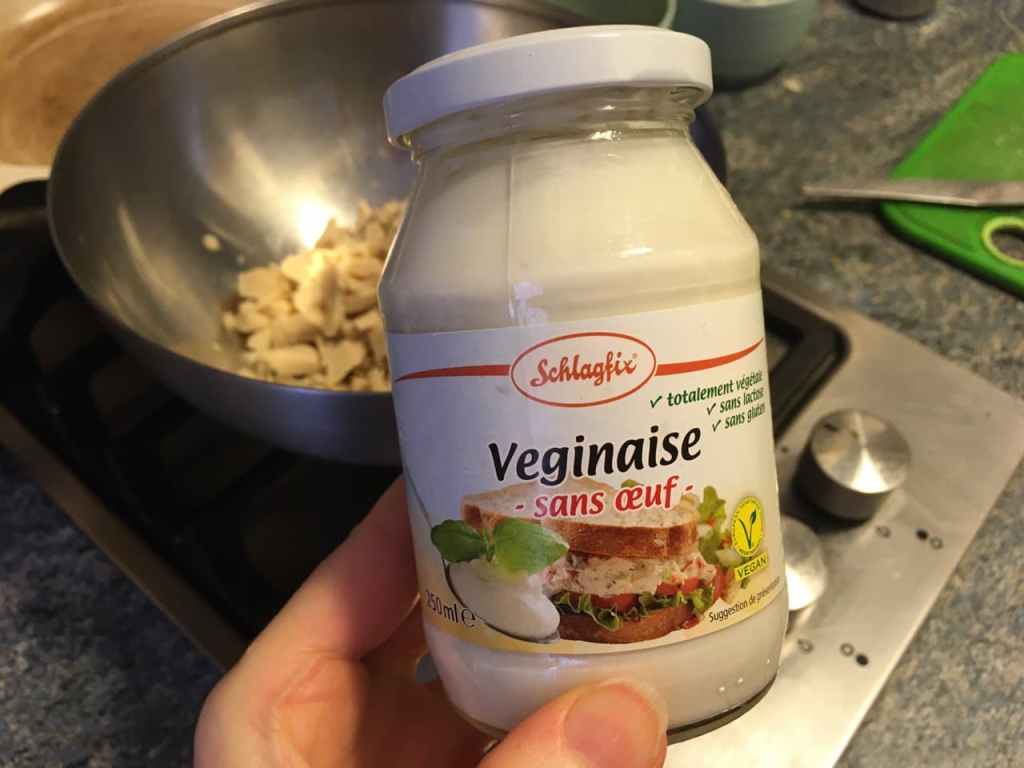
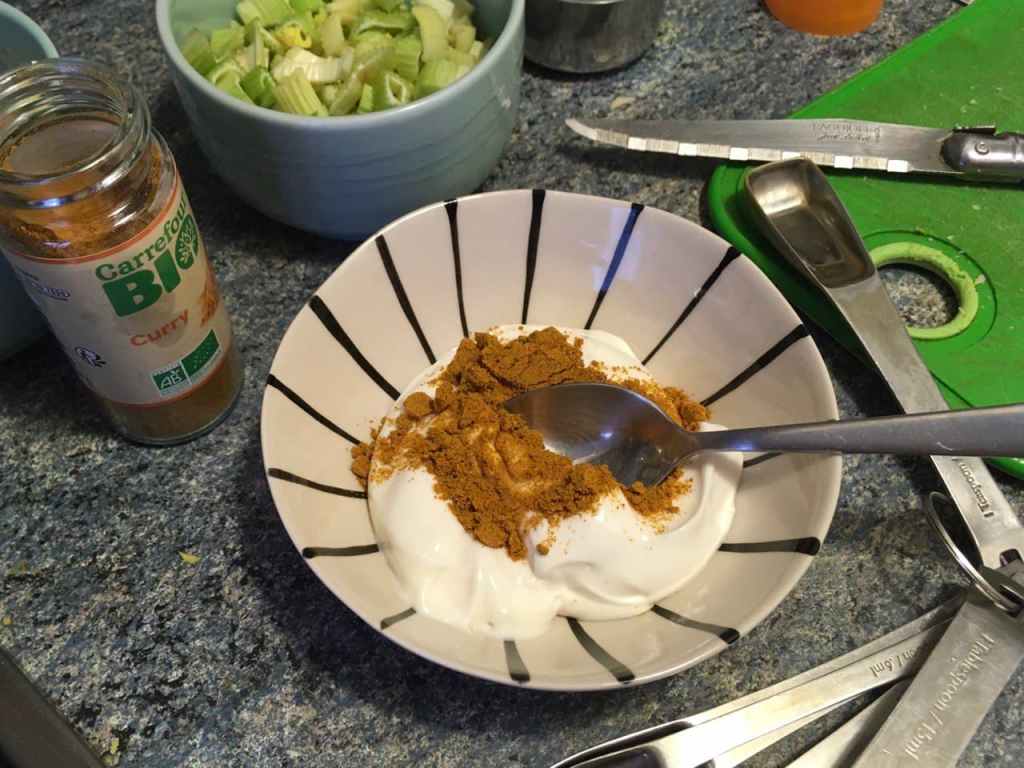
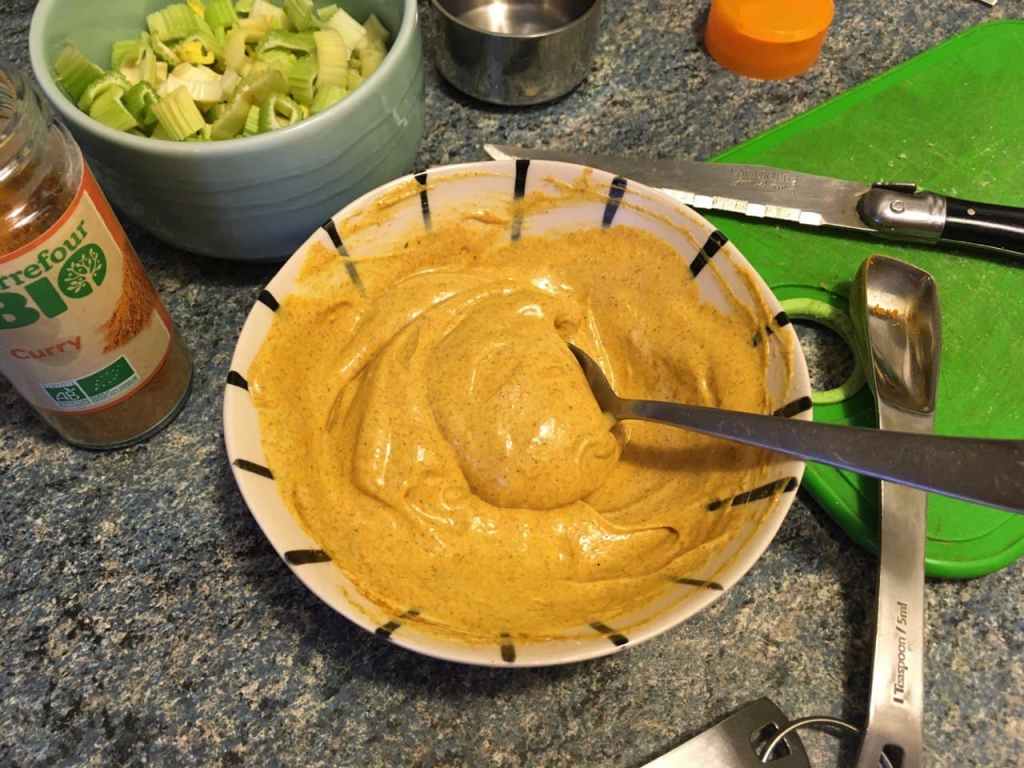
The key ingredient in my version is a vegan scrambled-egg/omelet mix (I used Orgran Vegan Easy Egg, which you can find at Vegami in Paris, but in North America you could try Just Egg). And I added shallot and garlic to the red peppers for an extra dimension. Note that the kala namak salt is a must in this recipe, to get that sulfury egg flavor, if your egg mix doesn’t already contain it. It’s called “black” salt but once ground, it’s actually pink in color. I have this salt in ground form, which is good for incorporating it into a recipe, and also as crystals in a grinder, which is a nice way to season a dish that’s already made but just needs a bit more salt – both are available at Vegami, but you can also find the ground form at most Indian grocery stores.
Italian egg toast with red pepper
Serves two (four pieces of egg toast).
4 pieces of bread
1/4 cup (30 g) Orgran Vegan Easy Egg mix or similar
1/4 teaspoon kala namak (sulfury Indian “black” salt)
Several whole or sliced roasted (canned) red bell peppers
2 shallots
2 cloves garlic
Olive oil
Margarine
Freshly cracked black pepper
Fresh parsley or other herbs, to garnish


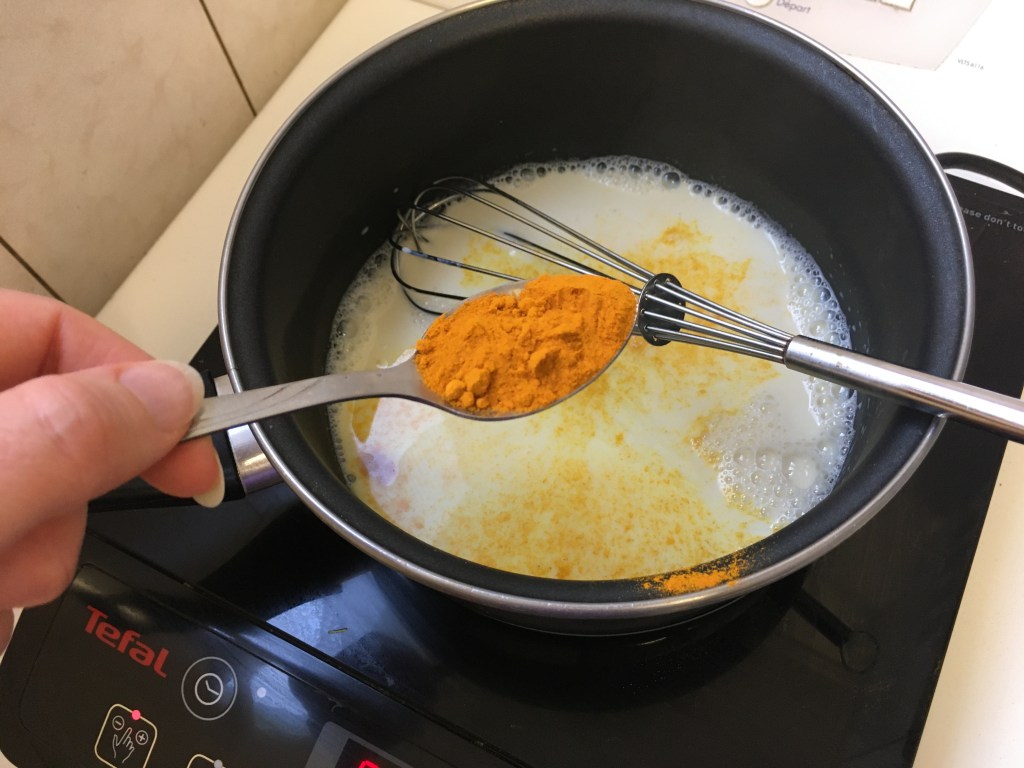
Combine the 1/4 cup (30 g) egg mix with 1/2 cup + 2 tablespoons (150 ml) water, and whisk until smooth. Add the kala namak salt and stir to combine. Set aside.

Begin warming some olive oil in a small frying pan over medium heat, and chop up your shallots and garlic.

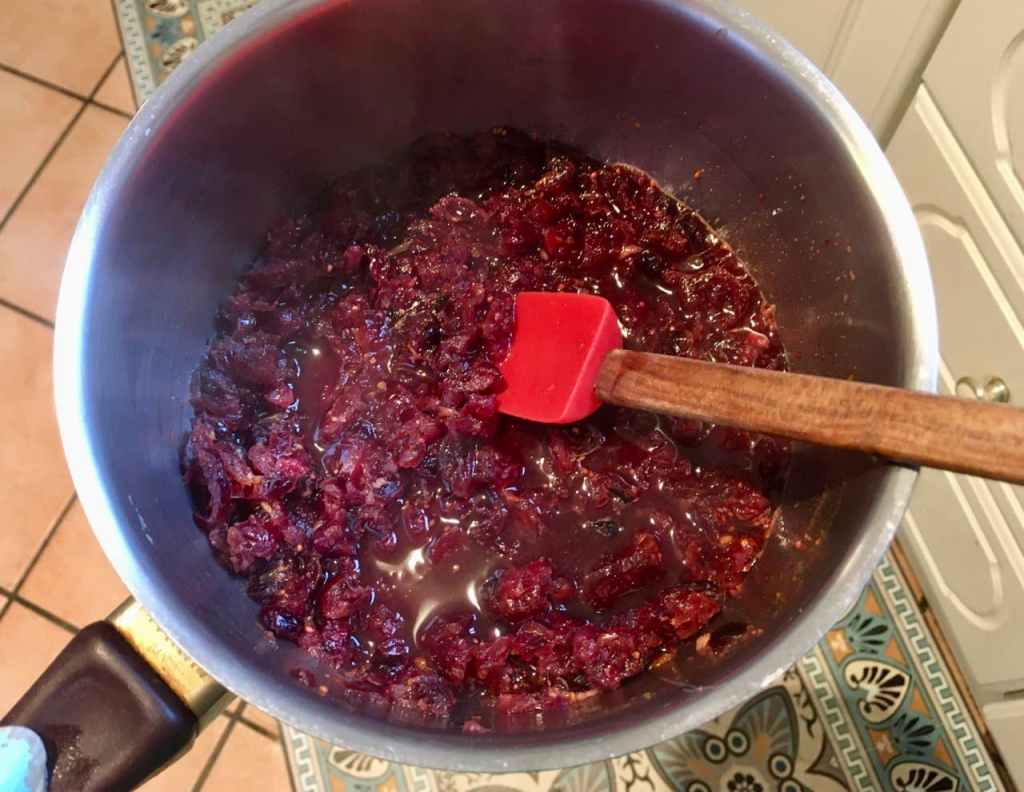
Now take out the roasted red pepper (estimate how much you want based on visual quantity – you can’t go too far wrong) and slice into strips.

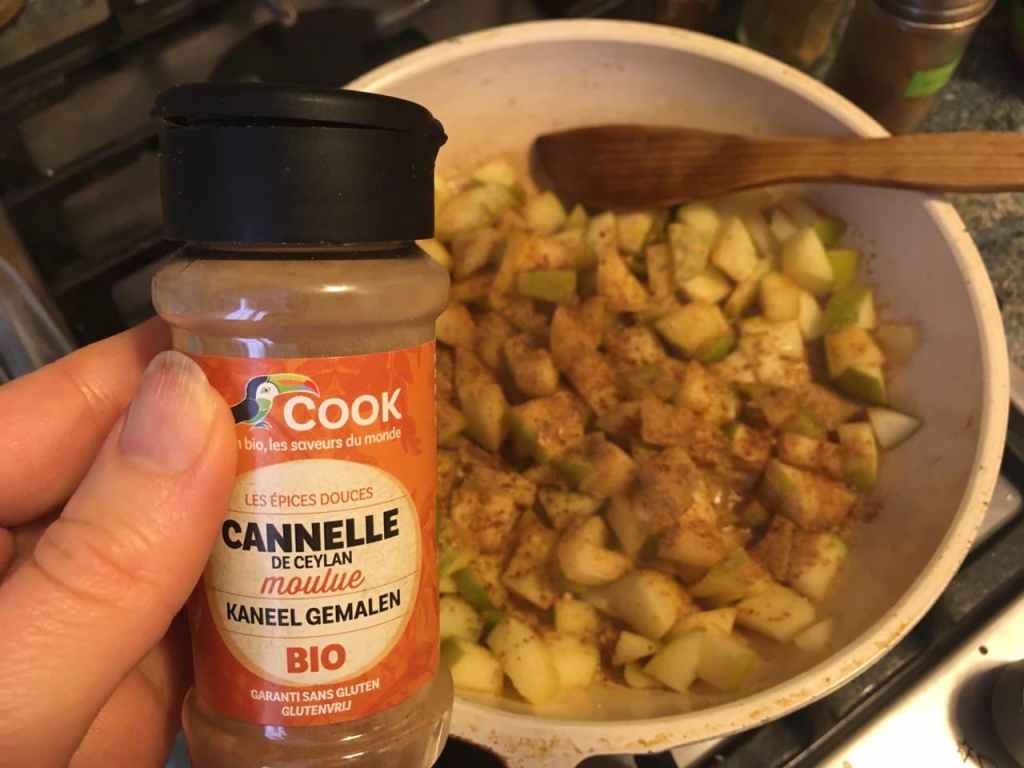
Sauté the shallot, garlic and red pepper in the olive oil, stirring occasionally, until the shallot and garlic is soft. Don’t add any salt at this point because the egg mixture will probably be salty enough for the whole dish.

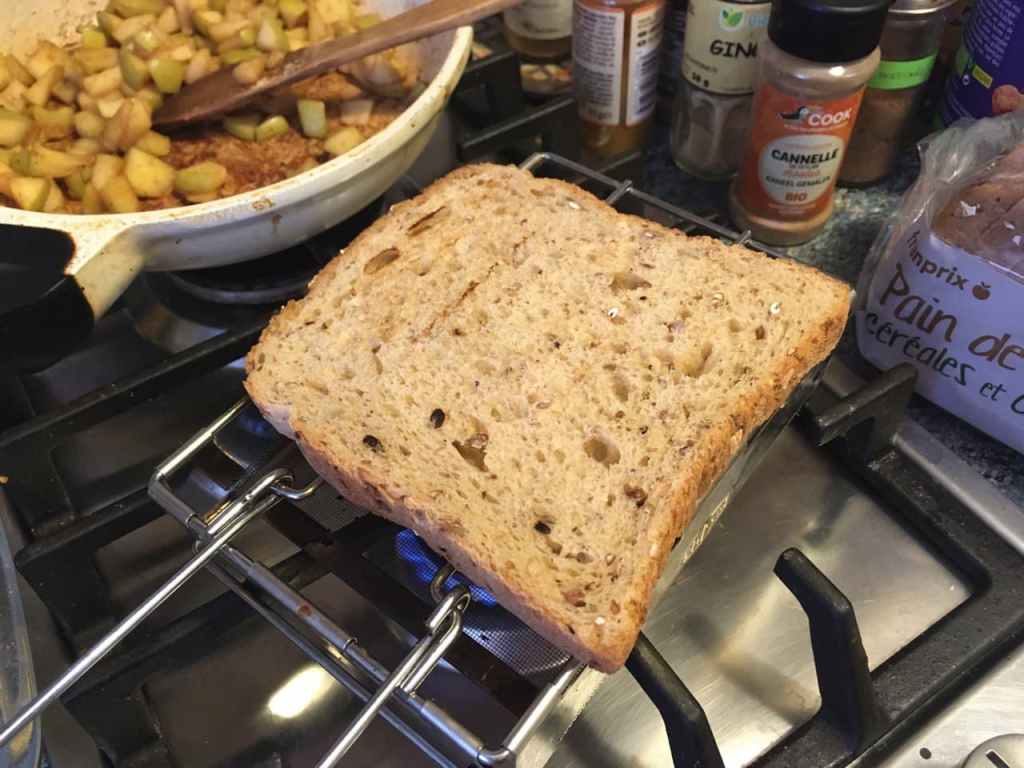
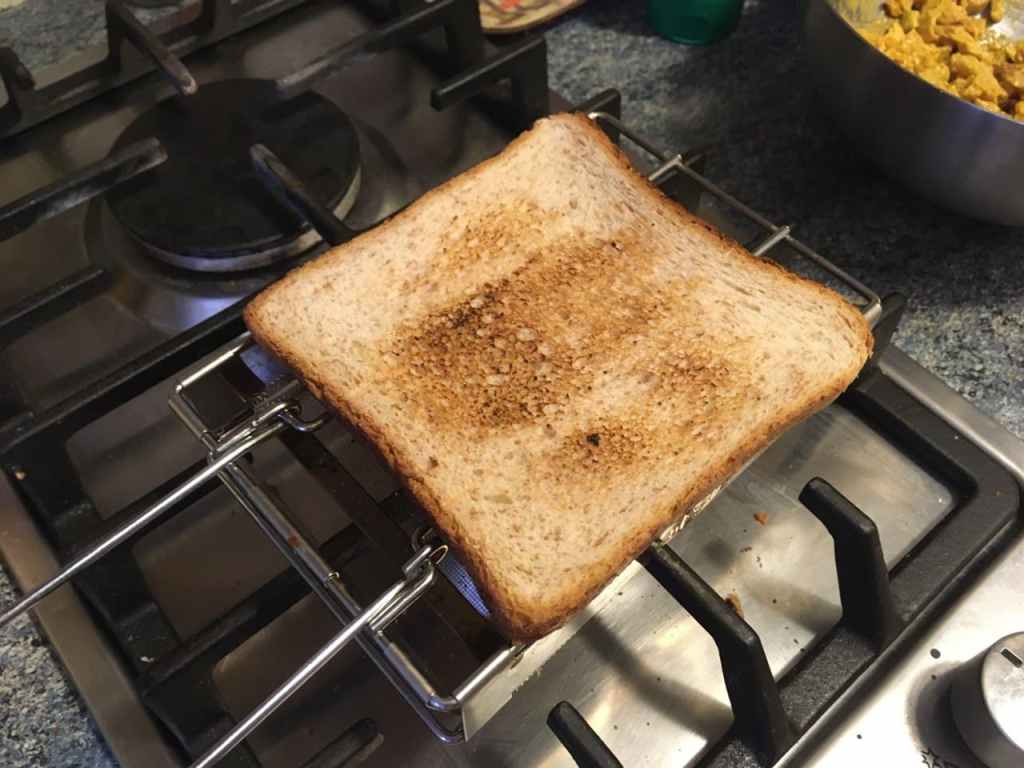
Now get out your bread. This is the kind I like to use, a type of bread that’s solid enough not to get mushy and fall apart. I recommend bread that’s sliced with a machine (rather than you slicing it) so that the sides of each slice are nice and even and will heat uniformly in the frying pan.
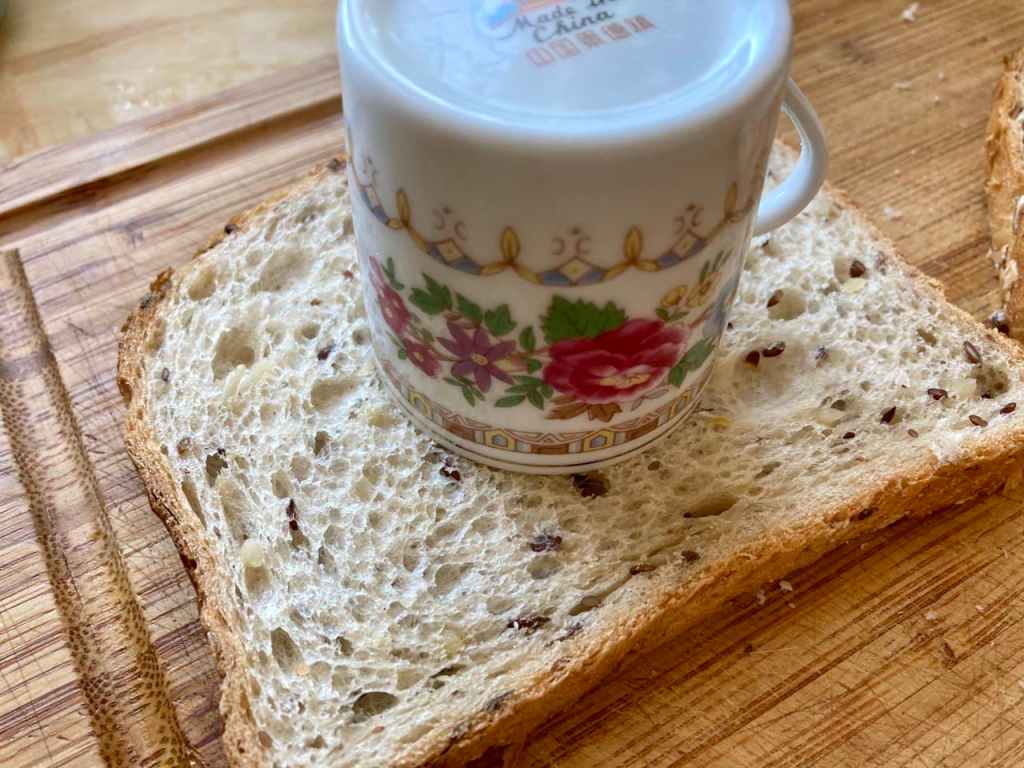
Find a glass, teacup or cookie cutter to cut out a circle from the middle of each slice of bread. Be sure that enough bread is remains between the hole and the crust so that it won’t fall apart. Tip: save the cut-out parts to mop up the last delectable bits of sauce from the frying pan at the end!

Spread both sides of each slice of bread with margarine.
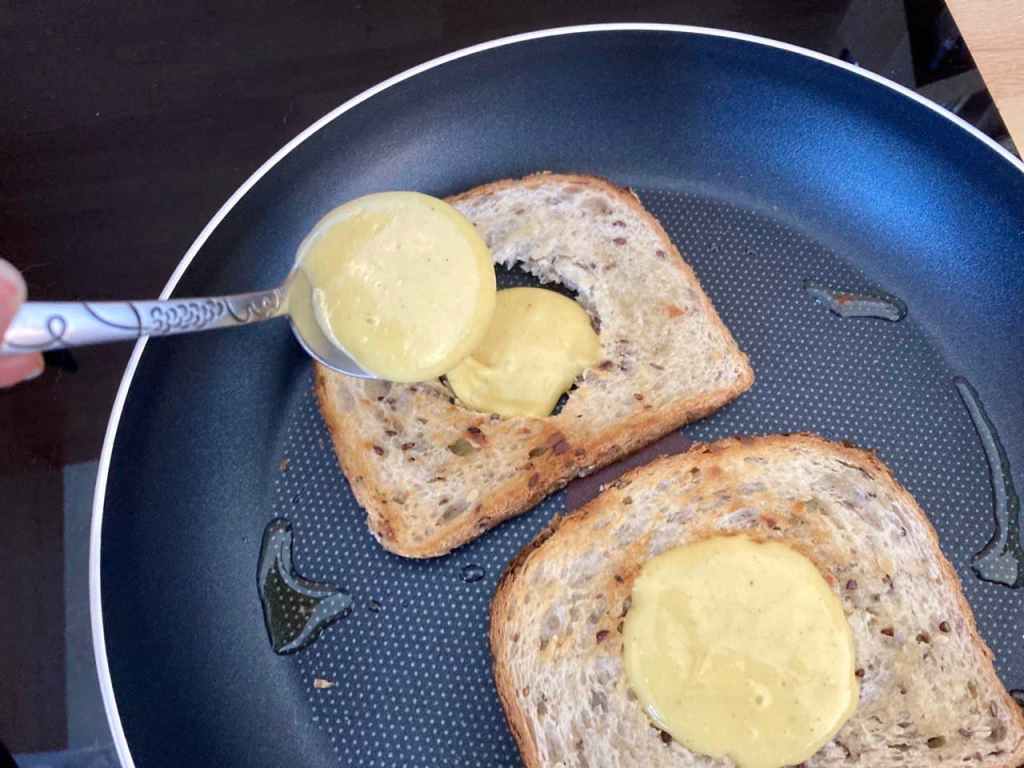
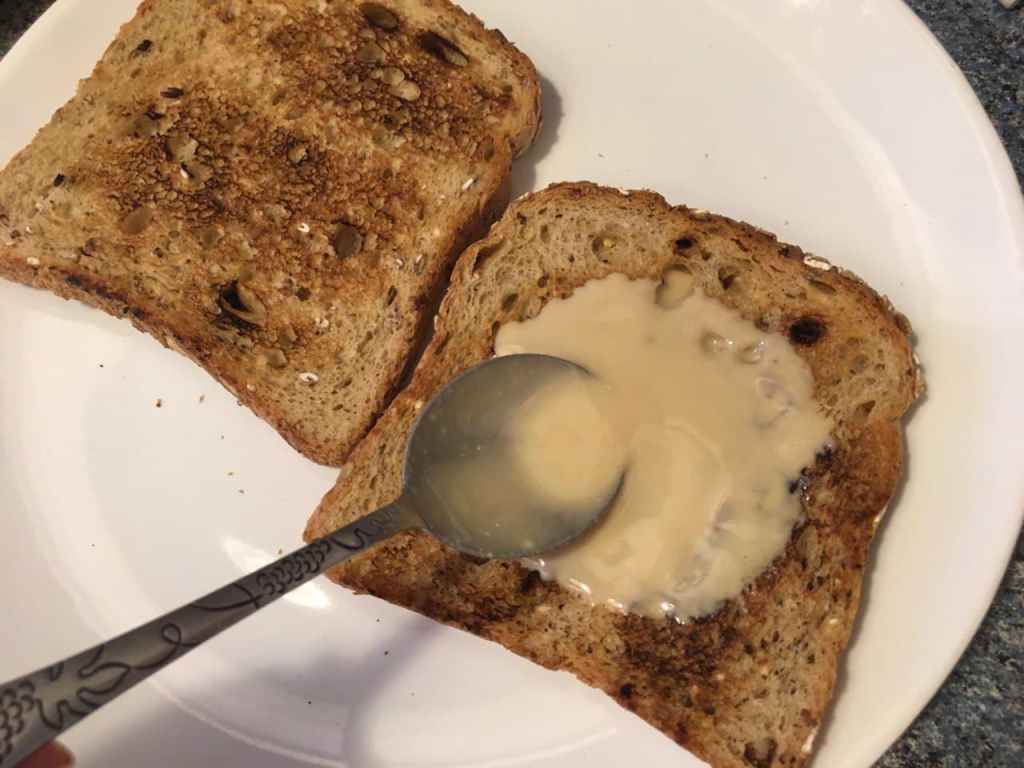
Grill the bread on each side until lightly golden brown, then fill the holes with the egg mixture.

Cook for a minute or two on the first side (you may wish to cover the frying pan to speed this along), and once this first side seems done (test by jiggling it with the spatula), flip it over and repeat on the other side.


Transfer to a plate and top with the pepper, shallot and garlic mixture.


Garnish with freshly ground black pepper (I couldn’t find my pepper mill so used a mortar and pestle), fresh parsley or other herb, and have some extra kala namak handy in case you want to add more salt.

Serve and enjoy! It might taste best in the company of your mother or another trusted person you can share your troubles with.

So delicious!

Rumor has it that eating this egg toast for breakfast will help you untangle any complicated messes you may have gotten yourself into the night before. But never underestimate the potential for lasting love with your fiancé’s unstable estranged brother! Basically, if you can suspend your disbelief and forget the laws of cold hard reality long enough, you too many enjoy Moonstruck.