The first time I visited France, at age 21, I stayed with a Moroccan-French family in the suburbs of Paris. Growing up in small-town America, learning French but surrounded by people without passports, I viewed going to France even once in my life as something almost too much to hope for. So imagine my excitement when my French penpal, a girl my age who was learning English, invited me to visit her! I’d been taking French classes for almost 10 years by that point – albeit at a snail’s pace and taught exclusively by Americans – and had never yet used it for true communication in a real-life situation. As the trip approached, I worried about whether I’d really be able to speak to and understand my hosts.
To my surprise and relief, all the French I’d learned over the years fell into place and was usable as needed. The penpal turned out not to want to speak any English, which was just as well for me as it meant speaking lots and lots of French over the two weeks of my stay. My untested French was shaky at first and I probably said many hilariously incorrect things, but I managed to get through it and returned home full of confidence and enthusiasm for continuing in the language.
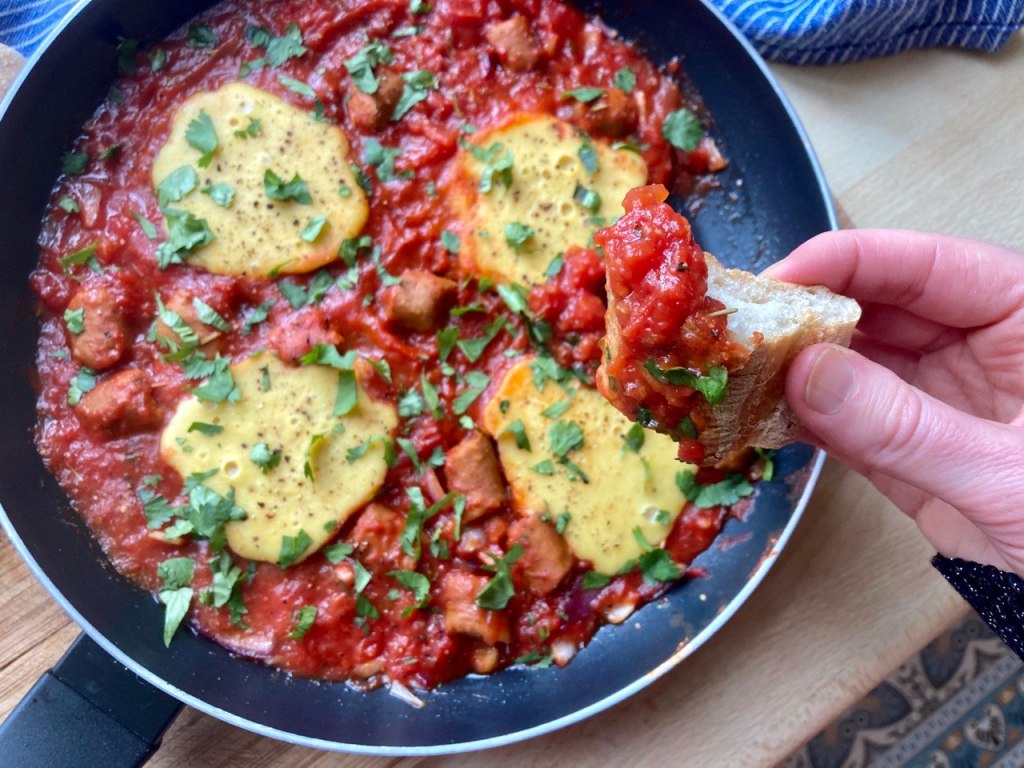
These are the memories that are always summoned by shakshouka, a delicious tomato and poached egg dish that my hosts made for dinner my first evening in France. I’d never heard of it before – North African cuisine, or anything North African, being unknown where I was from – and it helped make the beginning of my stay especially exotic and magical.
I’ve been told that this recipe was originally Tunisian but became associated with North Africa as a whole. It seems that a simple version with tomato, egg and optional merguez (spicy sausage) is called ojja and that the name is shakshouka when more vegetables and potato are added. In France, the dish is most often called shakshouka no matter what the exact ingredients are, so I’ve used both names here. Whatever you opt to call it, it’s an easy meal to make and promotes a feeling of community as everyone eats it from the same plate, or just the pan it was cooked in, scooping it up with pieces of bread.
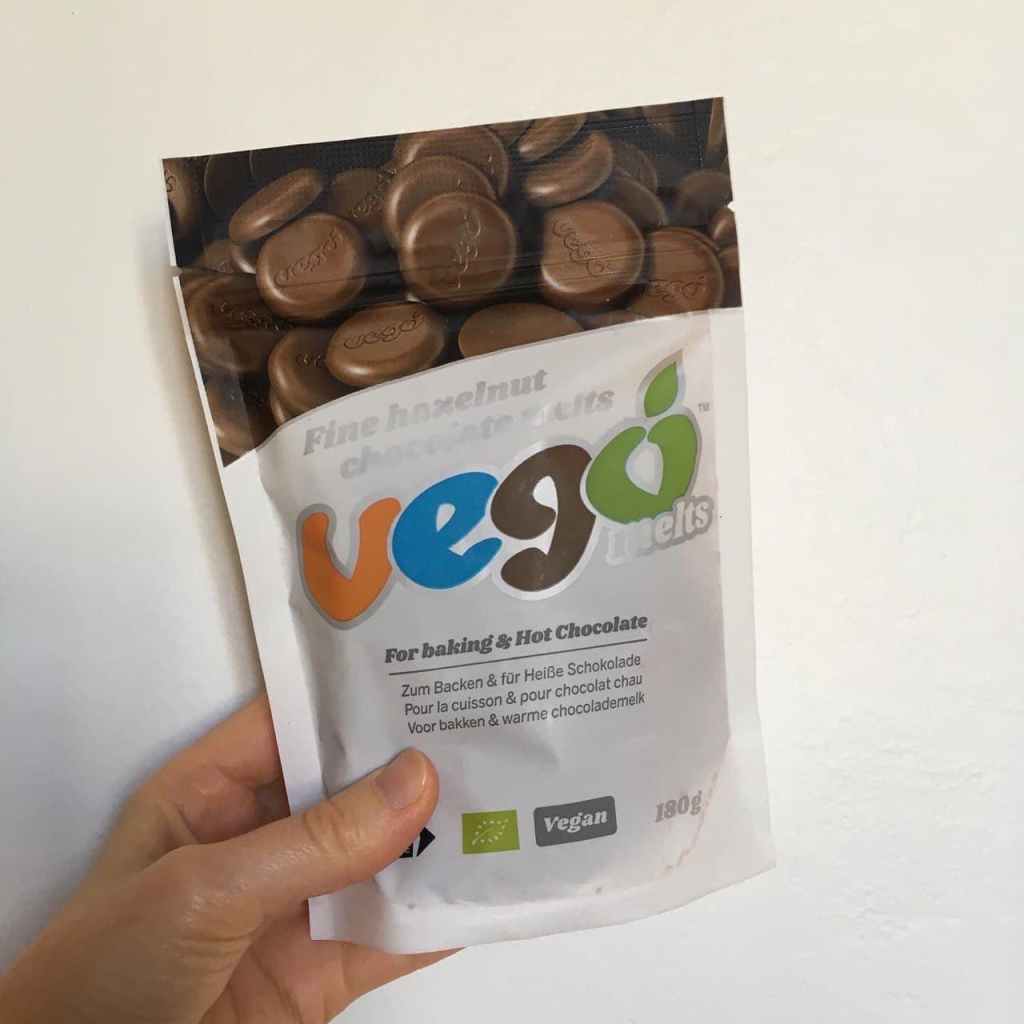
And after my recent discovery of a really nice egg replacer, Orgran Vegan Easy Egg, I realized I could make this dish in a vegan version (in North America, you can use Just Egg). In France you can now even get a vegan version of merguez, from HappyVore, which helps make this creation extra authentic. You’ll also need some kala namak salt. In Paris, the egg, merguez and salt can all be found at Vegami (or order from their online shop for delivery across France).

Ojja shakshouka
Serves two.
- 14 oz. (400 g) can stewed tomato
- 1 small onion, diced
- 2 cloves garlic or more to taste, finely chopped
- 1/3 cup (40 g) Orgran Vegan Easy Egg + 2/3 cup (160 ml) water or other scrambled-egg replacer
- 1/4 teaspoon kala namak salt
- 2 vegan merguez sausages or other spicy sausages, chopped
- 1 teaspoon ground coriander
- 1/2 teaspoon dried thyme
- 1/2 teaspoon dried rosemary
- 1/4 teaspoon ground black pepper
- Fresh cilantro or parsley to garnish
- 1 baguette or other bread
Equipment needed: large frying pan with cover.
Scroll down for the directions!


Directions:
- Heat up a small amount of olive oil in a frying pan over medium-low heat.
- Sautée the diced onion until soft and a bit translucent.
- Add the finely chopped garlic and chopped sausage and let cook for a minute or two, stirring often to prevent burning.
- Add the can of stewed tomatoes and the coriander, rosemary, thyme and pepper, stir and cover until it reaches a simmer. If the tomatoes are unsalted, you may wish to add a pinch of kala namak salt or a splash of soy sauce to the mixture.
- While heating the tomato mixture, prepare your egg mixture. If using Orgran Vegan Easy Egg, combine 1/3 cup (40 g) powder with 2/3 cup (160 ml) water and 1/4 teaspoon kala namak salt.
- Once the tomato sauce is simmering, pour regularly spaced egg-sized circles of the egg mixture into the sauce. Cover the saucepan to allow the “eggs” to “poach” all the way through. This will take just a couple of minutes.
- Once the “eggs” are firm, transfer the frying pan to your table, garnish with chopped fresh cilantro or parsley, and serve with slices of baguette. You may like to add freshly ground black pepper and more kala namak salt on top of the “eggs” (I like having kala namak crystals in a grinder for this purpose) for extra egg flavor.
You may wish to listen to some Rachid Taha or Cheb Mami while enjoying this meal, and to finish it off with some sugary mint tea. For a North African literary immersion, try The Sand Child by Tahar Ben Jelloun.
After my first visit to France and inadvertant discovery of North African culture, which is as much a part of the cultural landscape as Latin American culture is in the United States, I developed an interest in Arabic as well. It’s a difficult but beautiful language. I enrolled in an introductory course in standard written Arabic at my university that next year, went on to complete all four semesters that were offered, and visited Morocco with my brother. Later, through friends and other connections, I learned a bit of Tunisian Arabic too.
Incidentally, how astonished would 21-year-old me have been if a time traveler or clairvoyant had told her she would eventually move to France and become French herself?
Anyway, if you try this recipe, let us know in the comments how it was!
To explore more North African cuisine, take a look at my Tunisian sorghum pudding recipe. And if you like vegan egg dishes, give my Moonstruck egg toast a try.