A few weeks ago, I was invited to dinner at a friend’s place in my neighborhood, and I’d volunteered to bring the dessert. As the day drew near, I still hadn’t decided what I was going to make but felt I would surely be able to come up with something considering all the ingredients I had in my kitchen. And then, predictably enough, on the day itself I received some unexpected work that left me without much time to prepare the dessert. So I began making my basic cake recipe and was wondering what to flavor it with when my eye landed upon the huge jar of white almond butter I’d recently bought. Almond cake it would be!
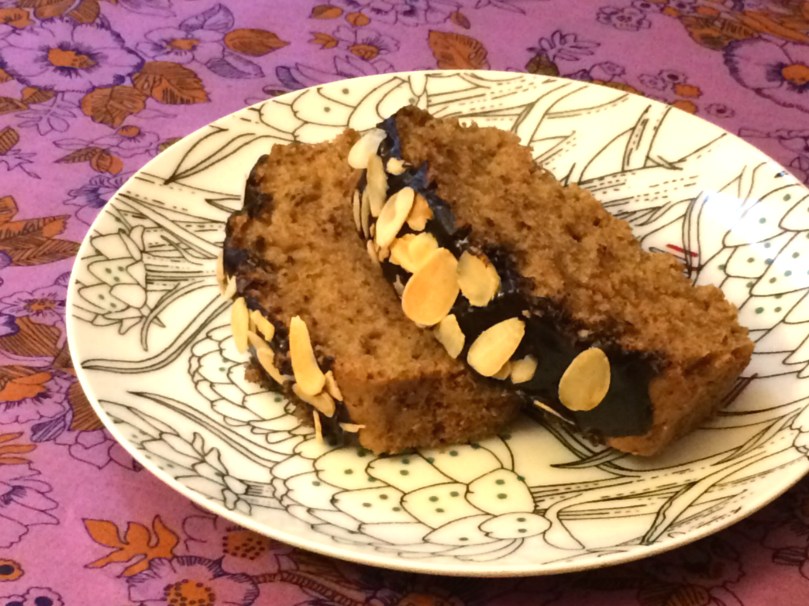
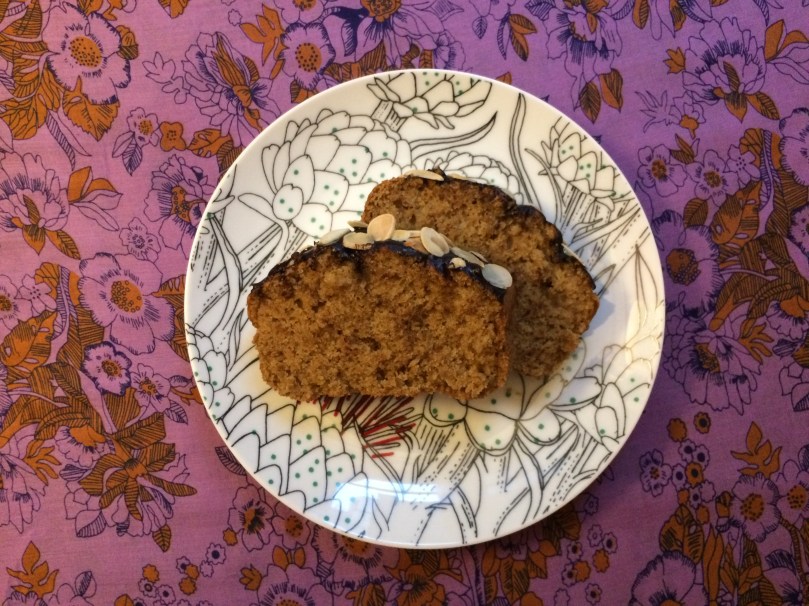
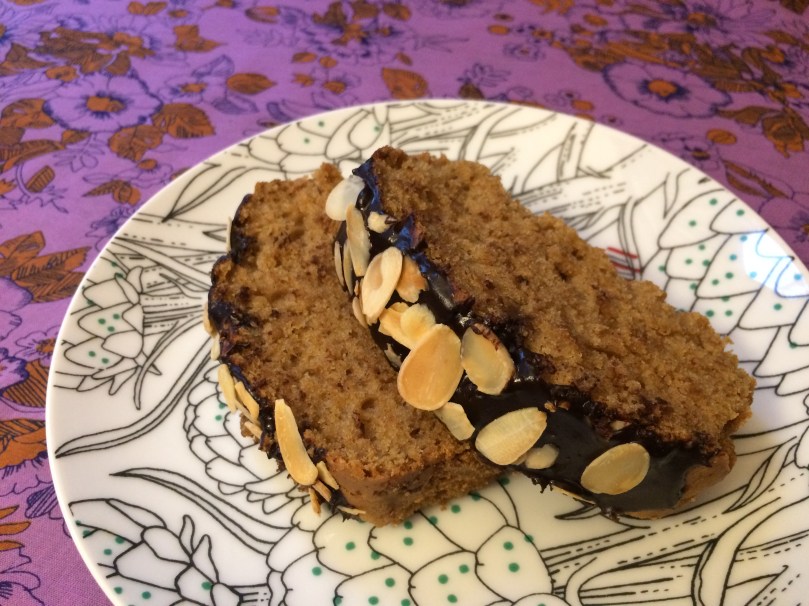
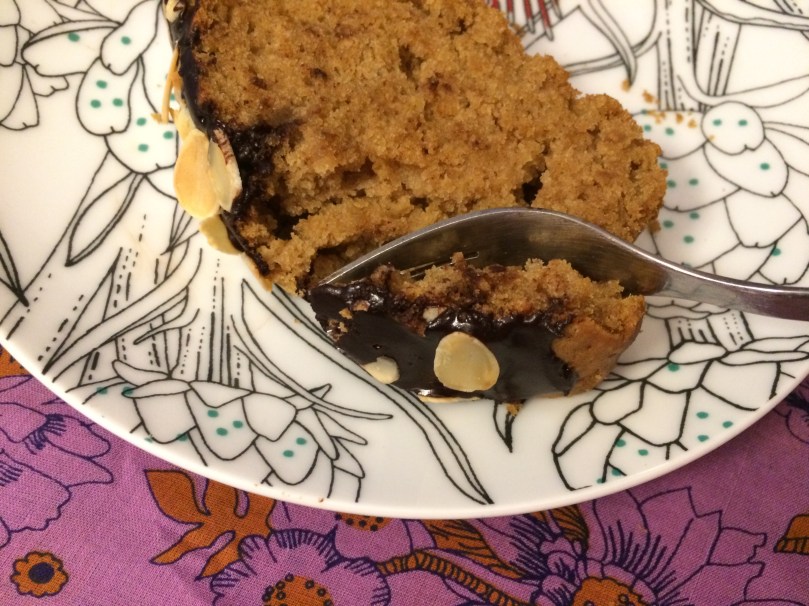
The cake was a big hit with my friends, but was super simple to make. The almond butter makes the cake super moist, and a bit of almond extract boosts the almondy fragrance while the dark chocolate glaze adds some contrast and an extra bit of sweetness.
And today, in response to the many requests I’ve received for the recipe, I bring you the instructions to make it! The cake shown in these photos is a bit darker than my prototype because I used unrefined raw sugar rather than white sugar, but either would work. Note that this recipe uses less sugar than for the average cake you would find at a bakery or restaurant, but the maple syrup in the chocolate glaze makes it sweeter. If you want the cake itself to be sweeter, add an extra ¼ cup sugar to the batter.
Almond cake
Dry ingredients:
1½ cups (188 g) all-purpose flour
½ cup (100 g) granulated sugar (raw or white), add an extra ¼ cup for a sweeter cake
1 teaspoon baking soda
½ teaspoon salt
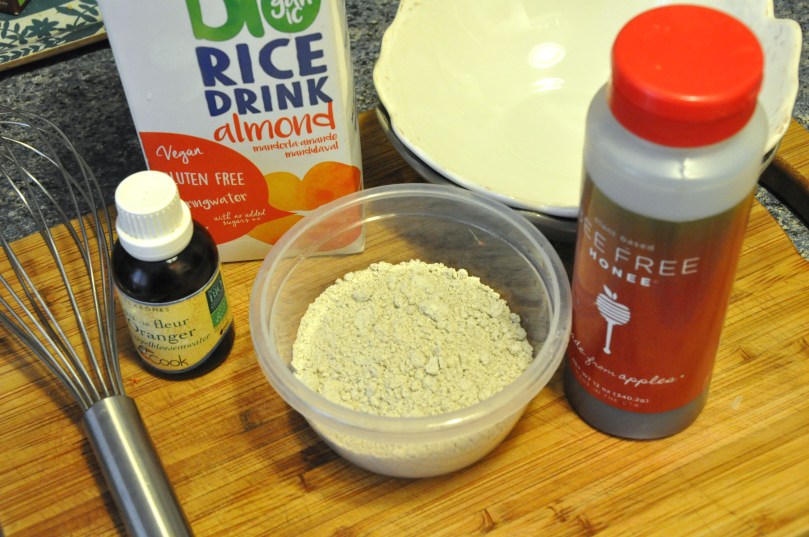
Liquid ingredients:
1 cup (236 ml) cold water
¼ cup (50 g) white almond butter or cashew butter
3 tablespoons grapeseed oil or other neutral-tasting oil
1 tablespoon white vinegar or apple-cider vinegar
2 teaspoons almond extract
1 teaspoon vanilla extract
Chocolate glaze topping:
¼ cup (60 ml) maple syrup or other liquid sweetener
2 tablespoons unsweetened cocoa powder
tiny pinch salt (optional)
handful of almond slivers, toasted
Equipment needed: whisk, cake pan(s).
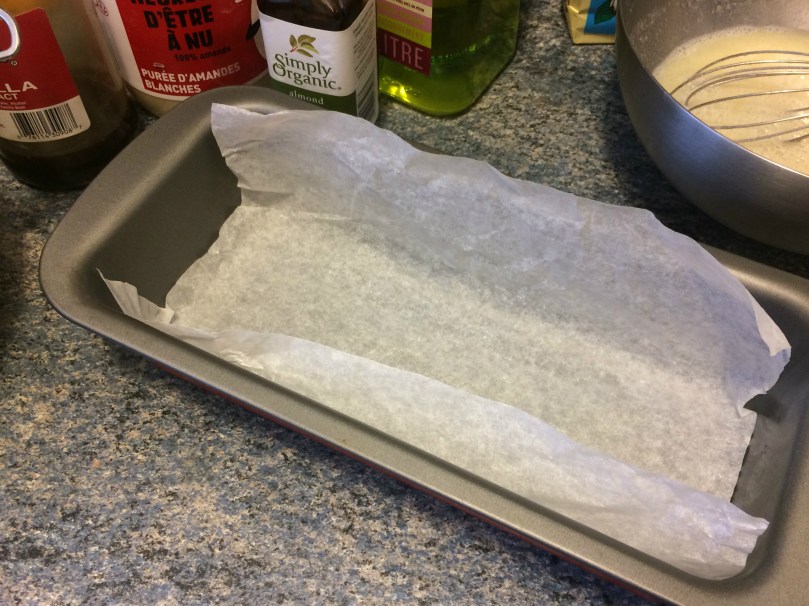
Begin by preheating your oven to 350°F (180°C) and preparing your cake pan. Line it with baking paper or apply a coat of oil to the bottom and sides.
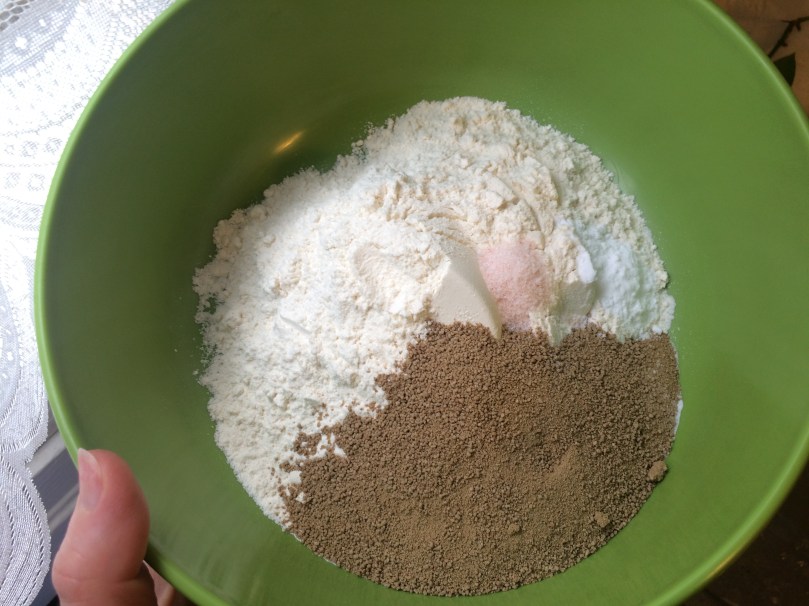
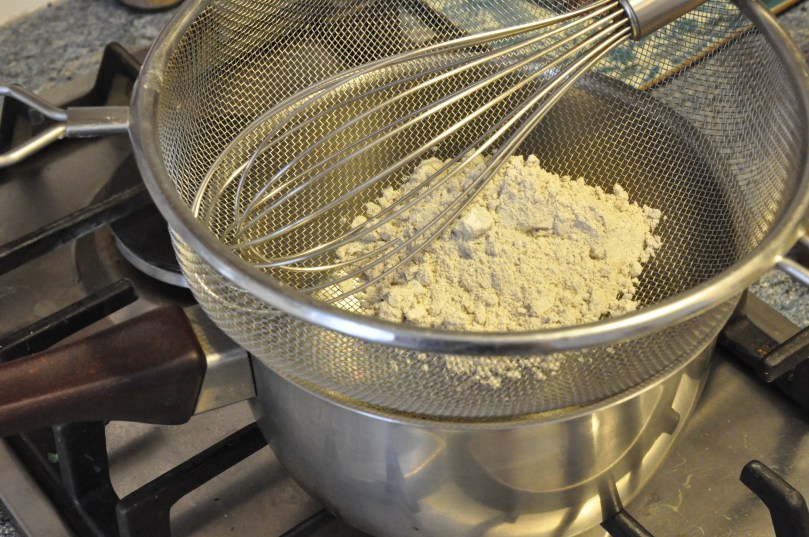
Combine your dry ingredients (flour, sugar, salt and baking soda). I used unrefined raw sugar (the dark powder), which accounts for the dark golden brown color of the cake, but you can use white sugar if you would like a lighter colored cake.
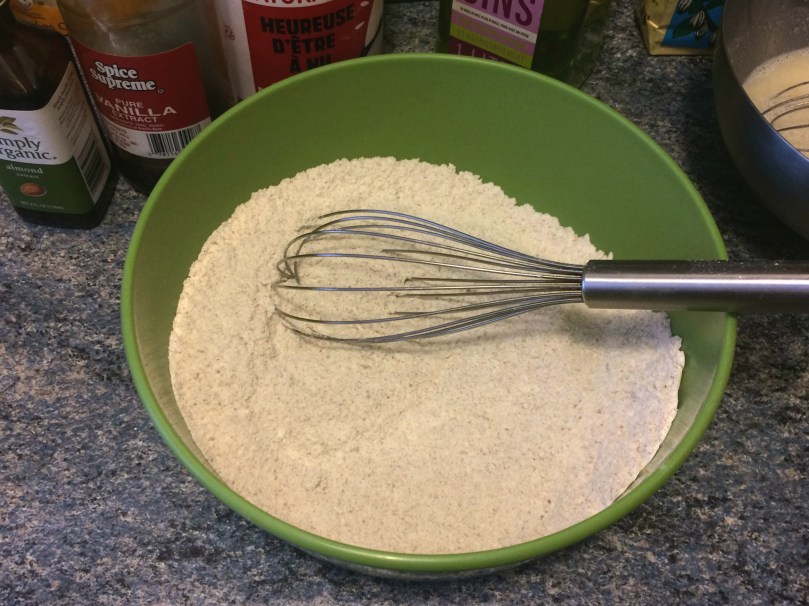
Mix the dry ingredients together with a whisk until completely combined.

Use a smaller bowl for the liquid ingredients. Shown above is the white almond butter. If you can’t find this product where you live, substitute cashew butter (for the same color) or regular brown almond butter, but note that the cake will be a darker color if regular almond butter is used, even if you use white sugar. If your nut butter is dry and stiff, mix a small amount of hot water into it until it has a pourable texture.
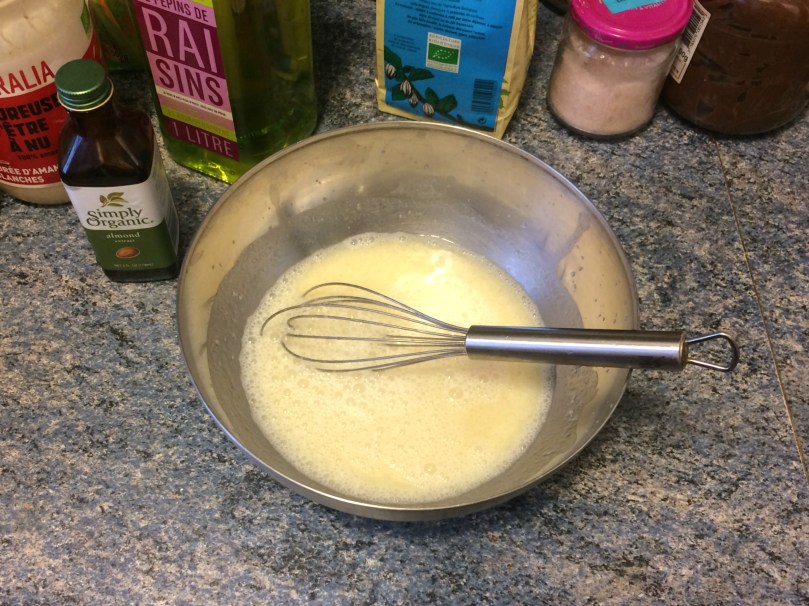
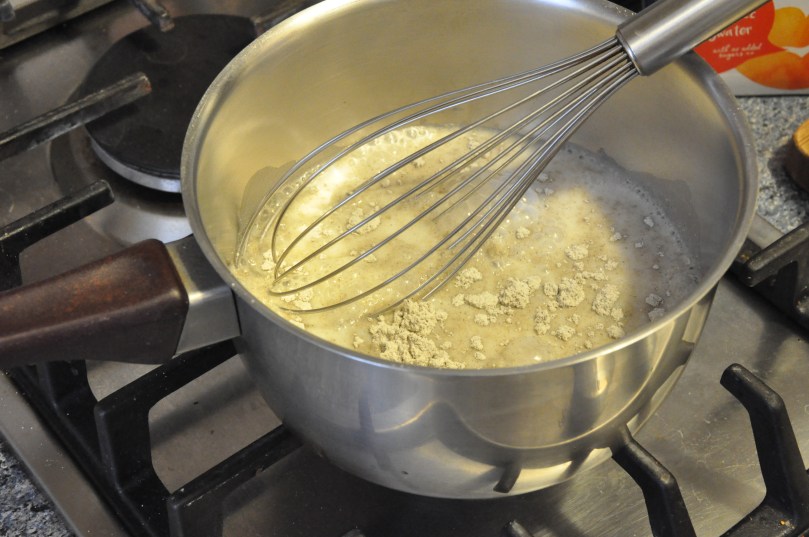
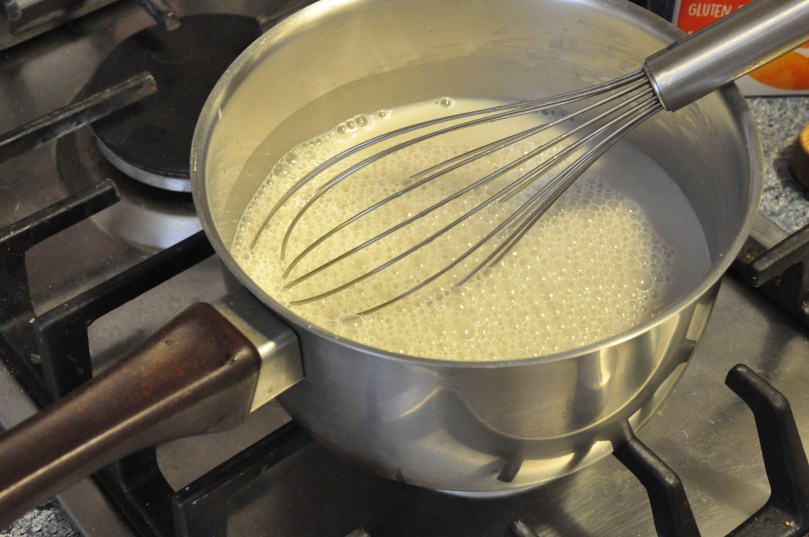
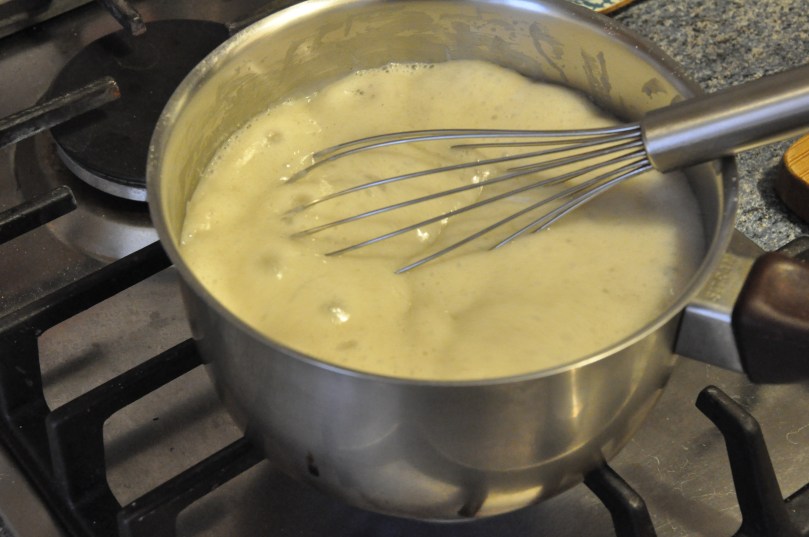
Add the rest of the liquid ingredients (vinegar, almond and vanilla extracts and water) and stir thoroughly with a whisk to incorporate it into the nut butter. Pour the liquid mixture into the dry mixture and stir with a wooden spoon until just combined. Be careful not to stir any more than absolutely necessary as too much stirring of flour can make the cake turn out tough.
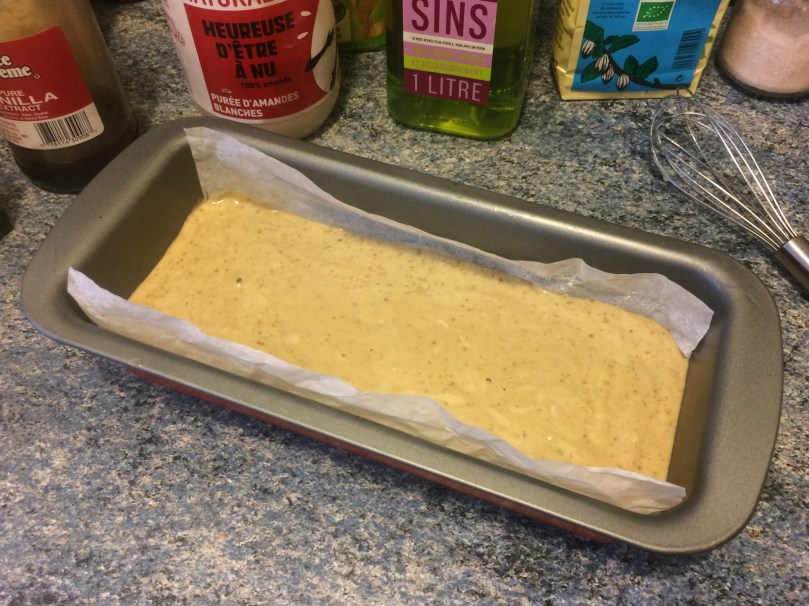
Pour the batter into the prepared baking pan and tap the sides gently to remove any air pockets. Place it in the preheated oven and bake for 25 to 28 minutes. Check your cake after about 23 to 25 minutes – my cake needed 28 minutes, but you never know!
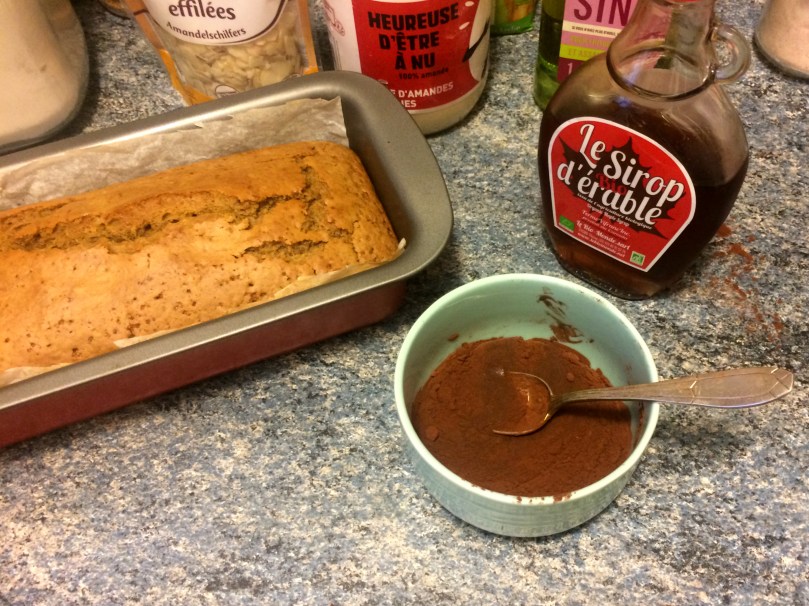
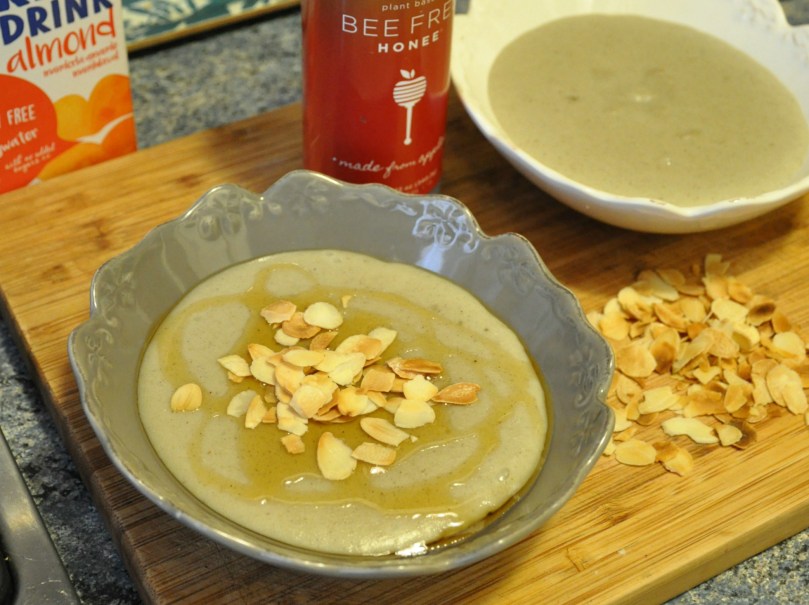
Once the cake is done baking, place it on a wire rack and allow to cool for about a half hour. In the meantime, you can make the chocolate glaze. Put the cocoa powder, maple syrup and salt together in a small bowl and stir with a spoon or small whisk. At first it will seem like the powder will never incorporate, but keep going and it will! If you need to thin it out after that point, you can add more syrup. You may also find that it needs to be thinned a bit after it’s been sitting for a little while.
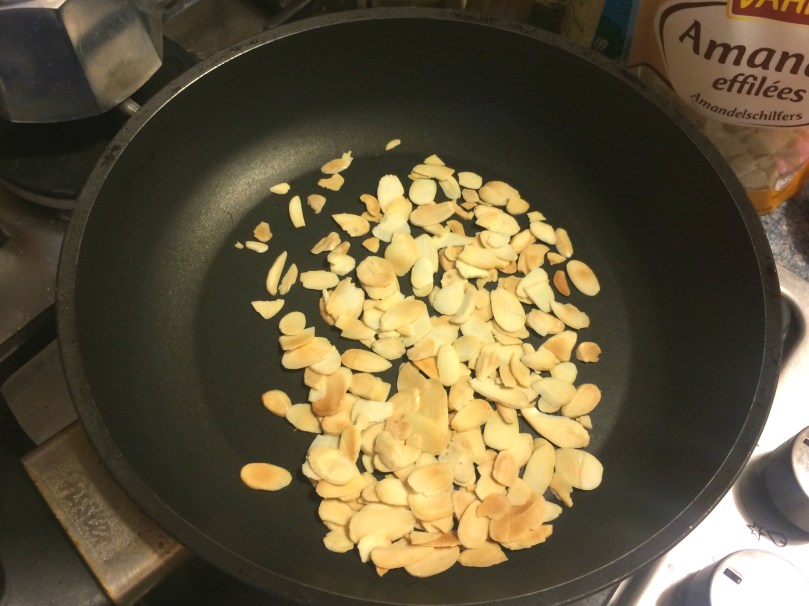
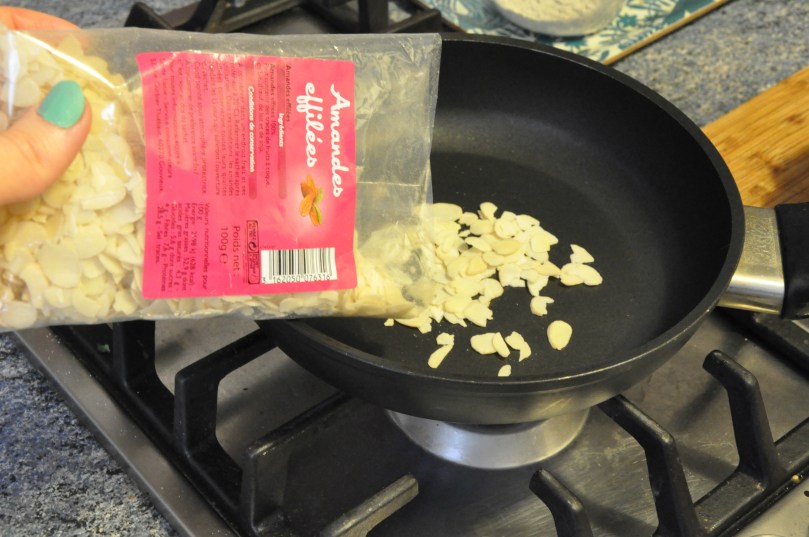
You can also toast your slivered almonds at this point. Put them in a non-stick frying pan without any oil, and heat over medium, shaking occasionally and keeping an eye on it to be sure they don’t burn. Once they’re done toasting, remove the pan from the heat and transfer the almonds immediately to a plate or bowl so they don’t continue to toast.

Apply the chocolate glaze to the top of your cake using a spoon or spatula, and then sprinkle with the toasted almonds.
And there you have it!


Enjoy with a nice cup of vanilla and almond scented rooibos (I love roobios des vahinés from Palais des Thés).
Variations: Try a different nut butter (hazelnut, peanut?), sprinkle with different toasted nuts, dried coconut, and/or fleur de sel.