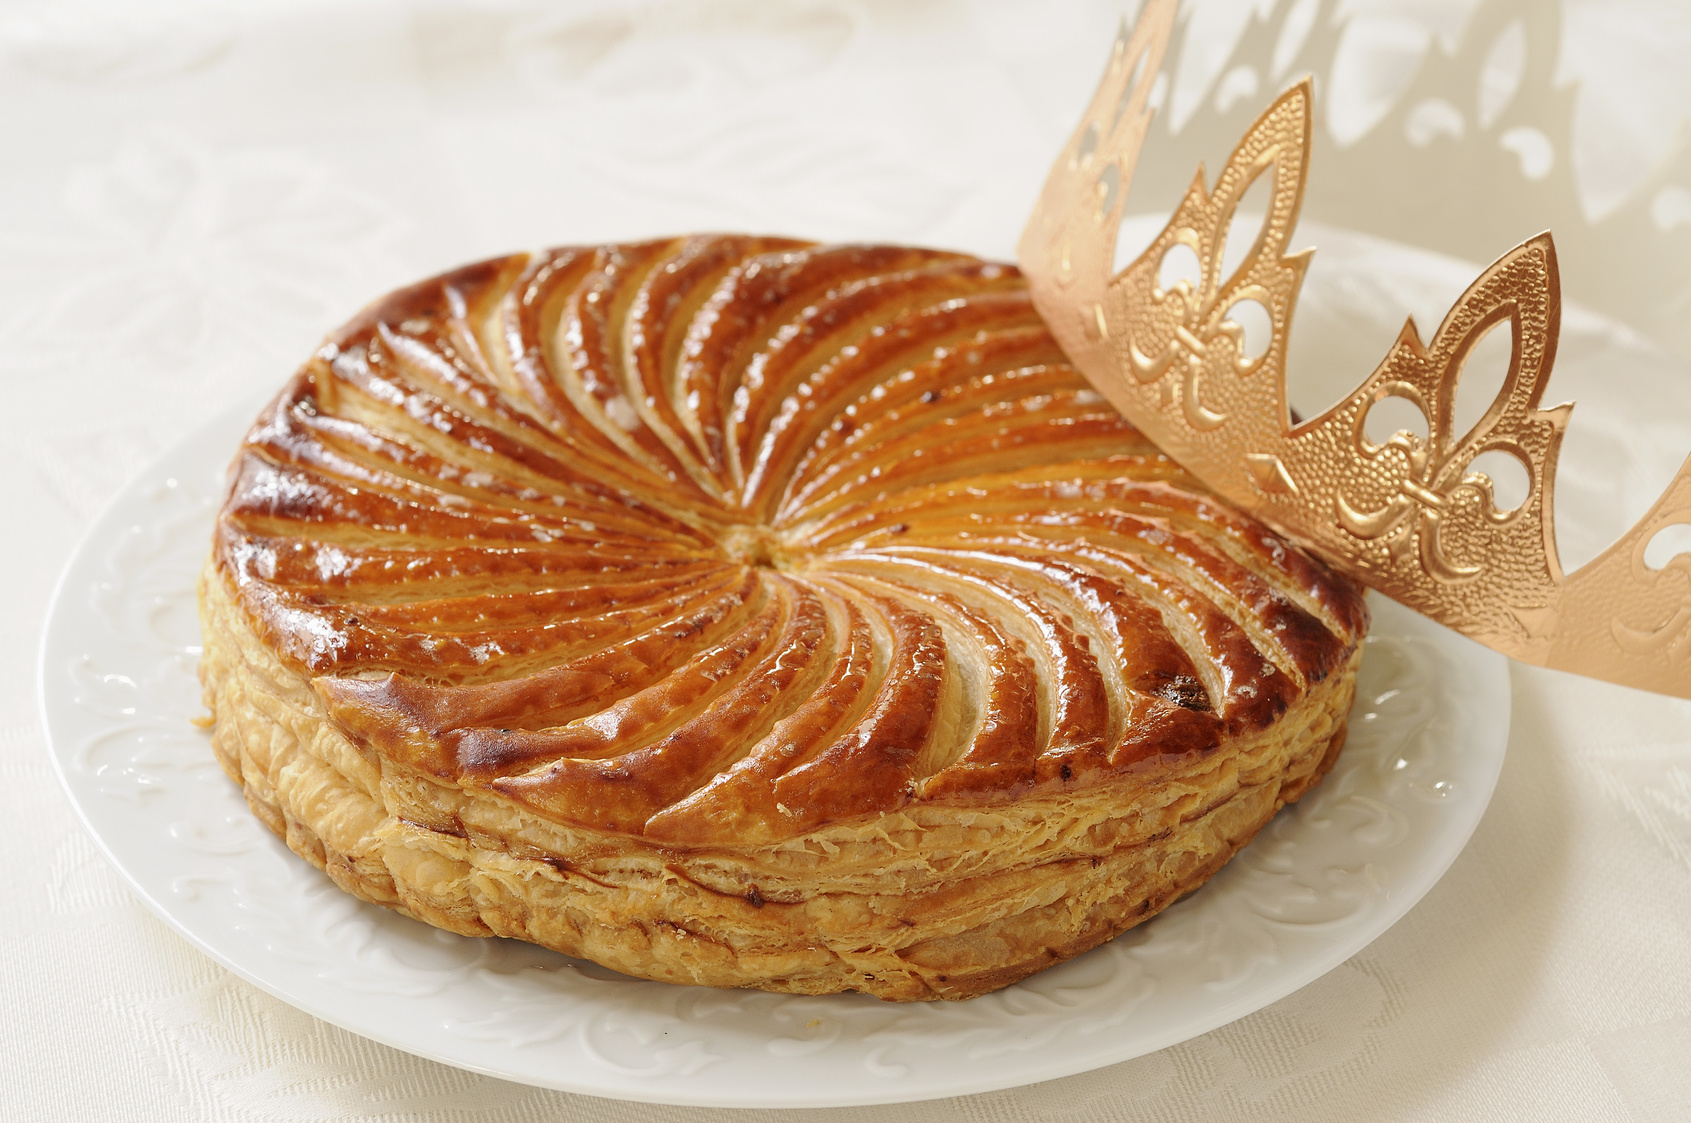
Necessity truly is the mother of invention, as I learned last month when I wanted to make my annual vegan galette des rois (see my matcha version for more details). As soon as the first of January rolls around, everyone in France is seized with the desire to make one of these frangipane-filled pastries, which require a sizable quantity of ground almonds. If you don’t happen to think of it ahead of time and buy your ground almonds before the end of December, you may be out of luck. I was, at least, on the day I went out to get mine… all three stores I tried were out of stock even though it was past the middle of the month.
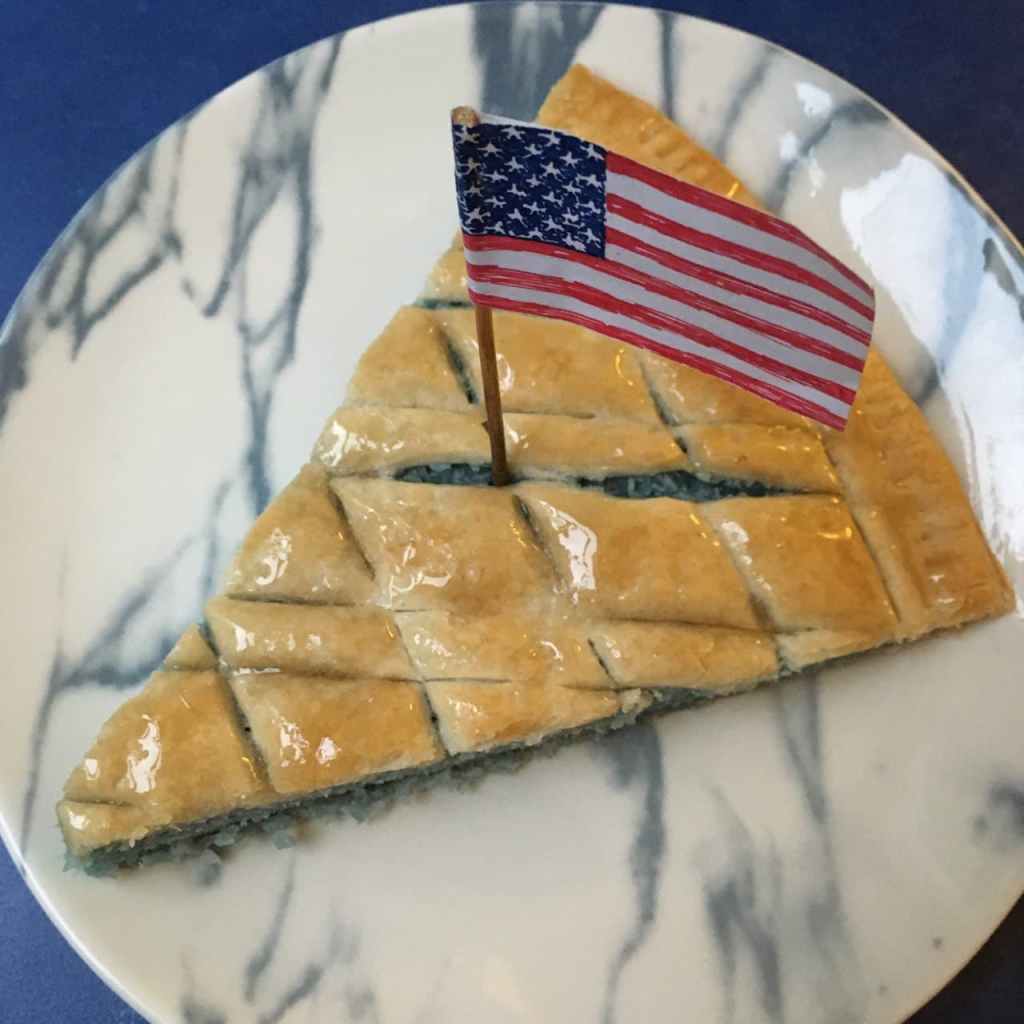
Ordinarily, I might have given up at this point, but I was determined to make the dessert to serve at my Biden-Harris inauguration viewing party (well, not really a party since there were just two of us, but it felt festive!) because I had a plan to make it BLUE. Yes, blue, in honor of the Democratic Party’s color. And it struck me that grated coconut could probably substitute quite nicely for the almonds and would also accommodate the blue spirulina I planned to use as a natural food coloring. It worked out really well, and I realized I’d inadvertently invented something new, which I am calling “cocopane” (as in coconut frangipane; pronounced “coco pan”).
So for this month’s recipe, I decided to experiment more with this new filling and to try pairing it with a fruit. I initially thought of banana, but then since it was to be a Valentine’s recipe, I decided to use something pink instead.
These lovely turnovers would make an excellent romantic breakfast for you and your Valentine – whether they’re human or a furry friend – but could also serve as a dessert. They’re best enjoyed soon after baking, so if you plan to have them as an after-dinner treat you could prepare them earlier in the day, up to the point where they would go into the oven, but then chill them in the fridge, preferably in a sealed container so the dough doesn’t dry out.
Raspberry cocopane pastries
Makes 4 turnovers
- 1 prepared flaky pastry crust (keep refrigerated until the last moment)
- 3/4 cup (50 g) dried grated coconut
- 2 tablespoons cornstarch
- 3 tablespoons white sugar
- 1/4 cup (60 ml) unsweetened liquid coconut cream or canned coconut milk
- 1 tablespoon coconut oil, melted
- 1/2 cup fresh or frozen raspberries (or raspberry jam)
- 1 teaspoon additional white sugar
- 1 to 2 tablespoons powdered sugar for dusting
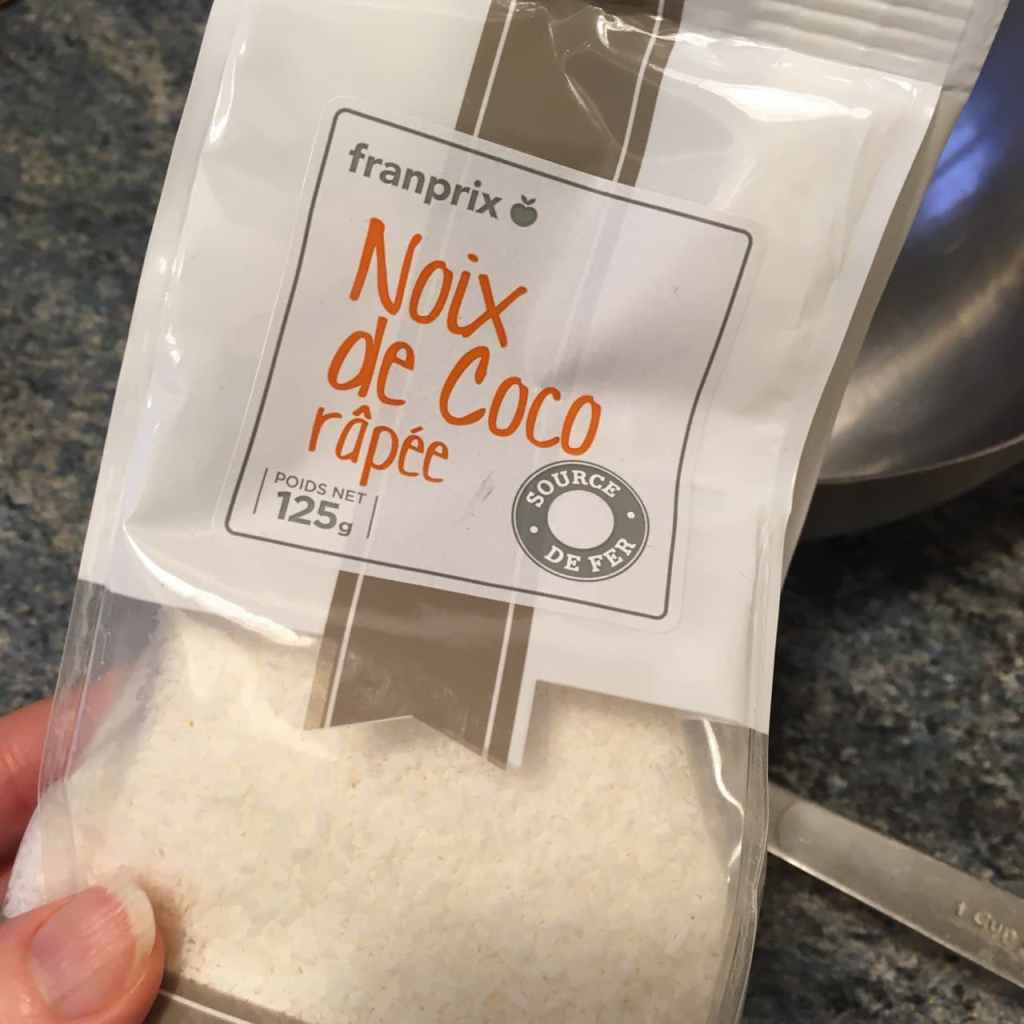

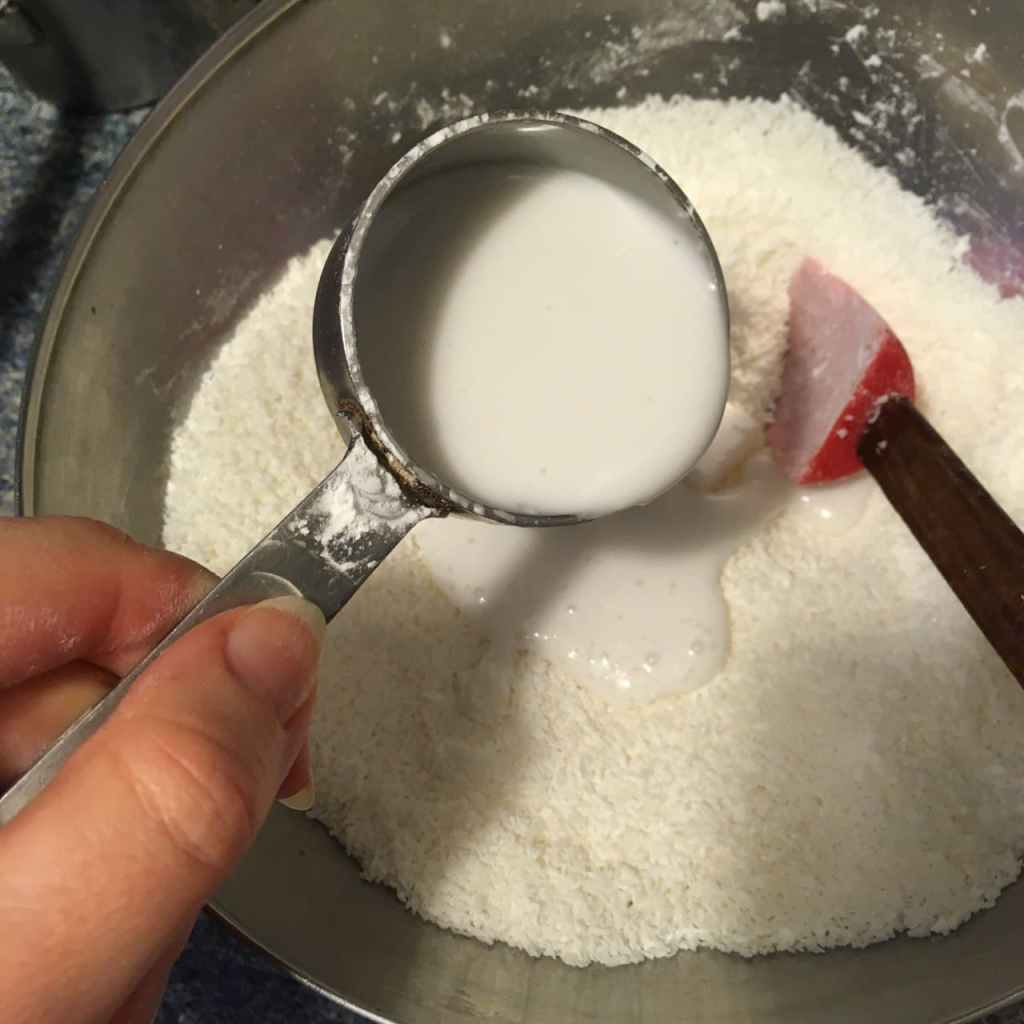
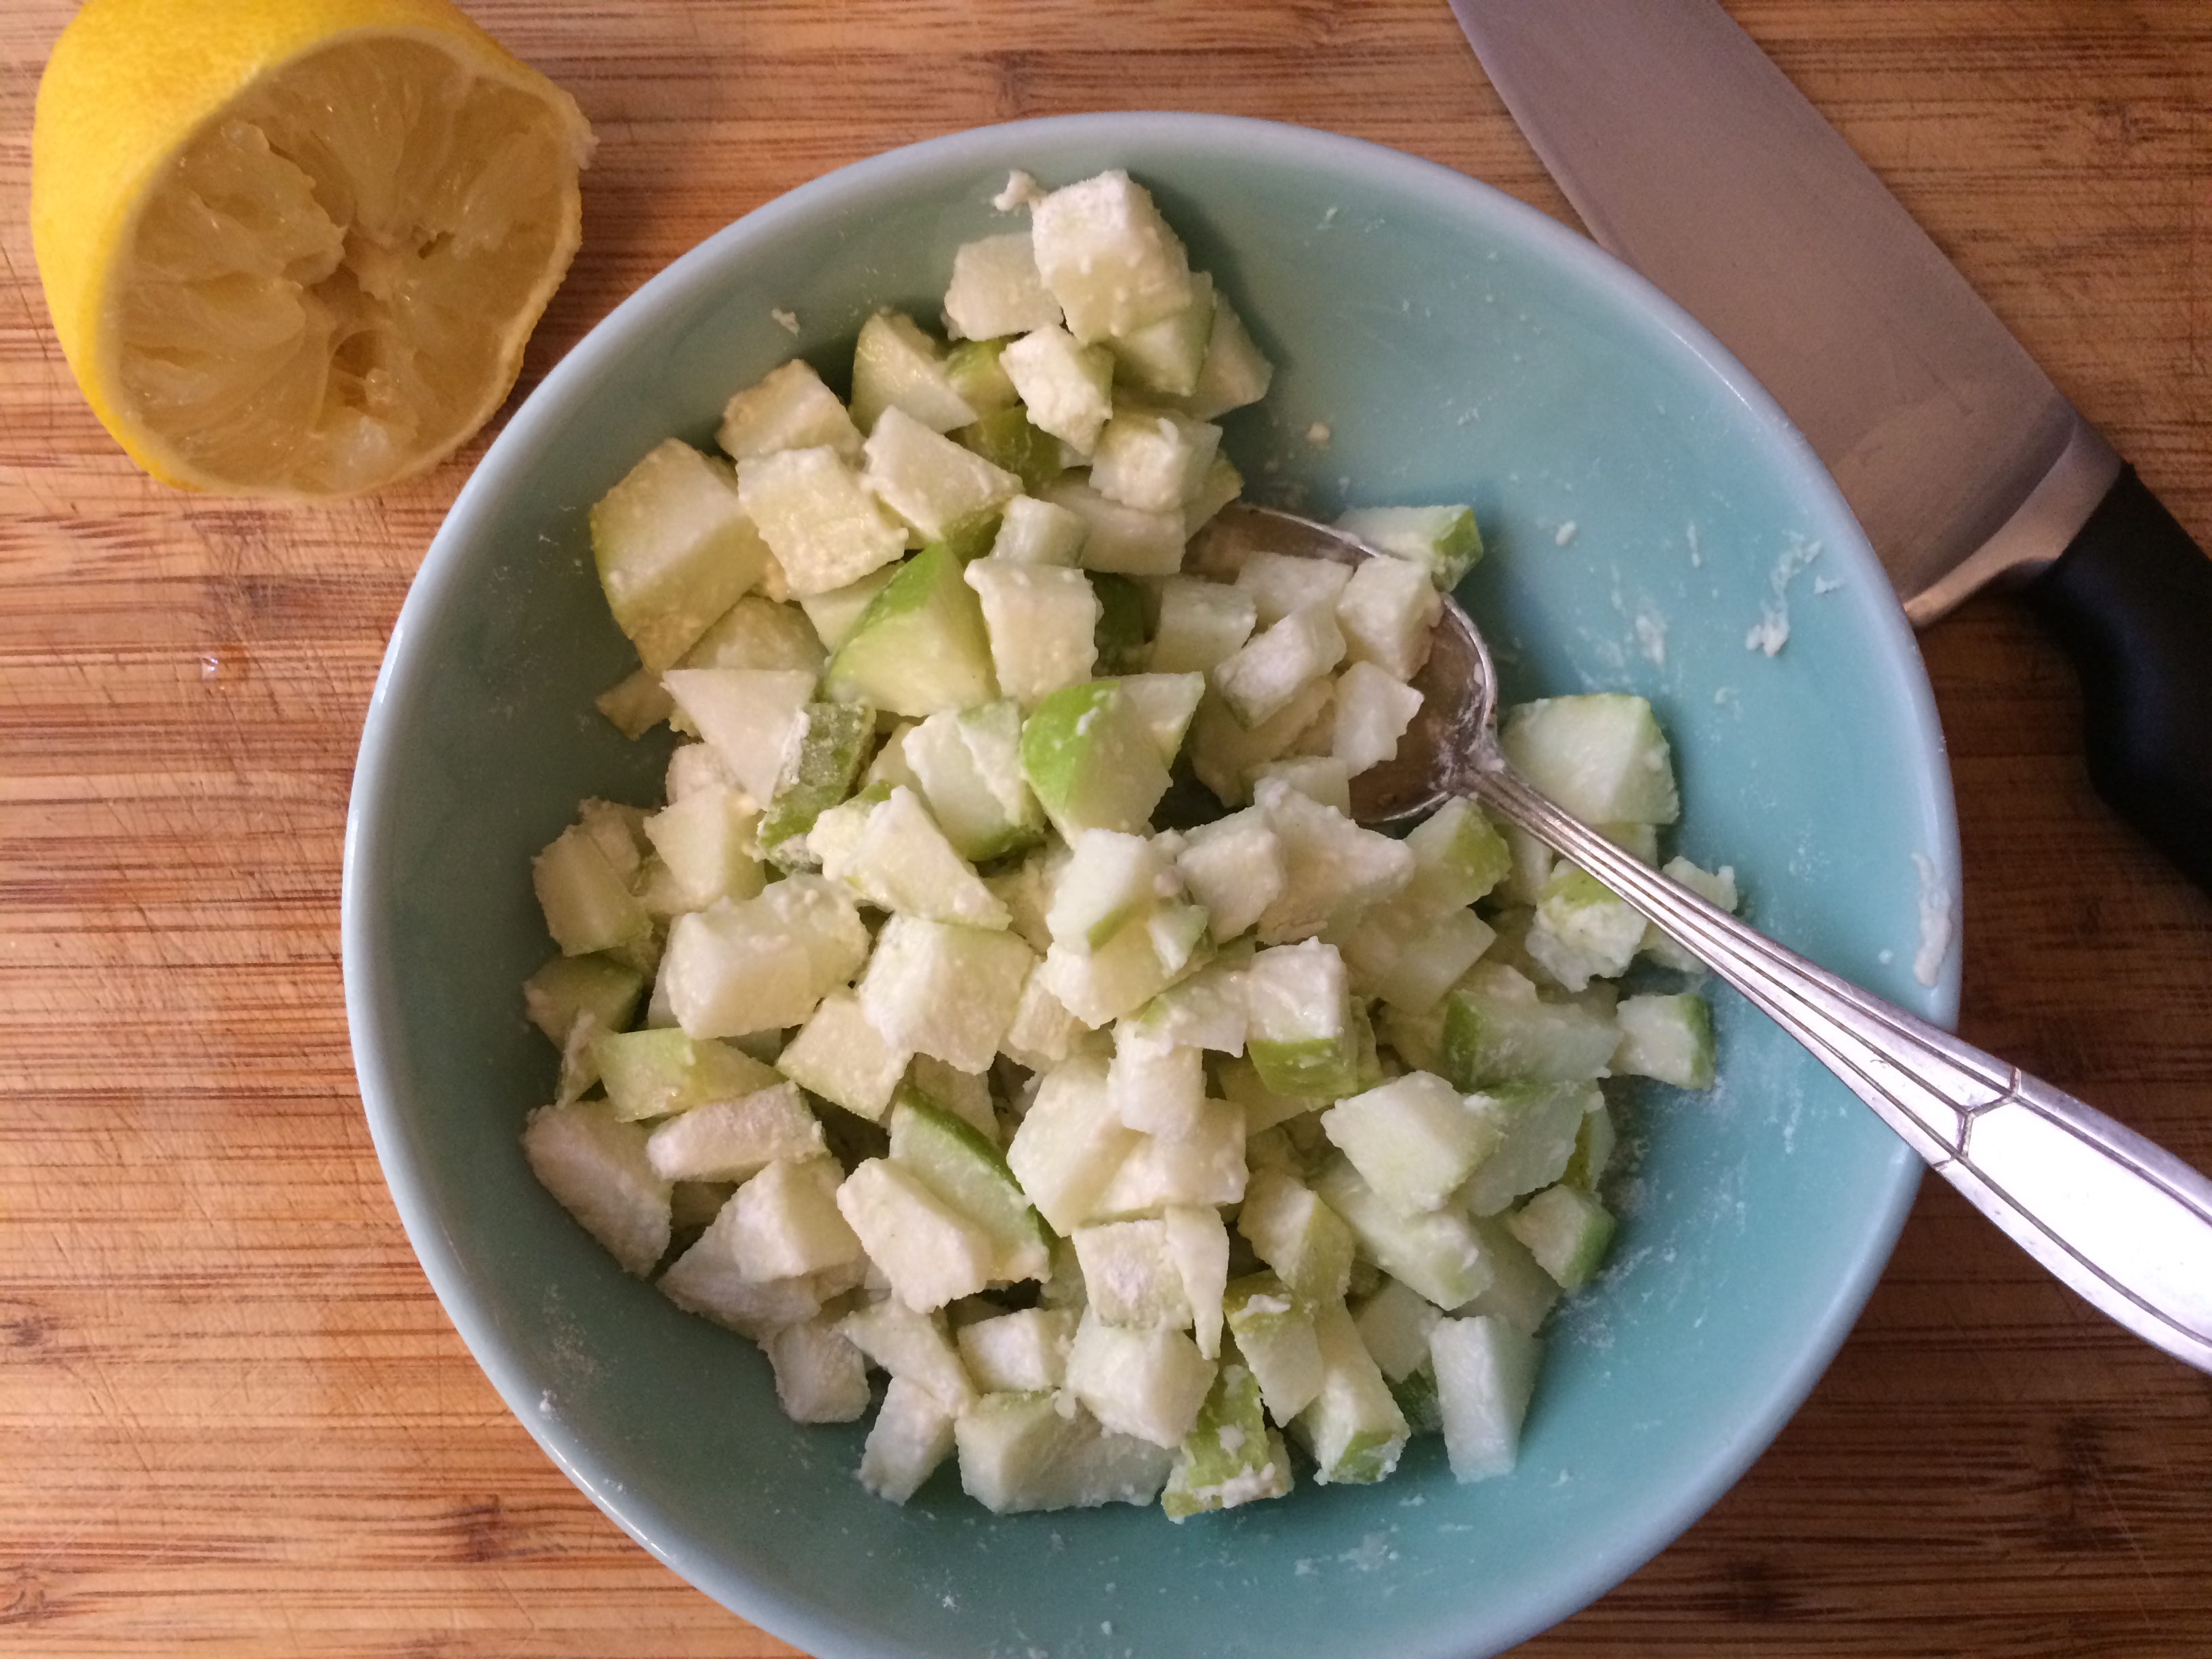
Preheat your oven to 350°F (180°C) and mix together the grated coconut, cornstarch, sugar, liquid coconut cream (or canned coconut milk) and melted coconut oil. If you can’t find coconut cream/milk, another unsweetened liquid plant-based cream (such as soy or rice) will do.

You now have a bowlful of “cocopane” and it should have the consistency of a moist paste. If your mixture is too dry, add a bit more coconut cream/milk, and if it’s too wet, add some more grated coconut.


Now for the raspberries… I used frozen berries and allowed them to thaw on the counter for a few hours. I then strained out the juice they released while thawing and mashed the berries lightly with a fork. I added about a teaspoon of white sugar, but you could use less or more according to taste. If you can’t find berries, you could always use prepared raspberry jam or compote (in this case, do not add sugar).
You can use the raspberry juice later as a food coloring, for example to make a pink frosting as in my Valentine’s cookie recipe or to color almost anything else pink (the juice will keep in the fridge for a few days).

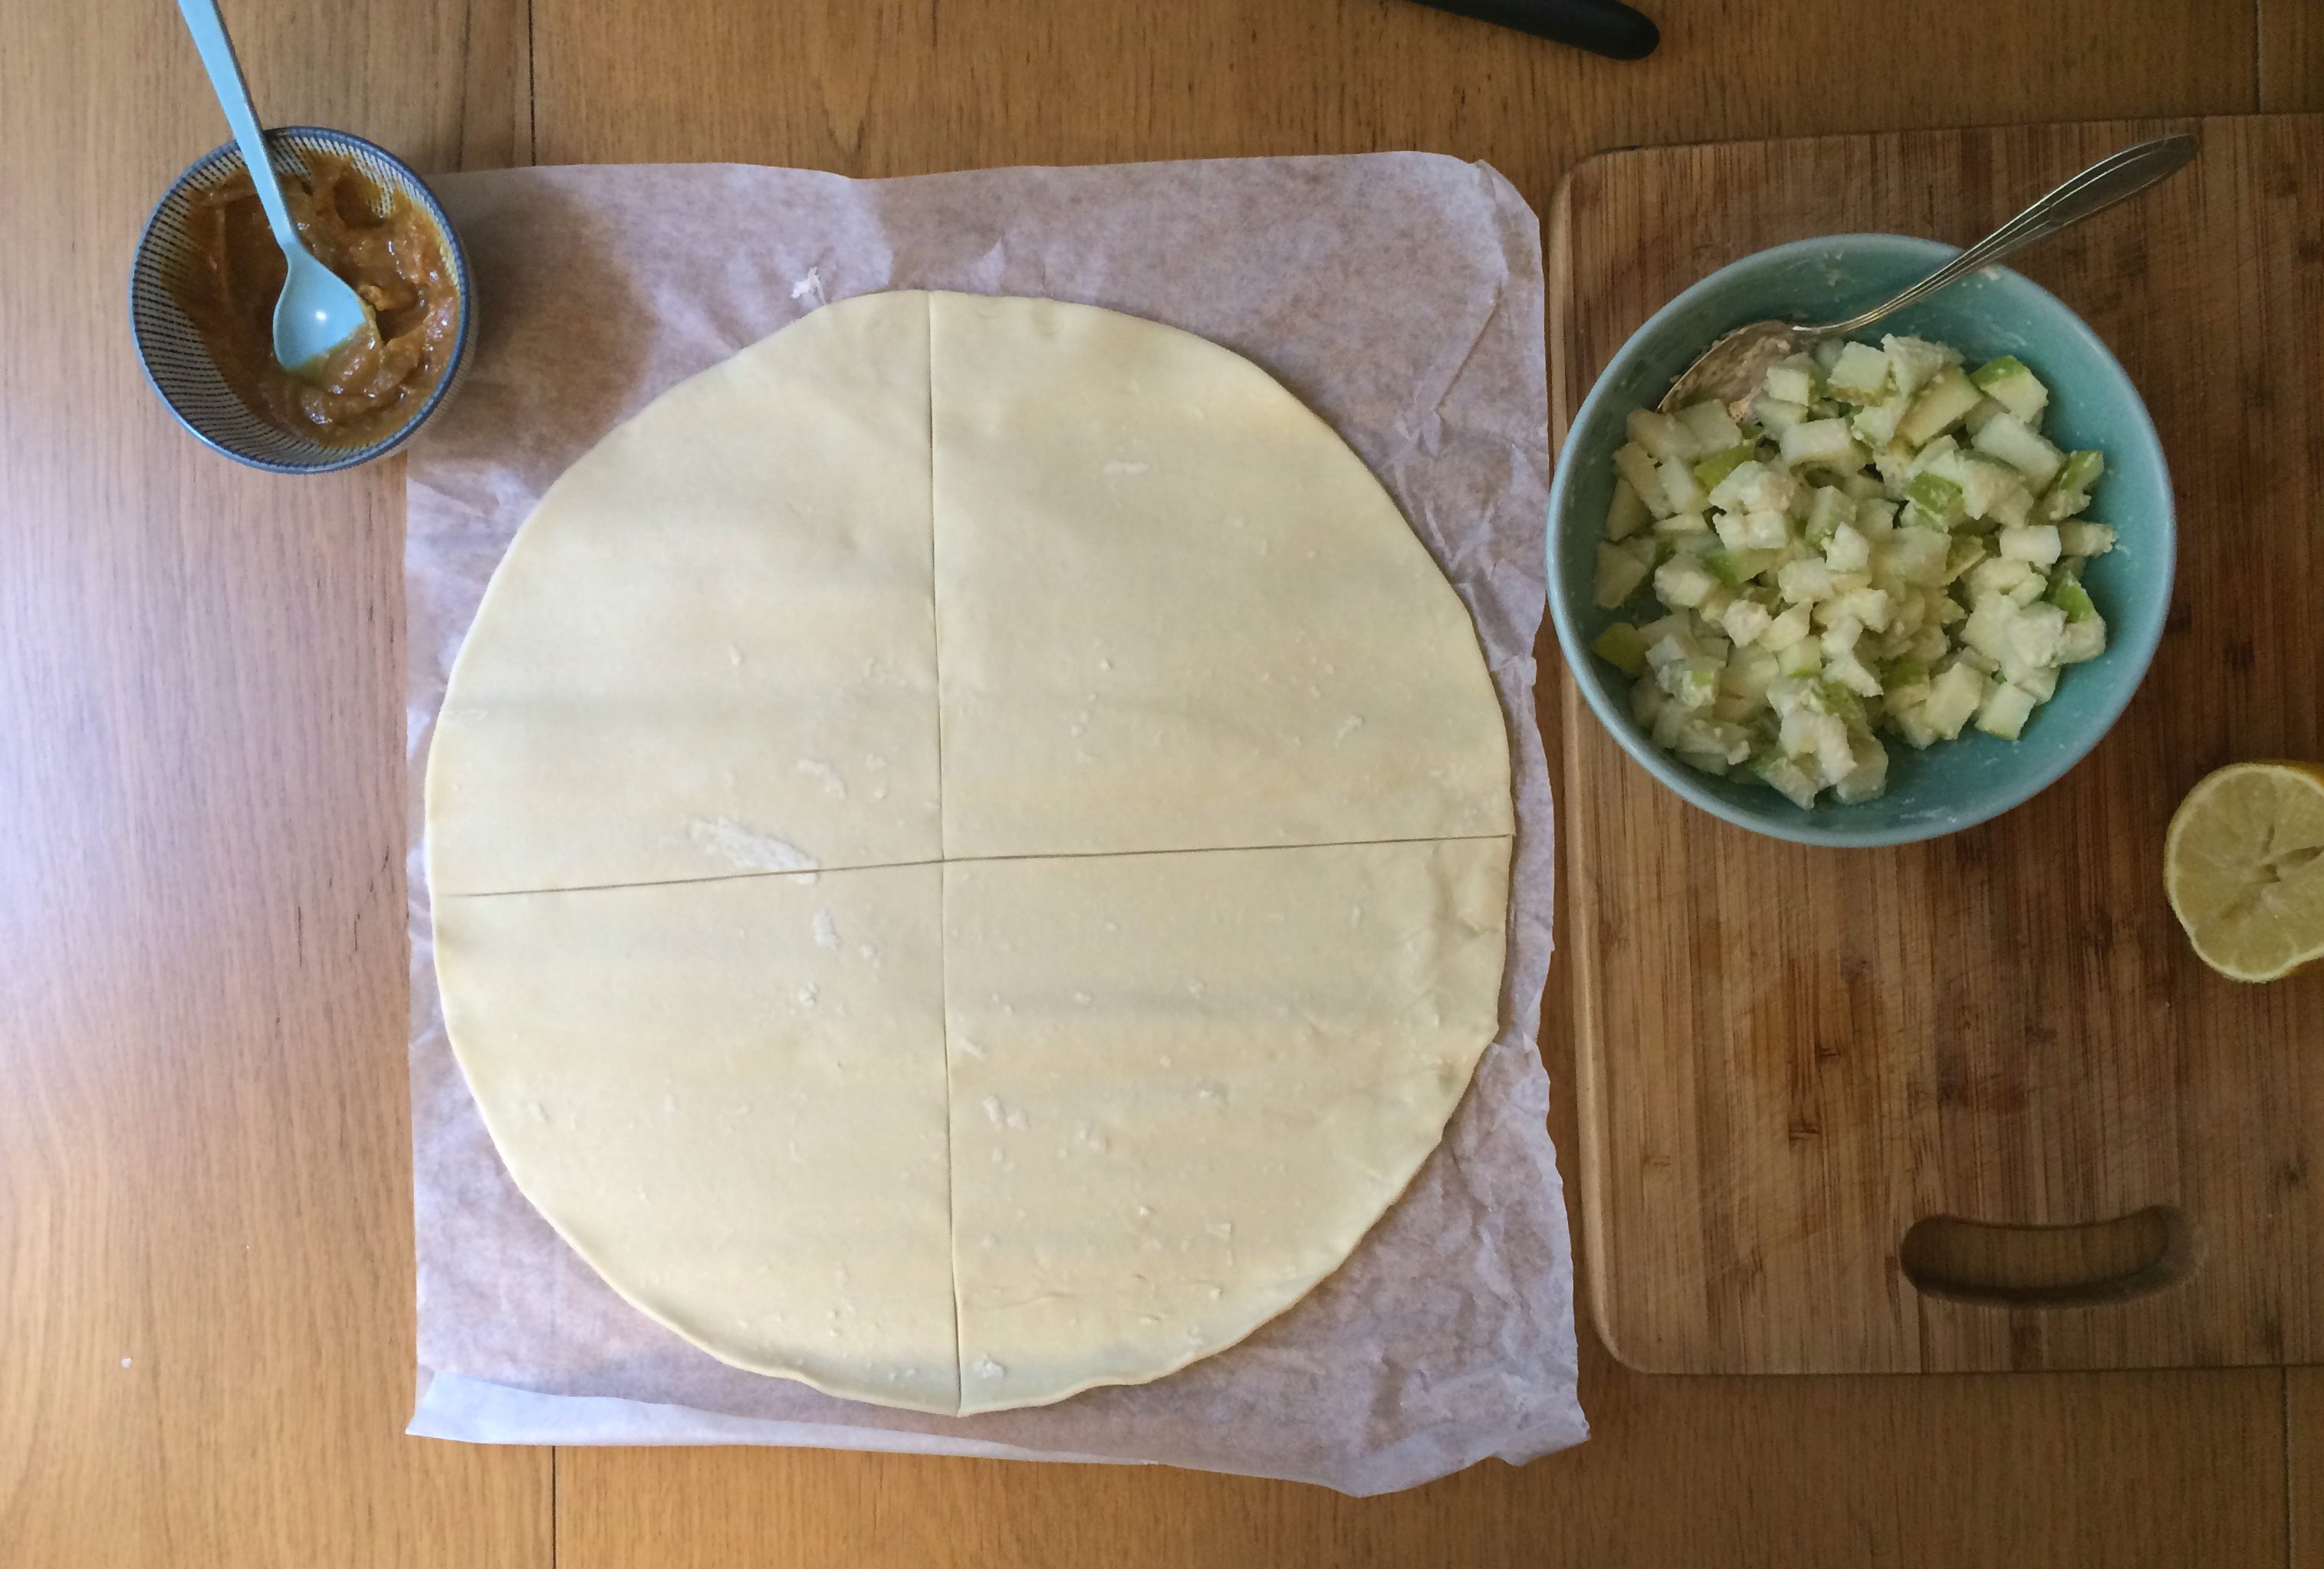
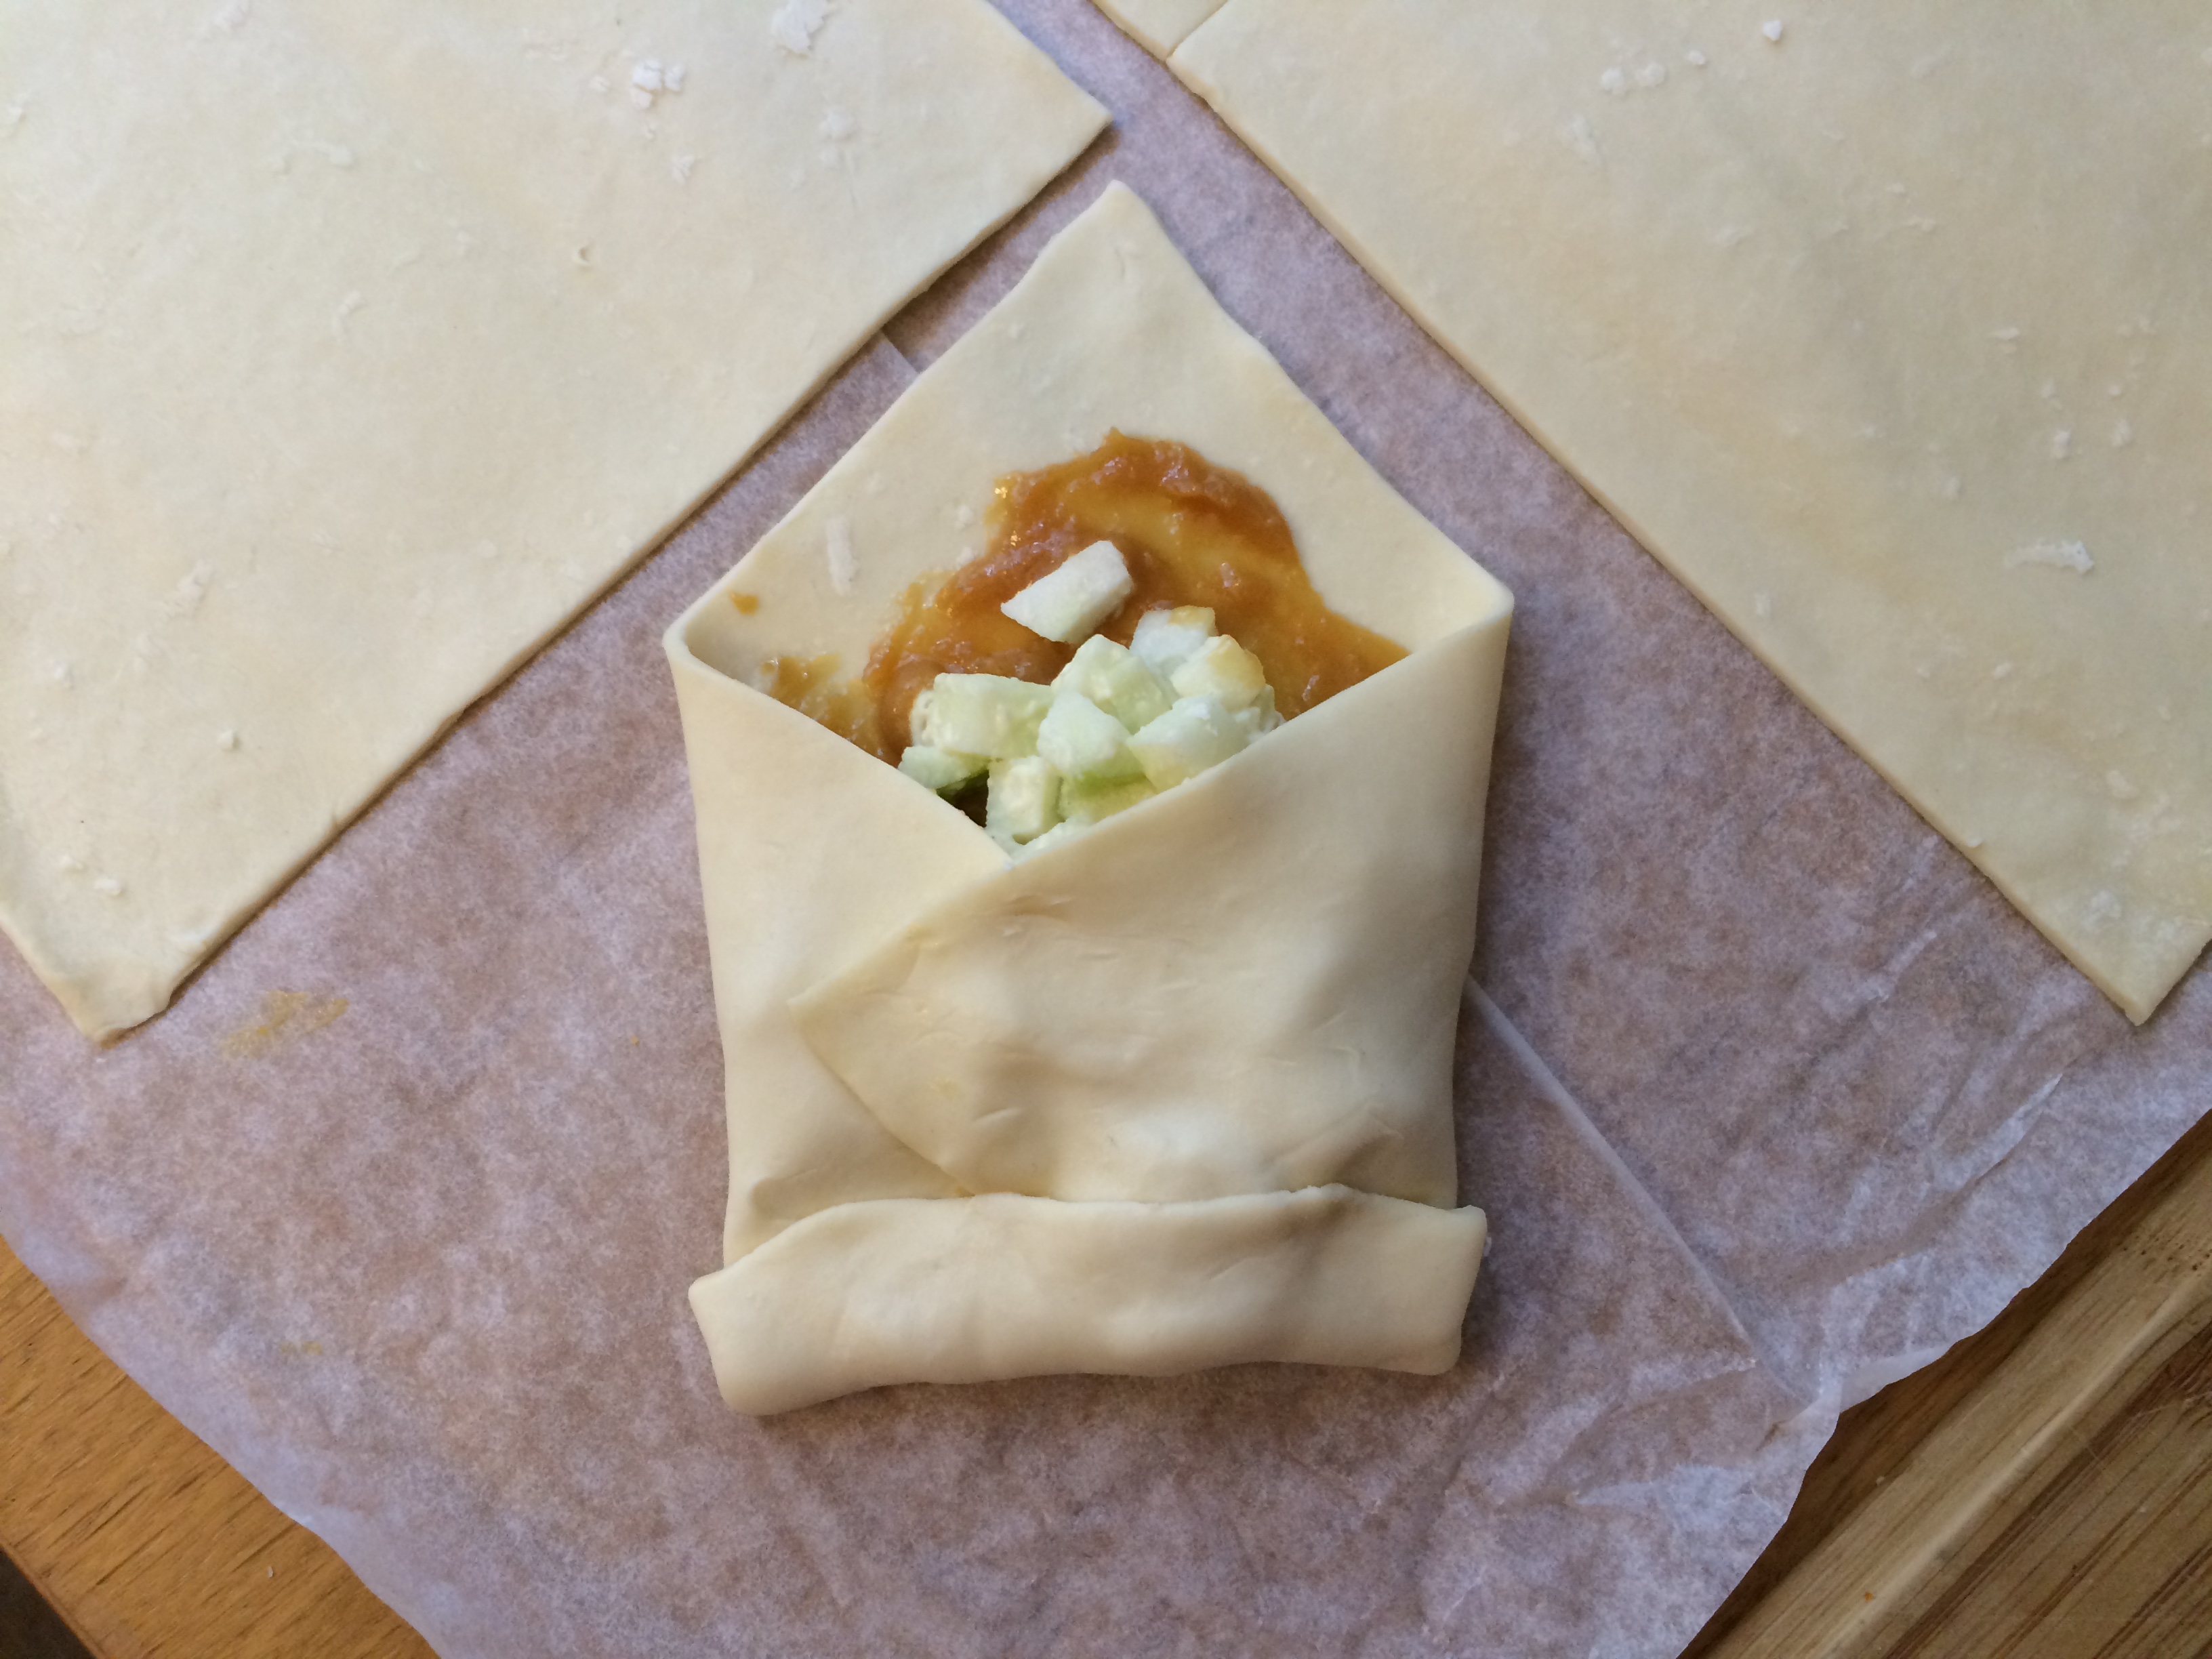
Trace a few circles onto the pastry, either with a paper template or an upturned bowl. I made mine 5.5 inches (14 cm) in diameter, but the size will depend on the size of your pastry. I then pieced together the remaining pastry bits to make a fourth circle. Alternatively, you can cut the pastry into four parts and fold each one over for a more triangle-shaped turnover.

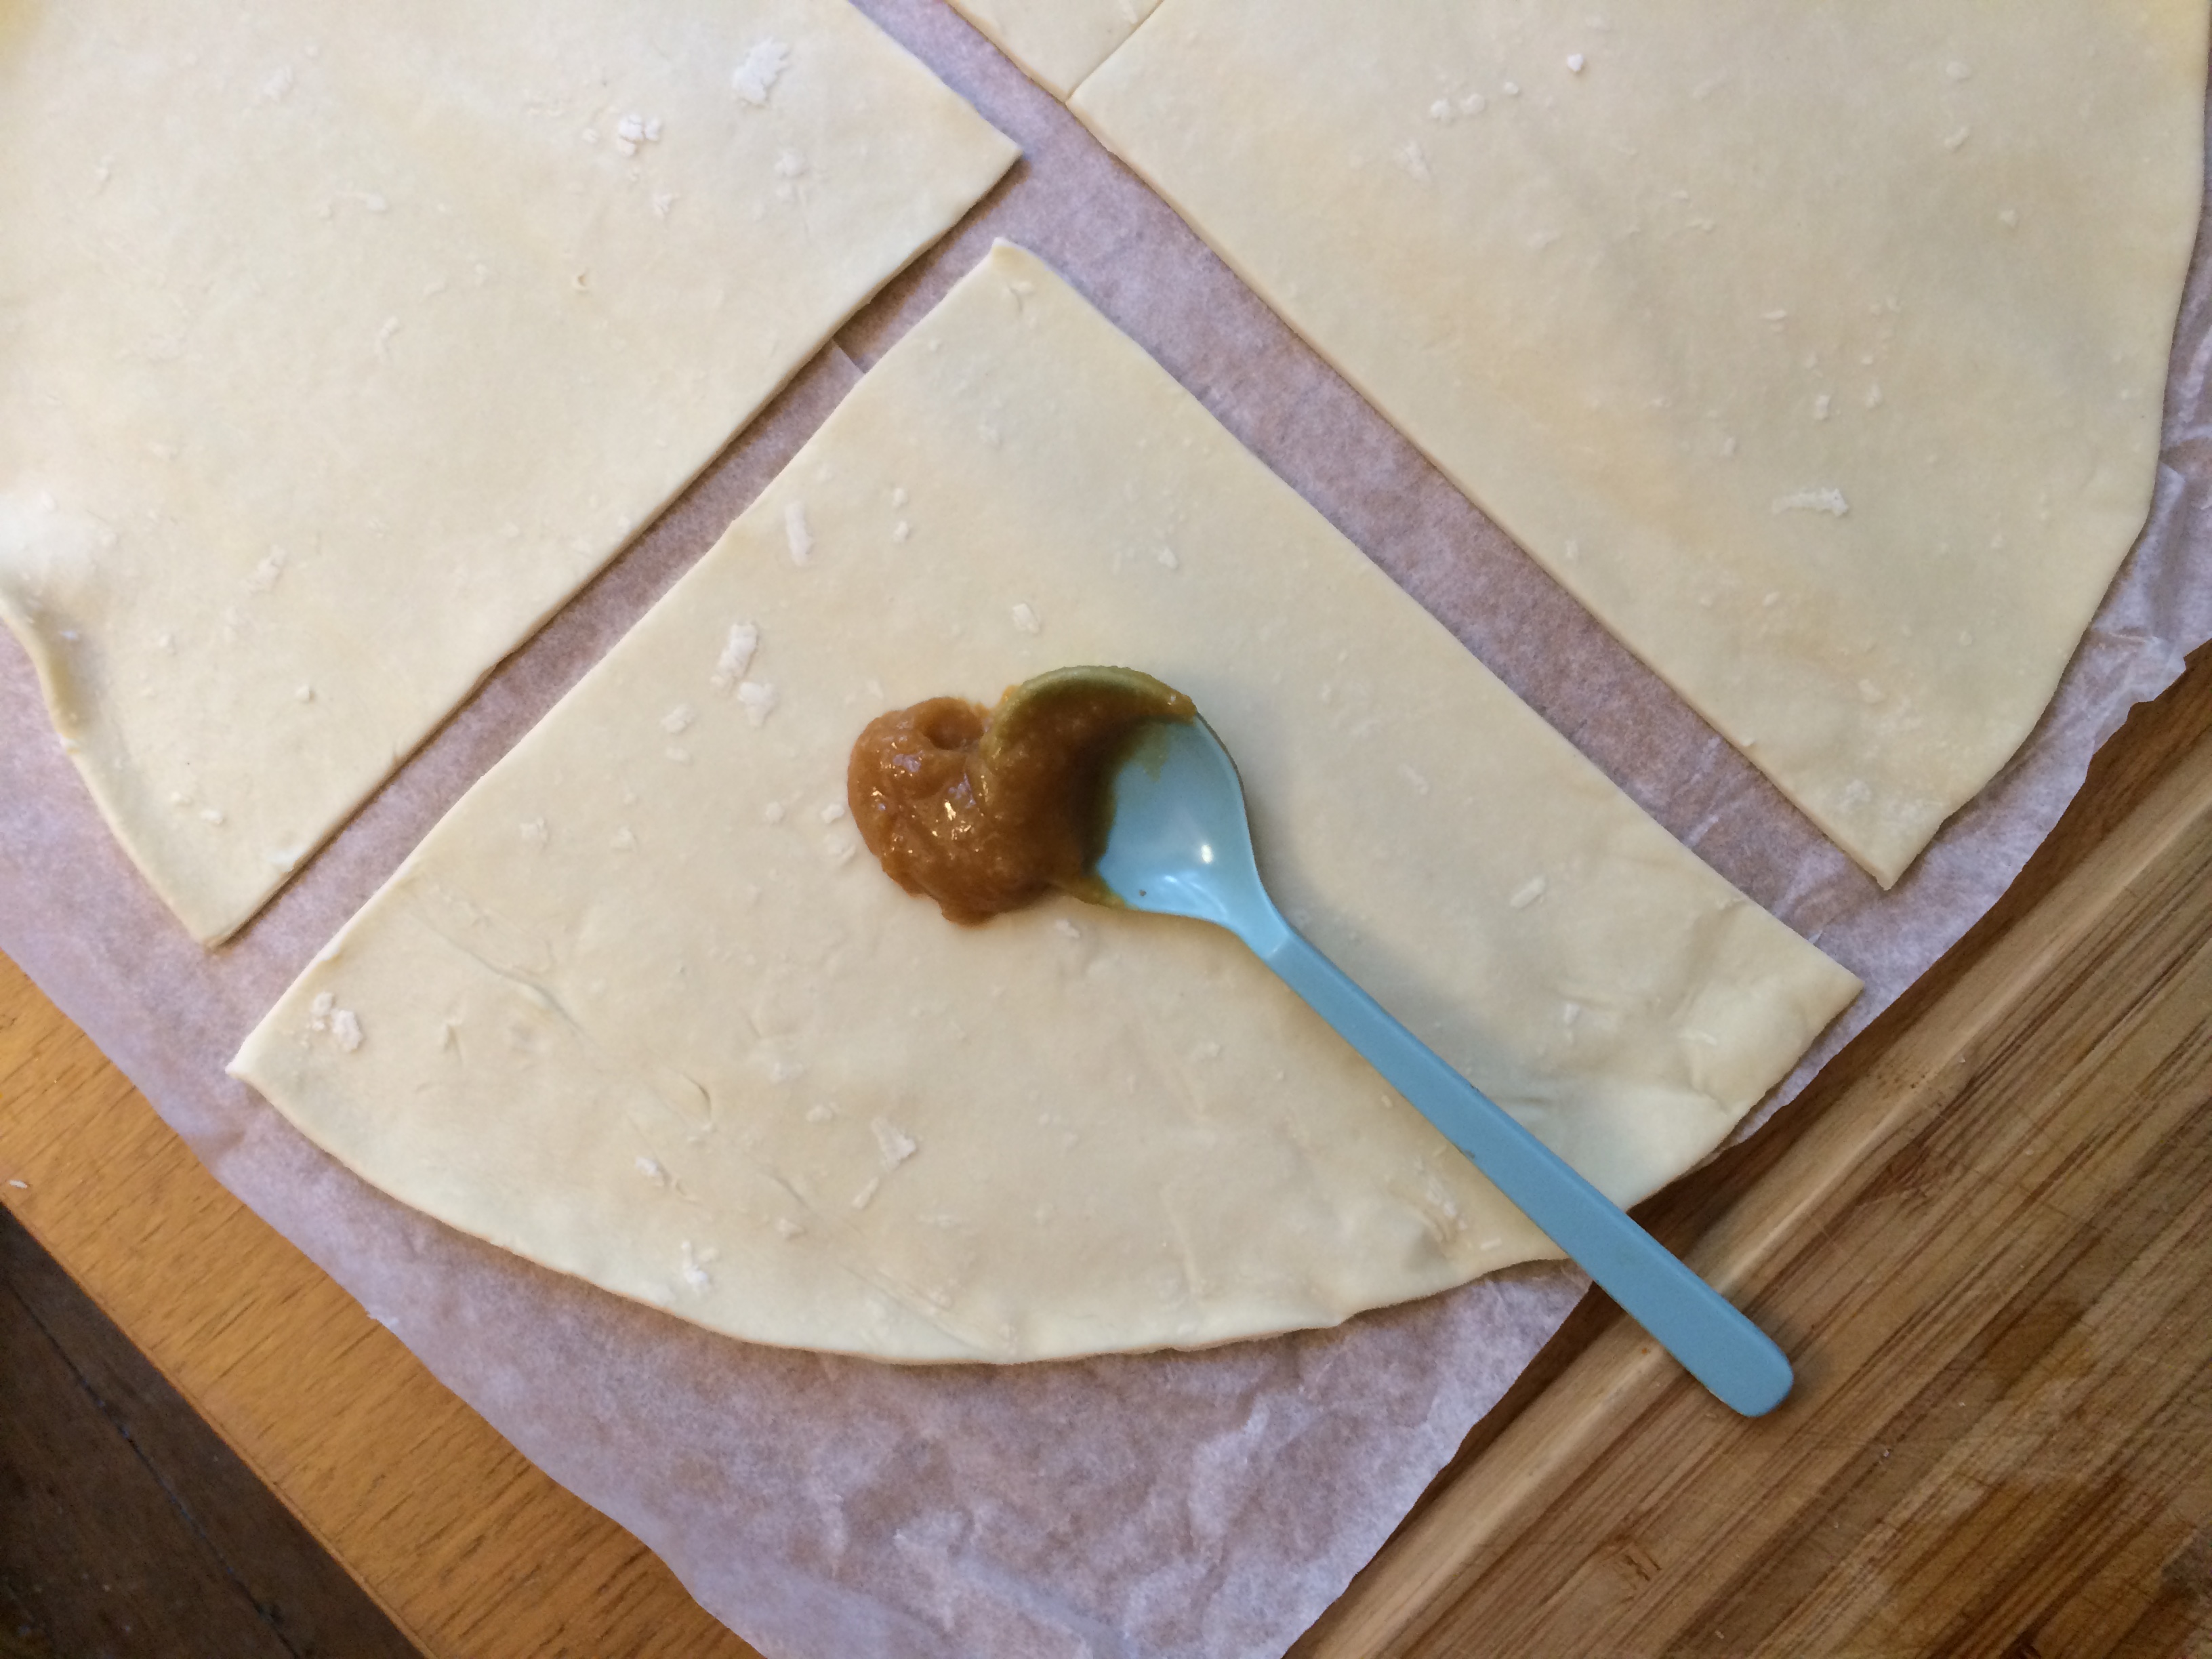
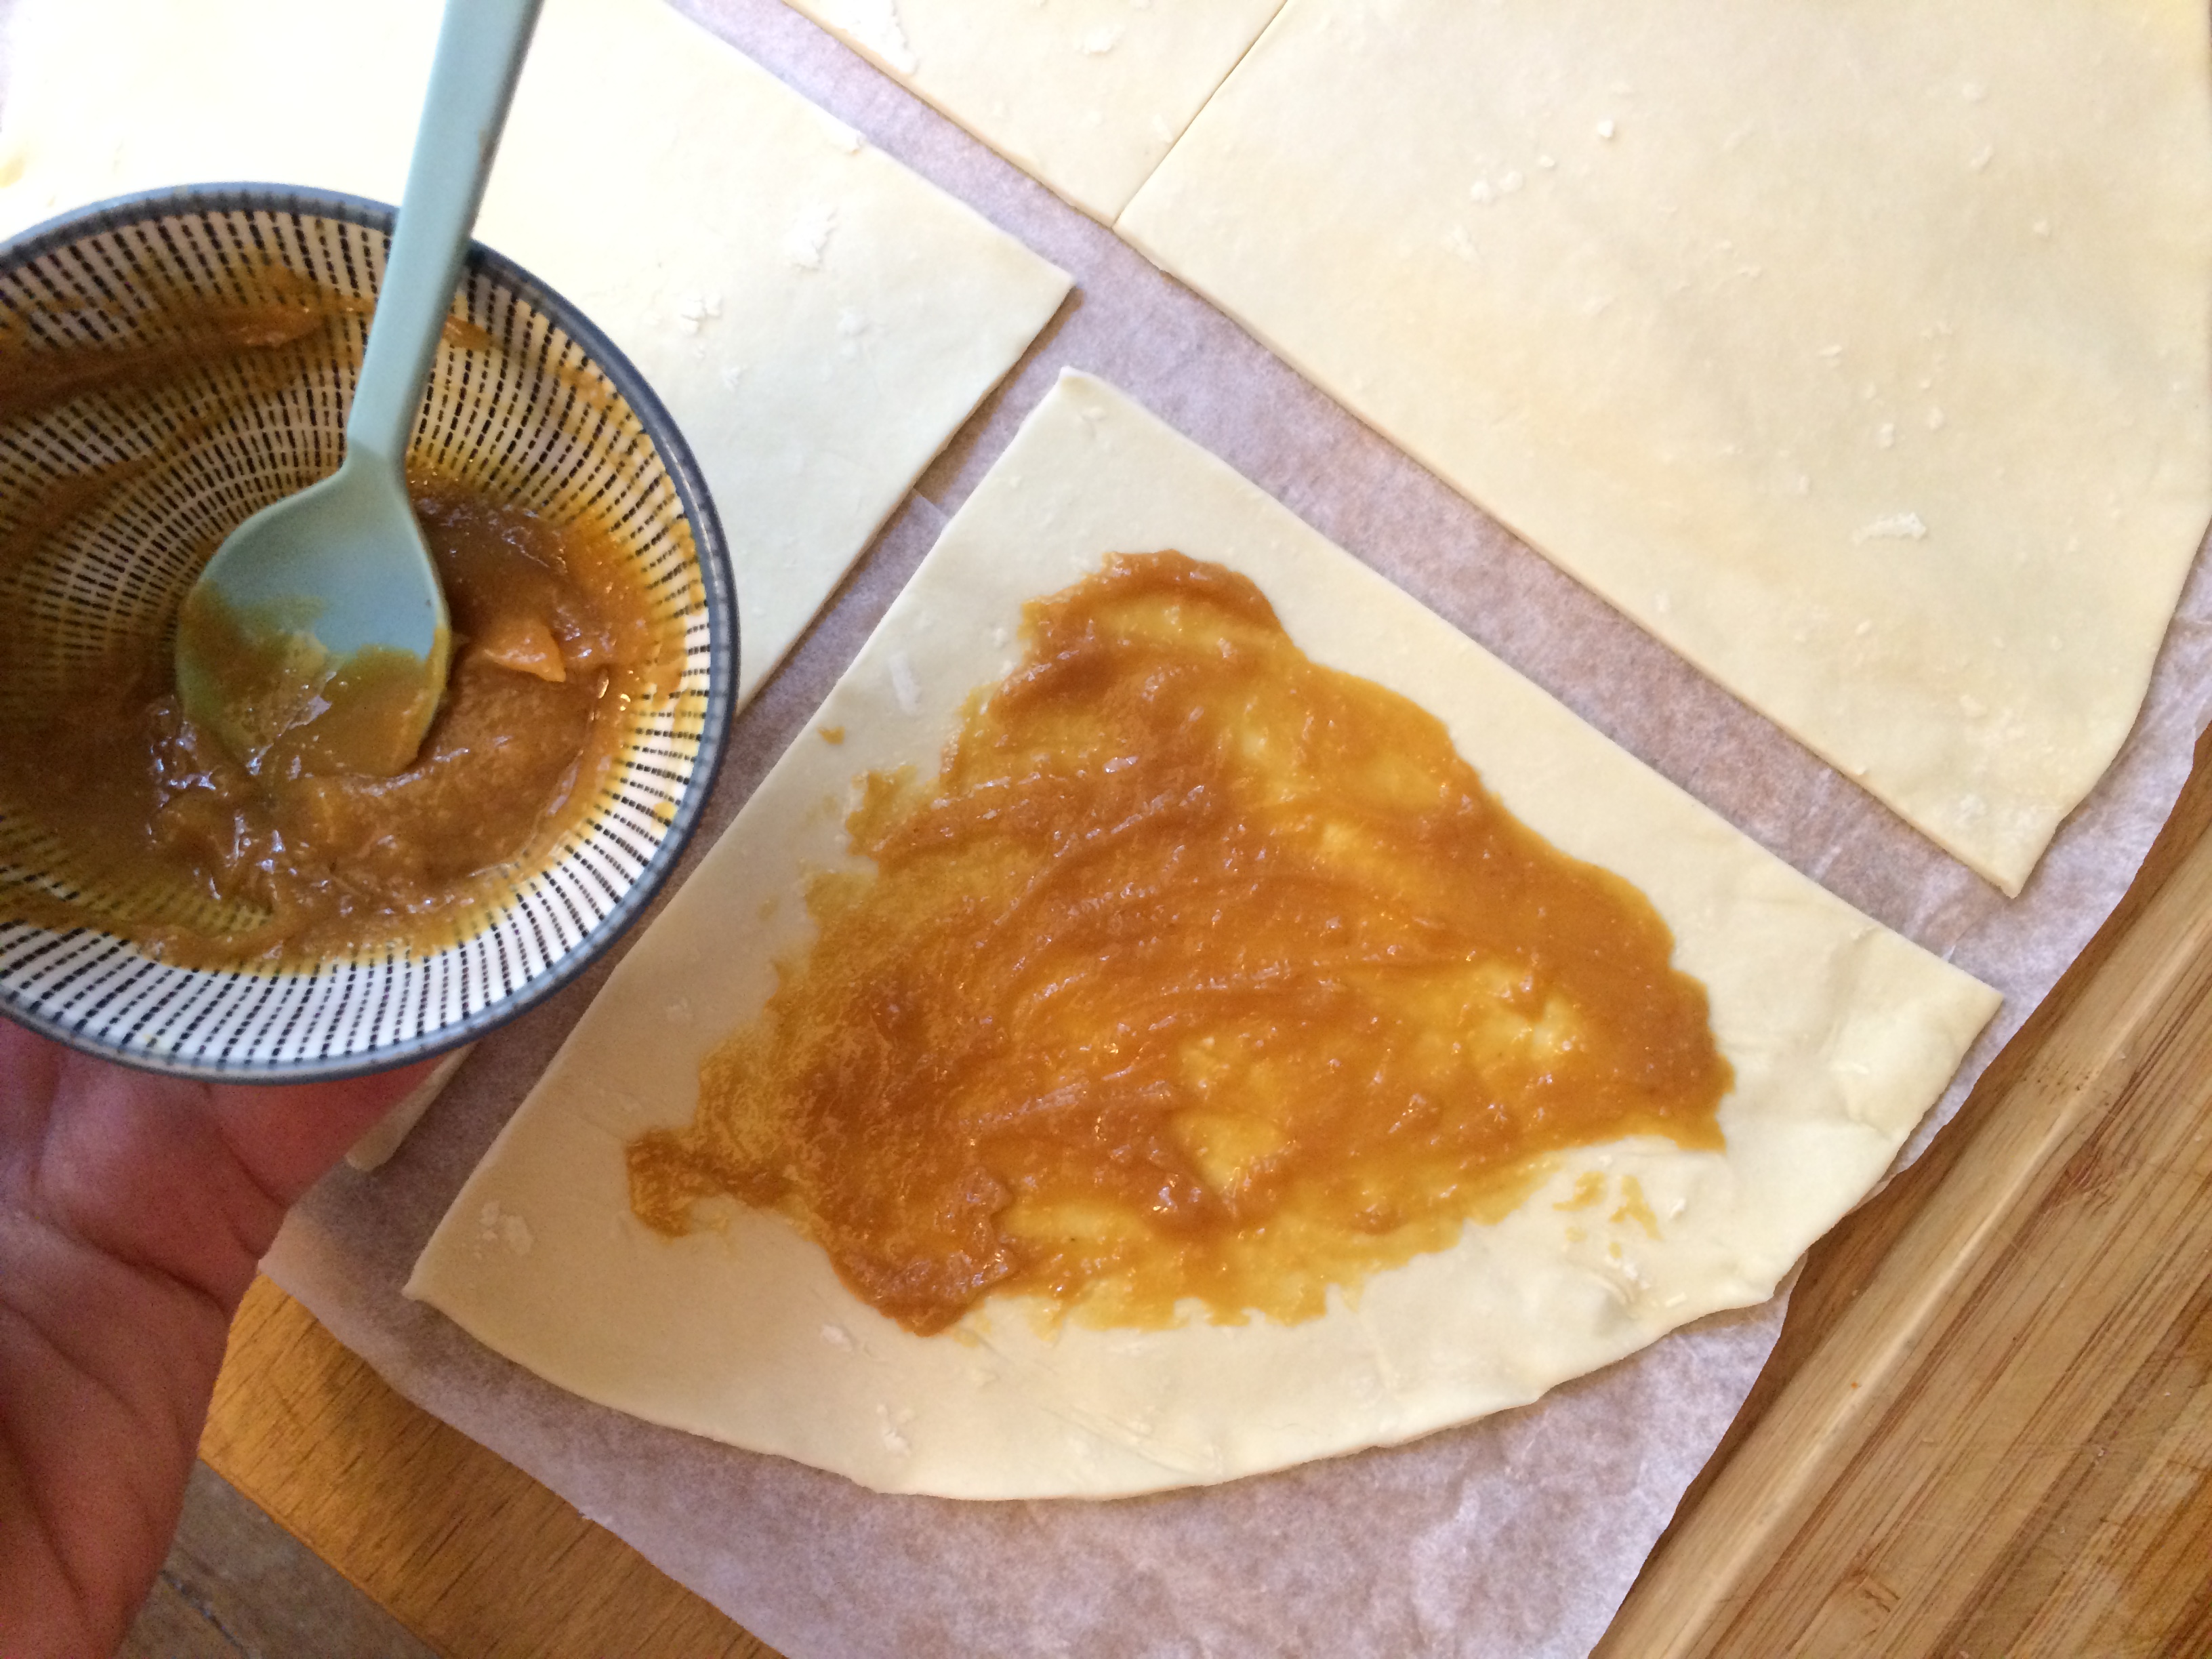
Place about a tablespoon of the cocopane onto one half of each pastry circle, leaving a border around the edge. Be careful not to overfill.
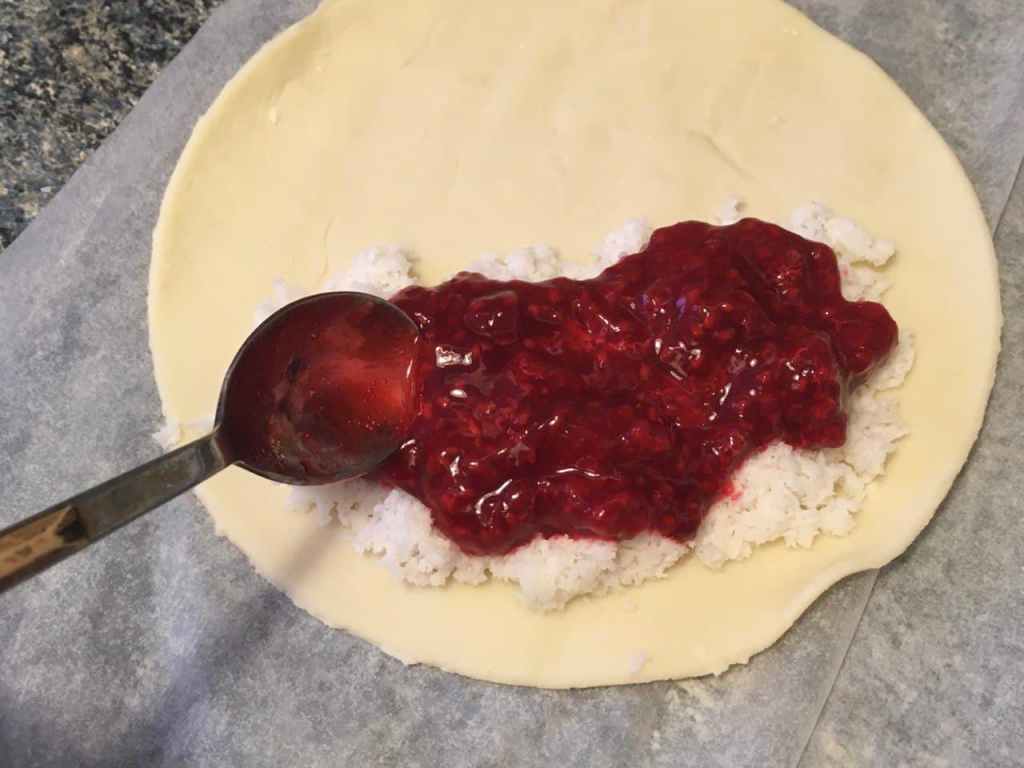
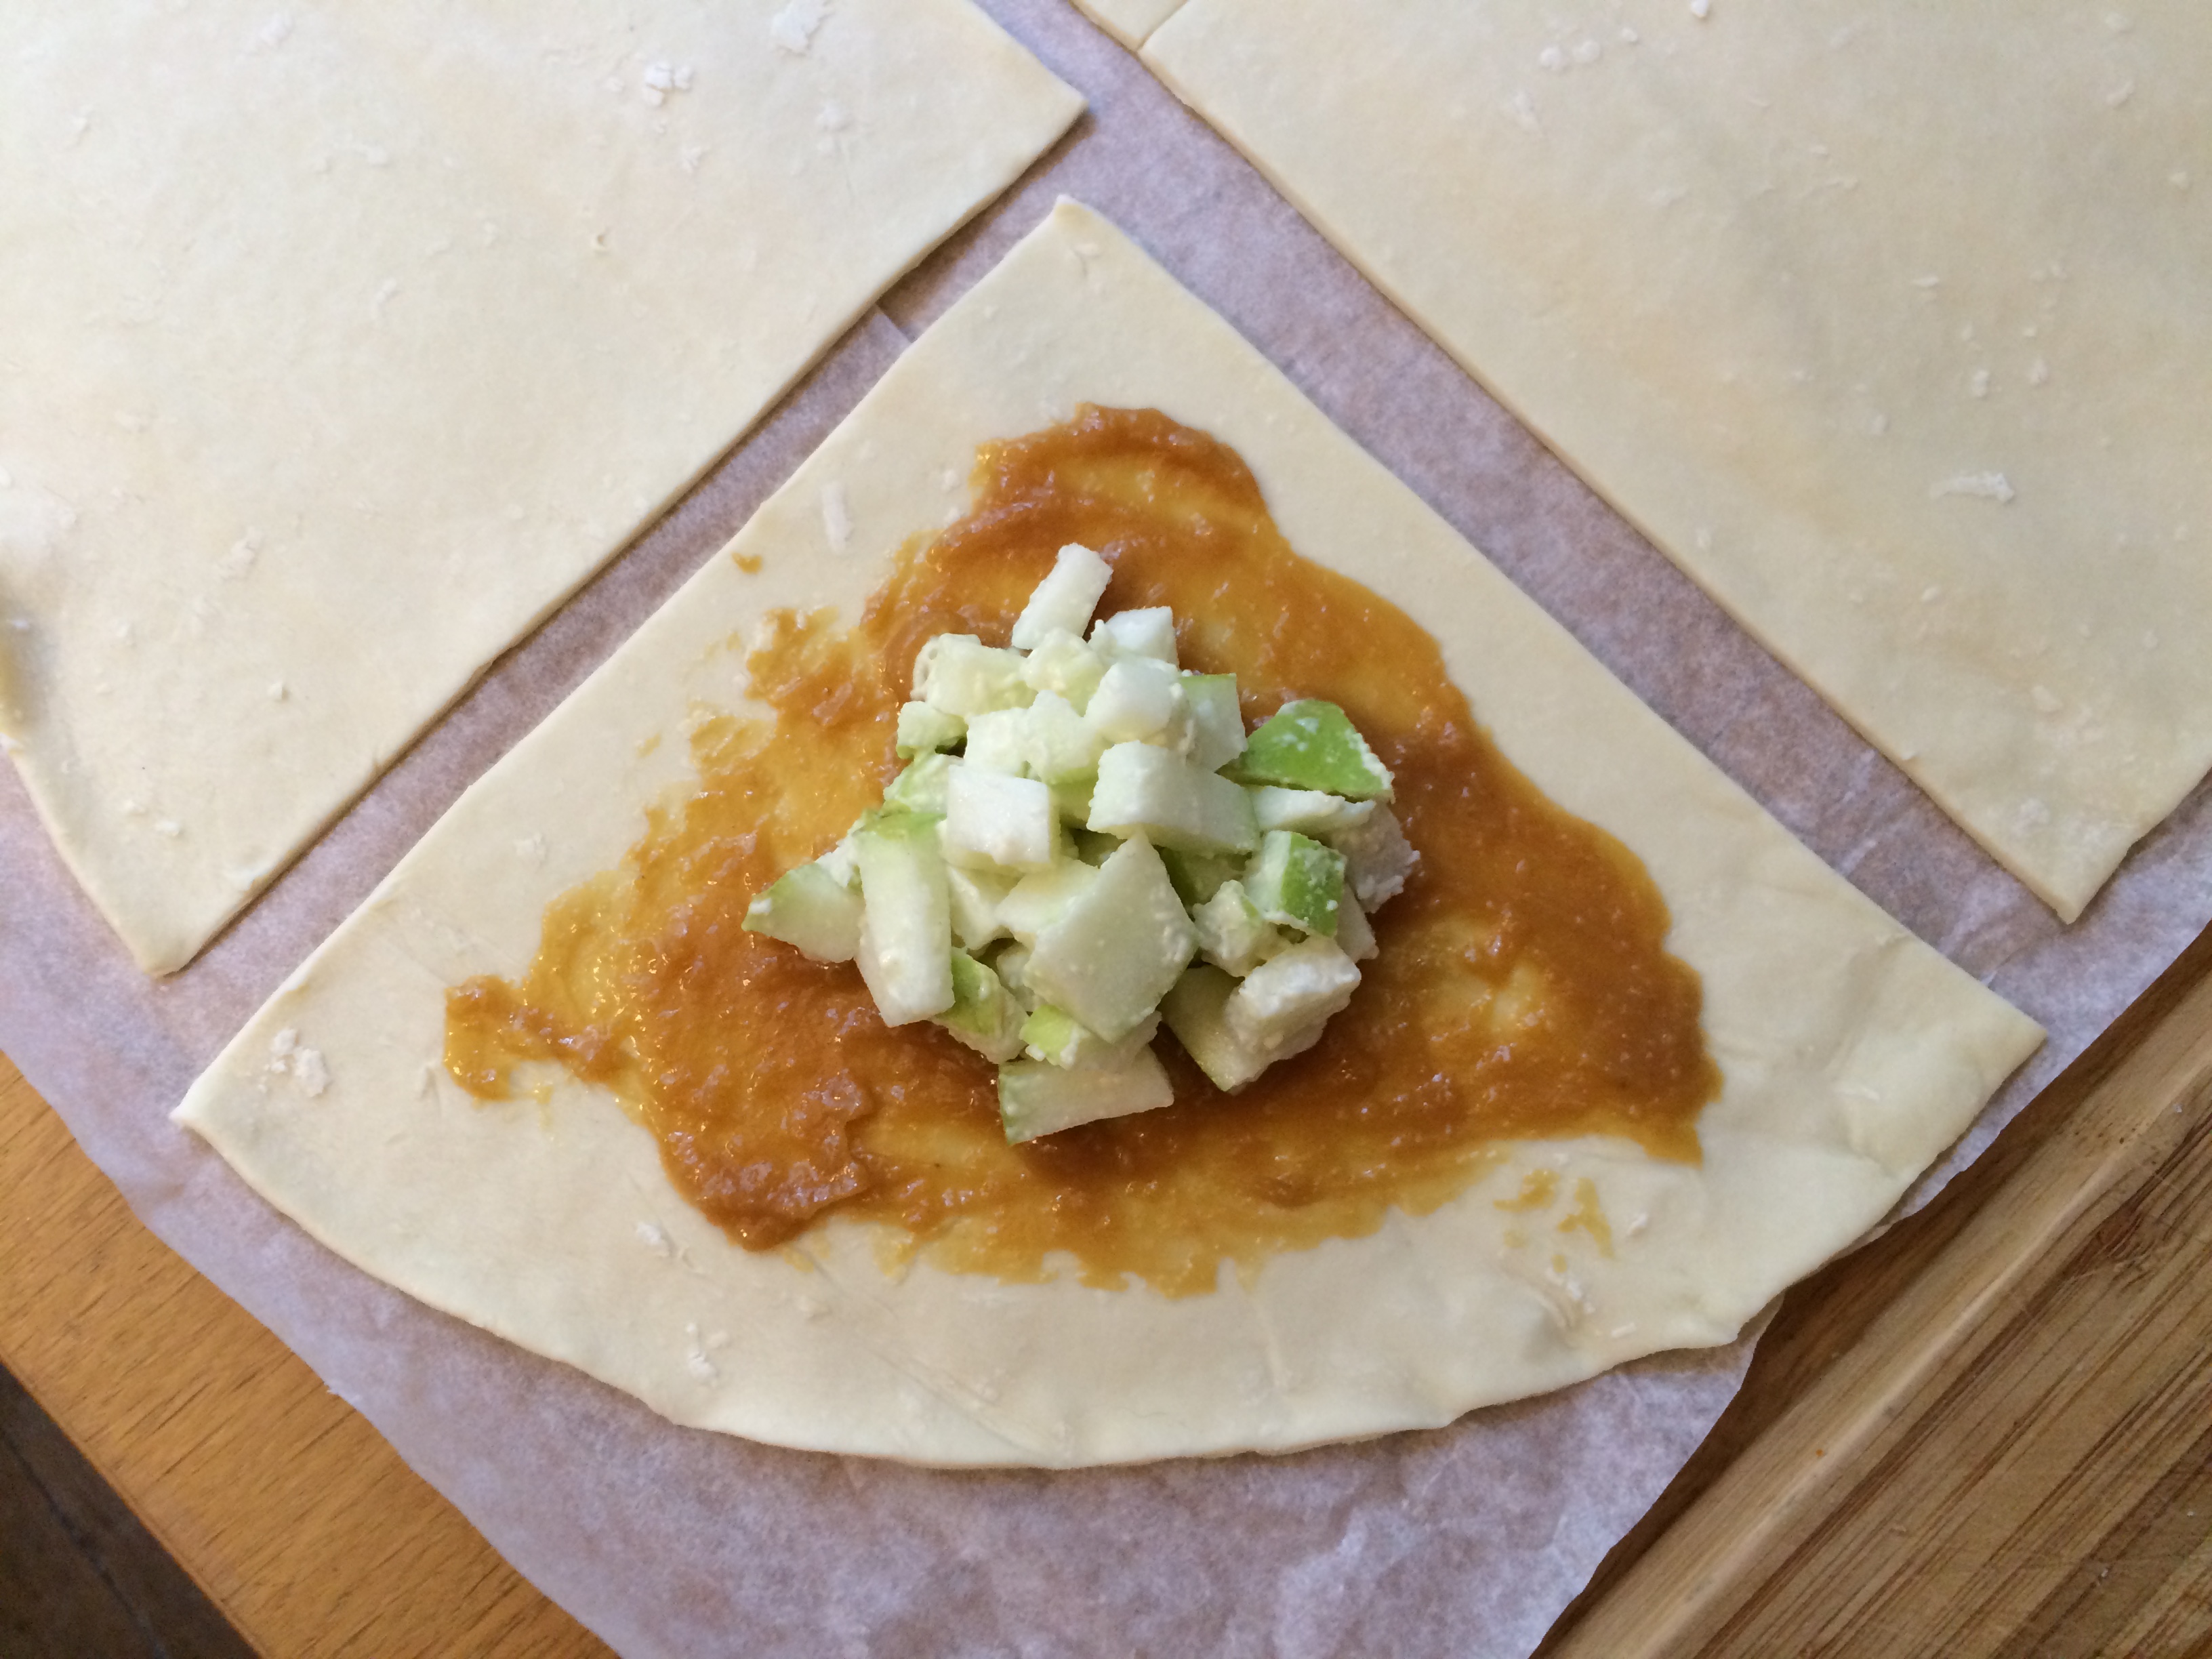
Now add some of the crushed raspberry mixture on top of that.

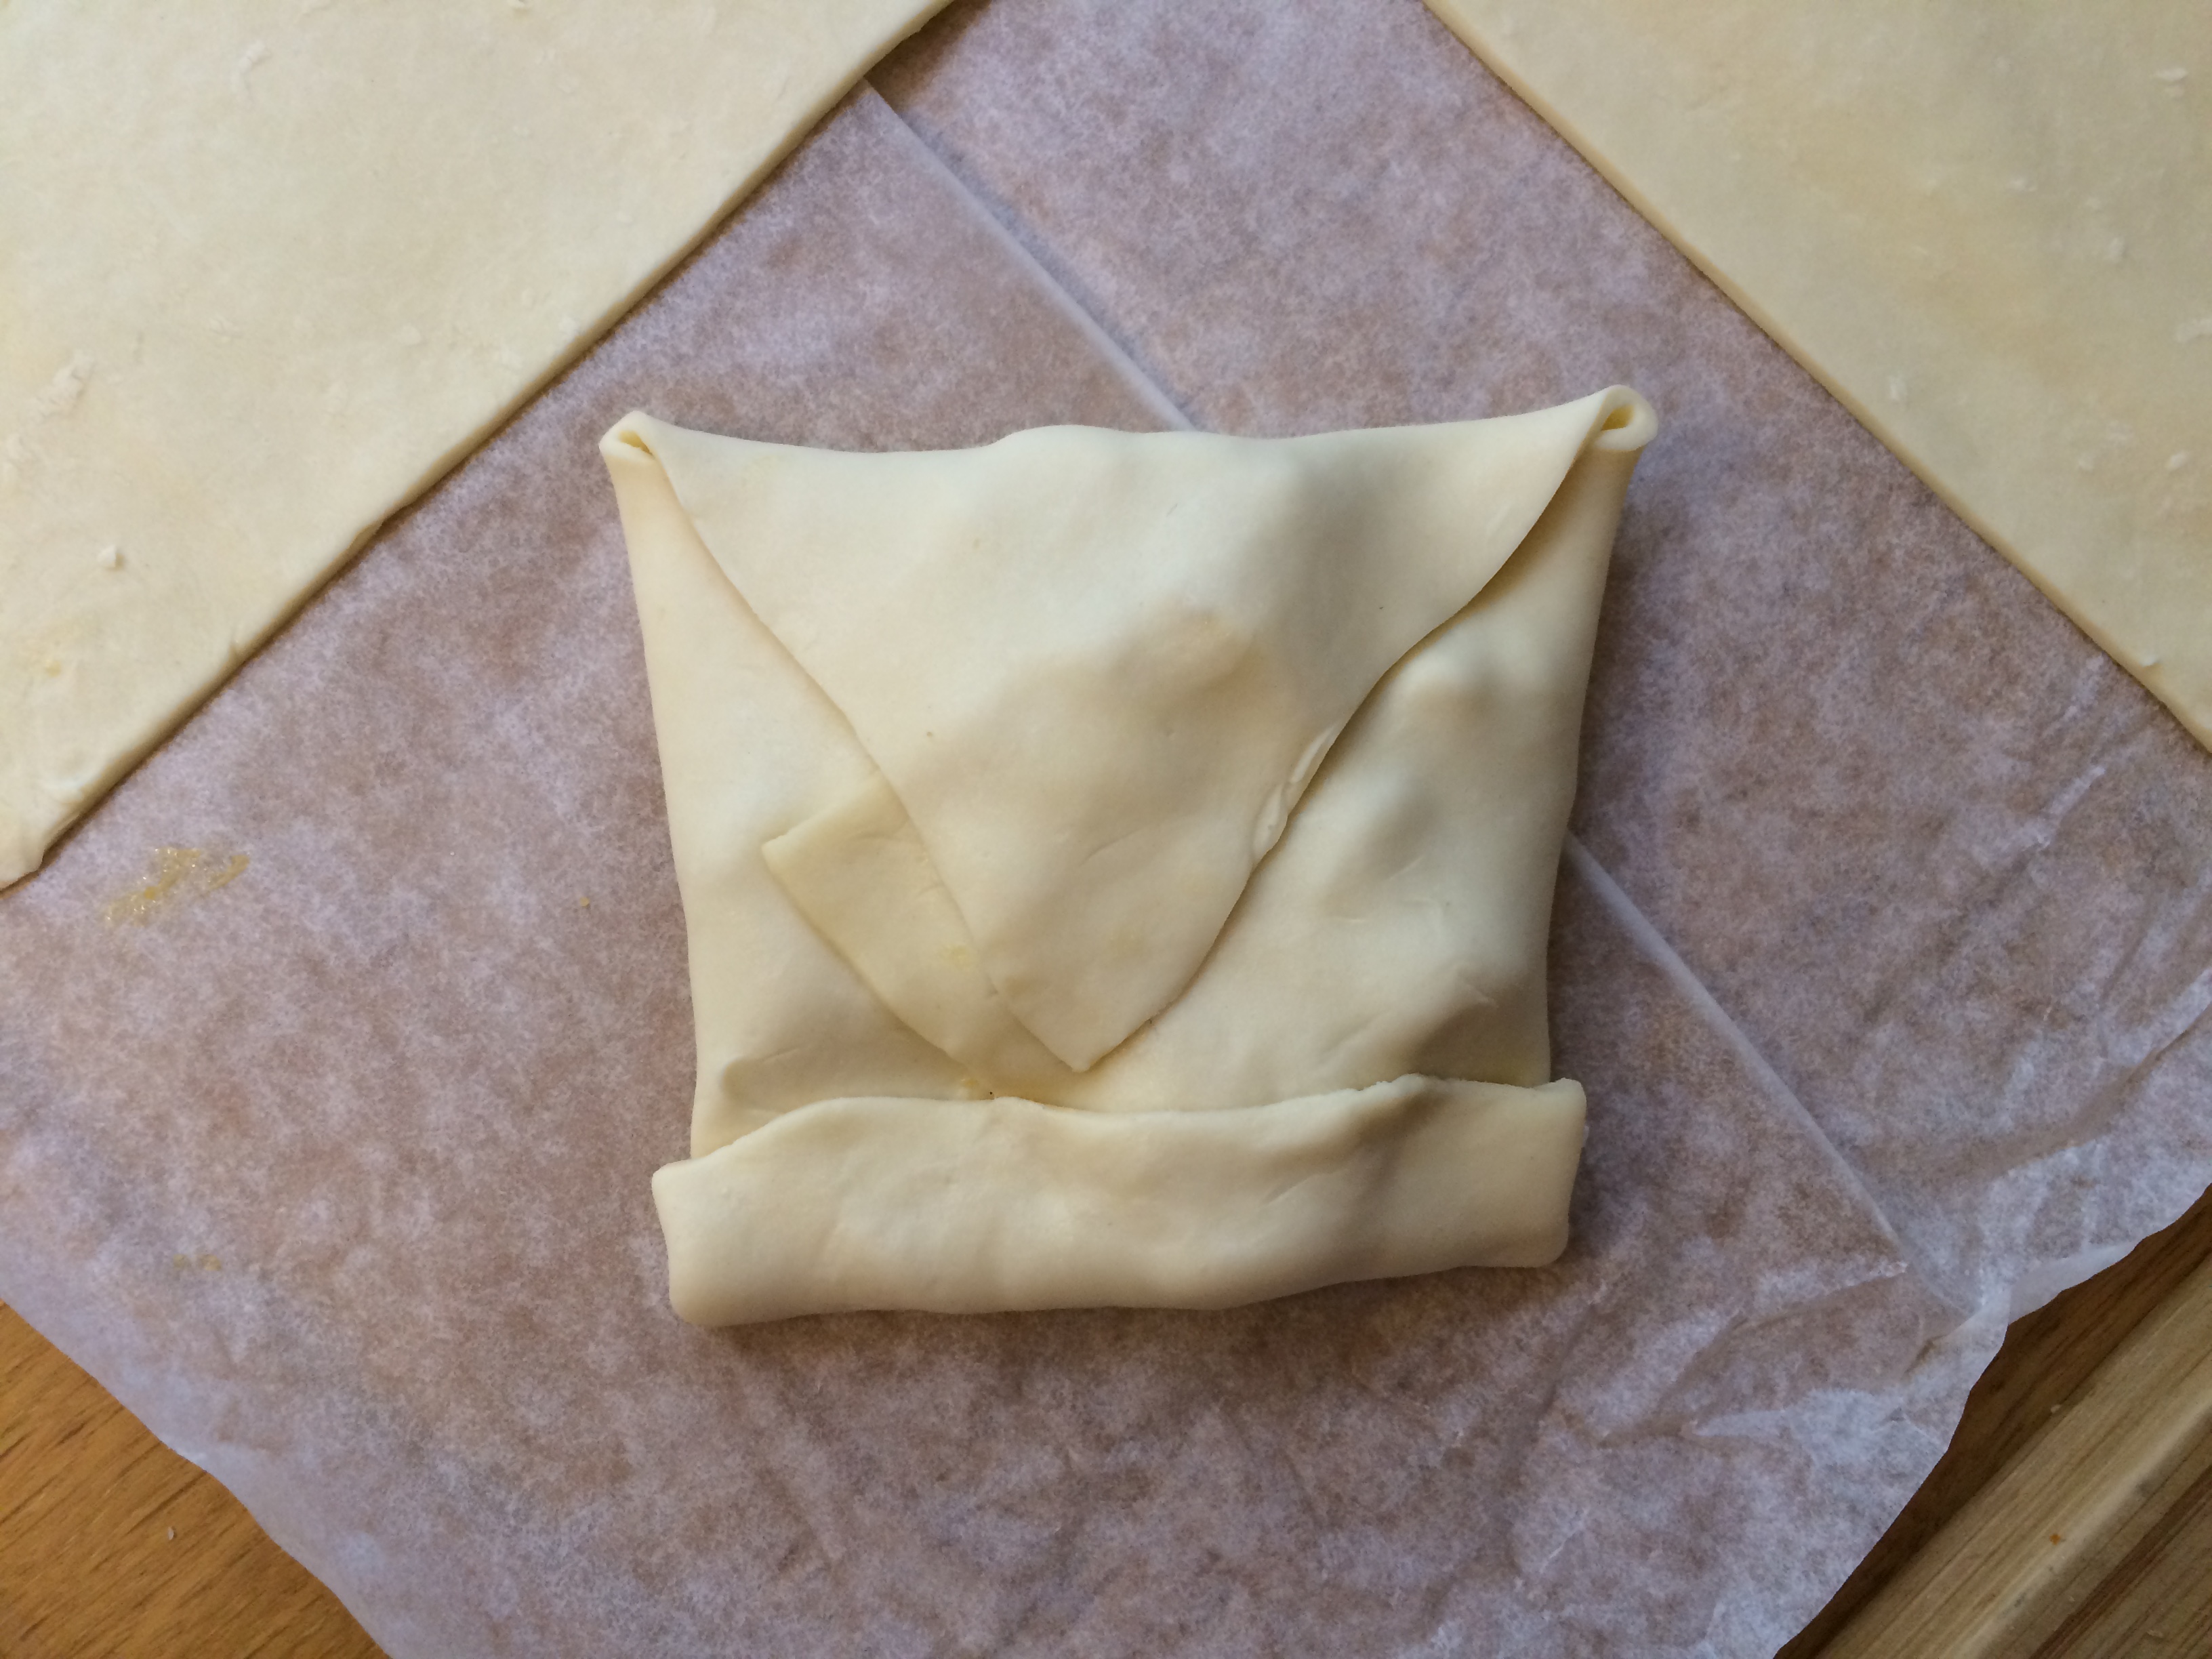
Fold the pastry circle over until the edges meet.

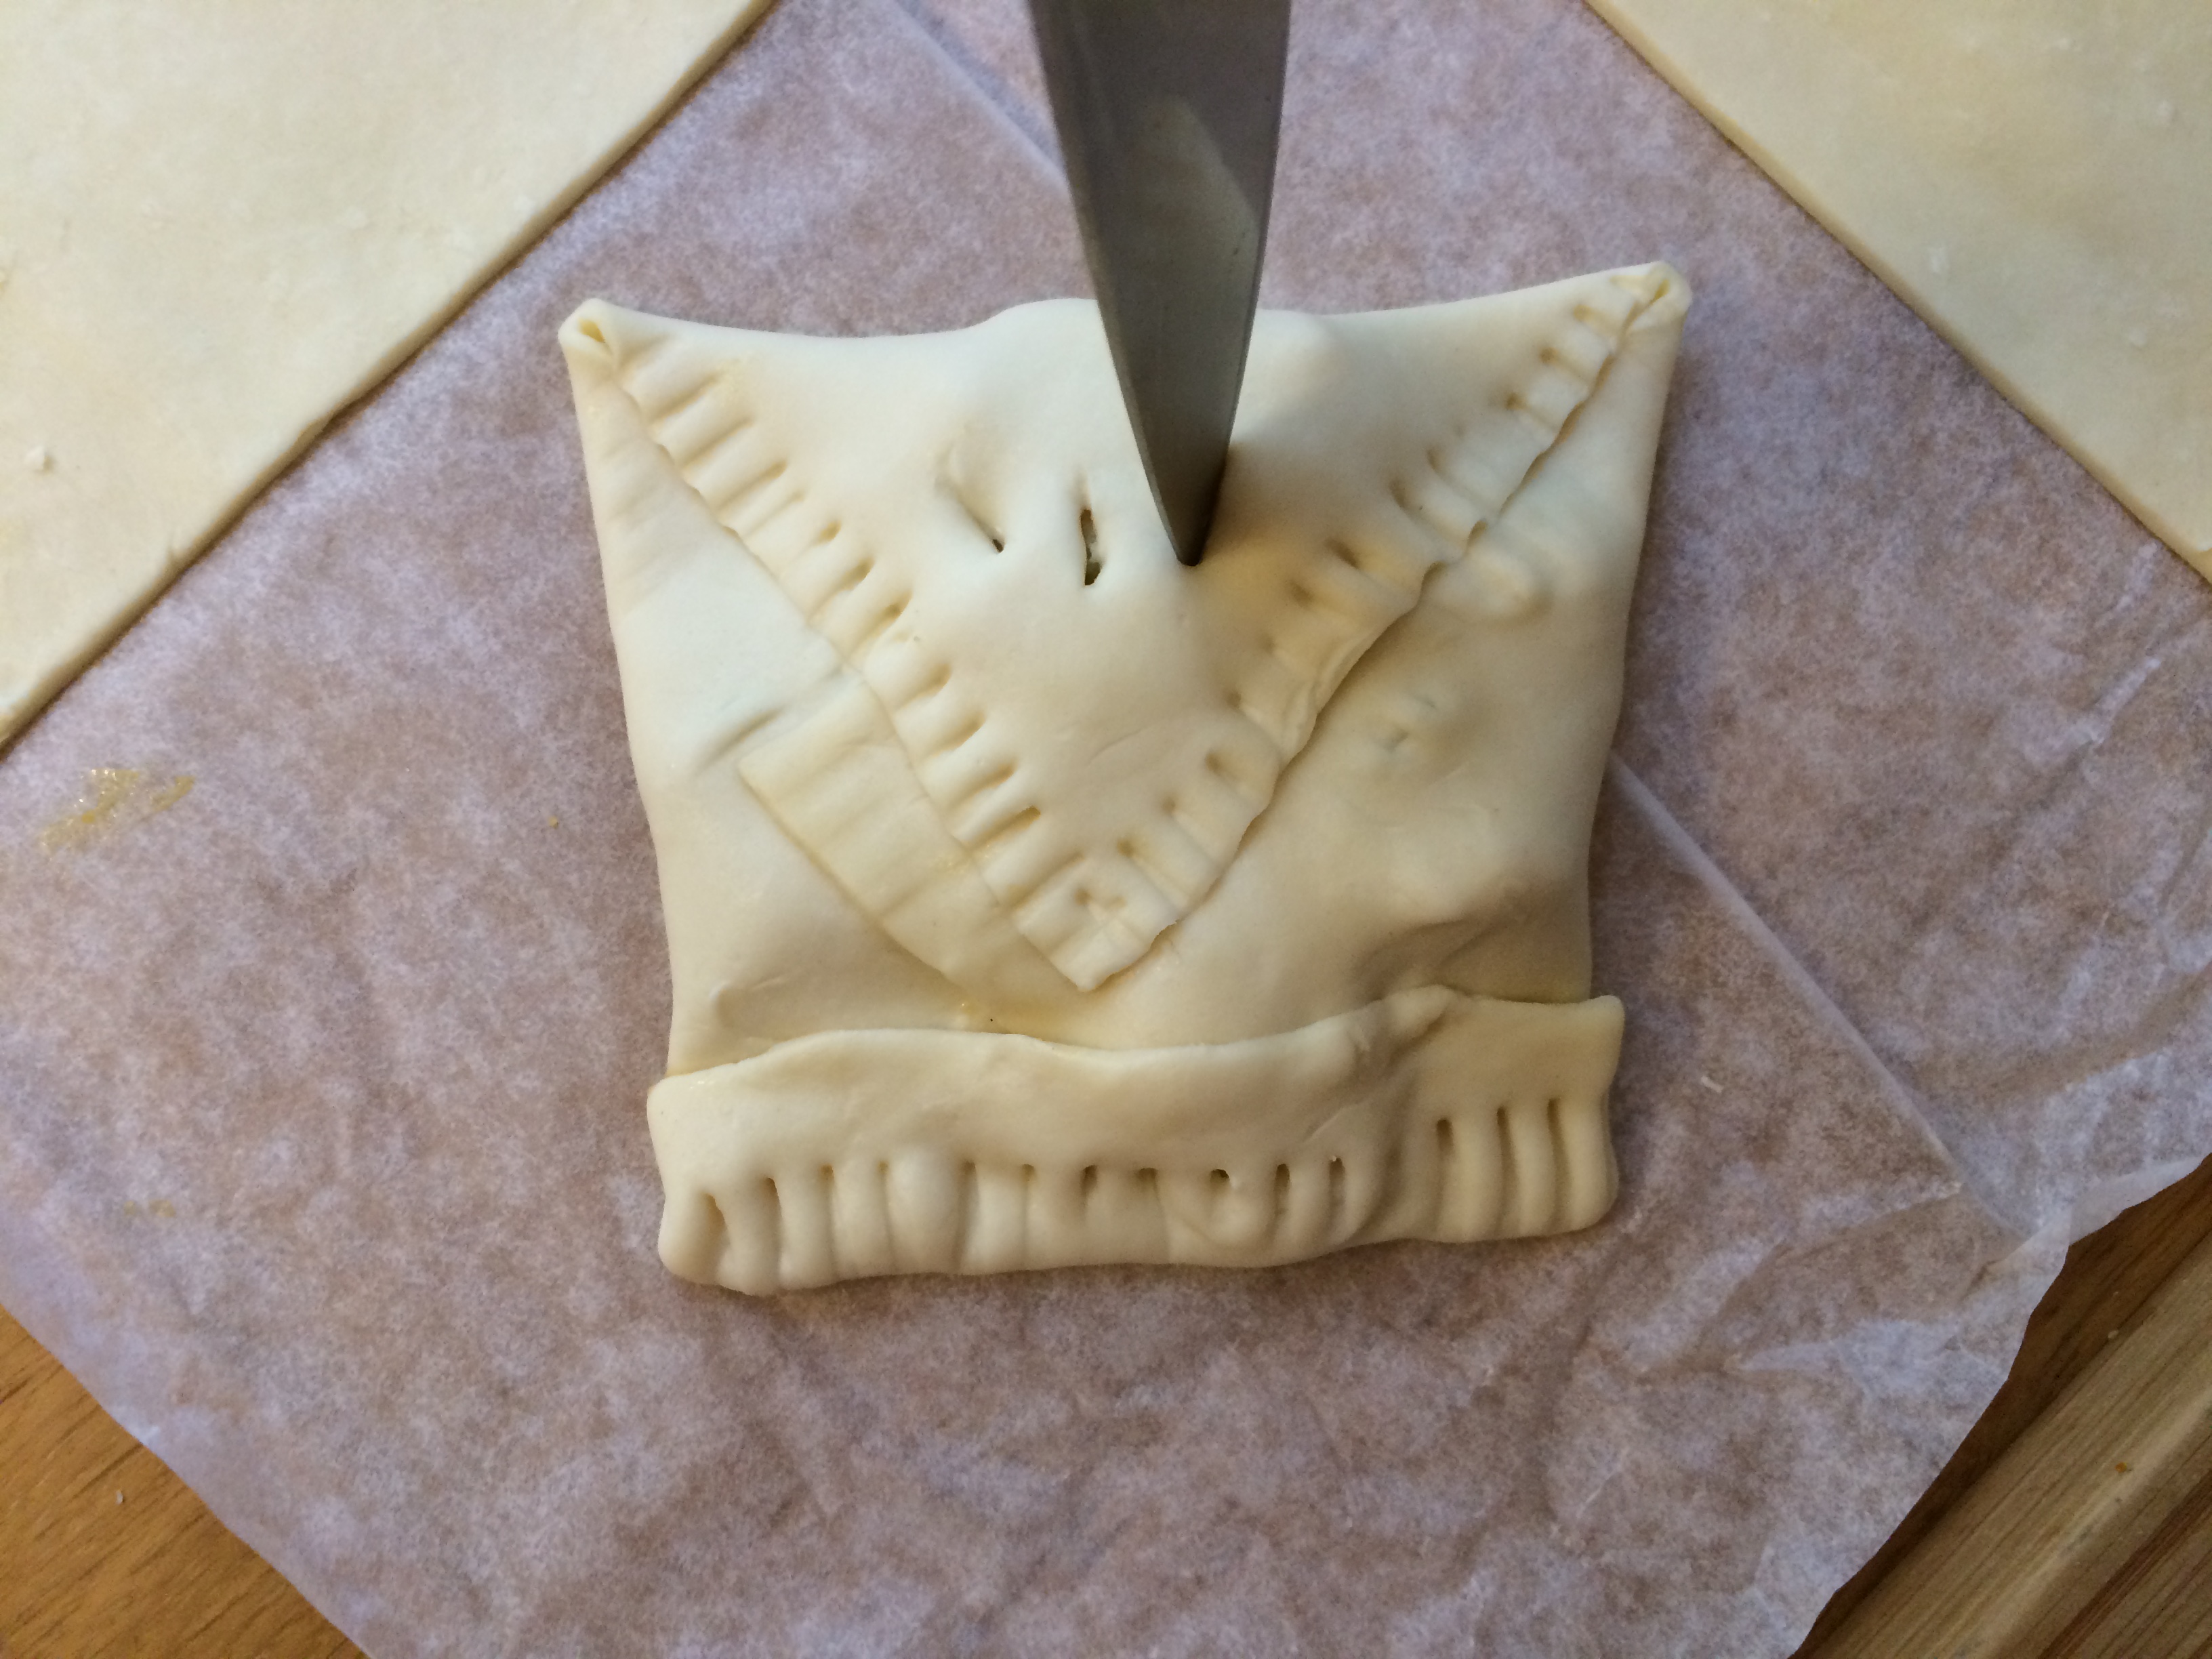
Now seal the edges firmly with a finger or thumb to ensure that they don’t come apart while baking. Some cocopane and raspberry mixture may be left over when all your pastry circles are filled (they make a nice topping for plain yogurt).
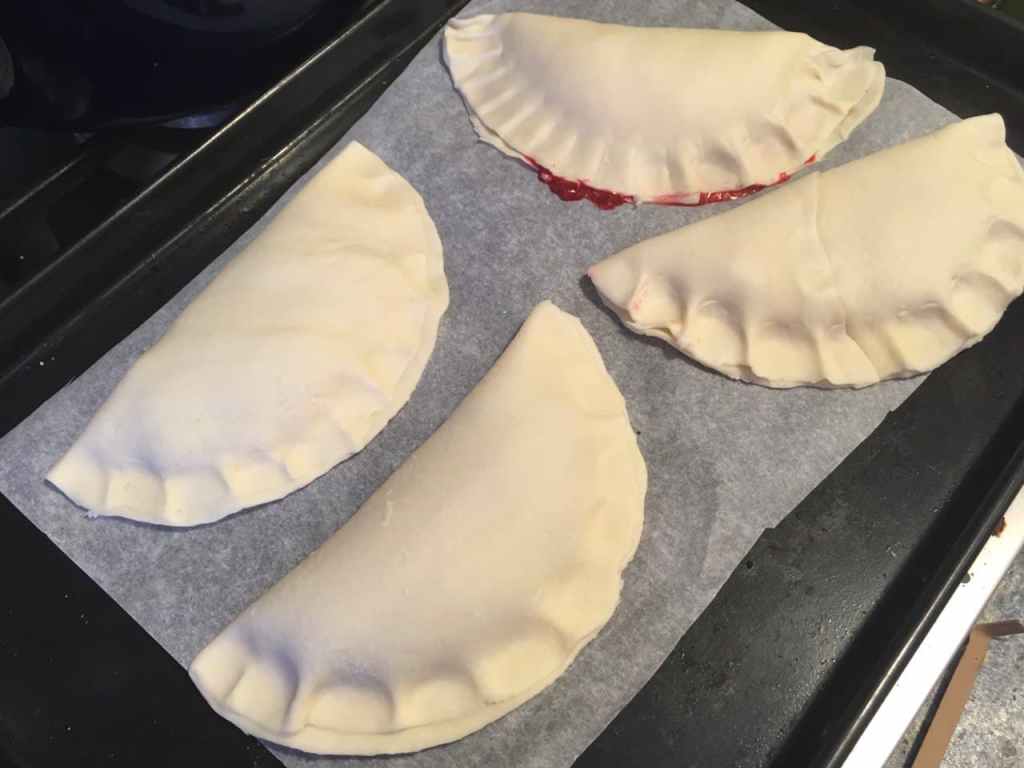
Place the pastries onto a baking sheet lined with parchment paper, and bake for 20 to 25 minutes in your preheated oven.

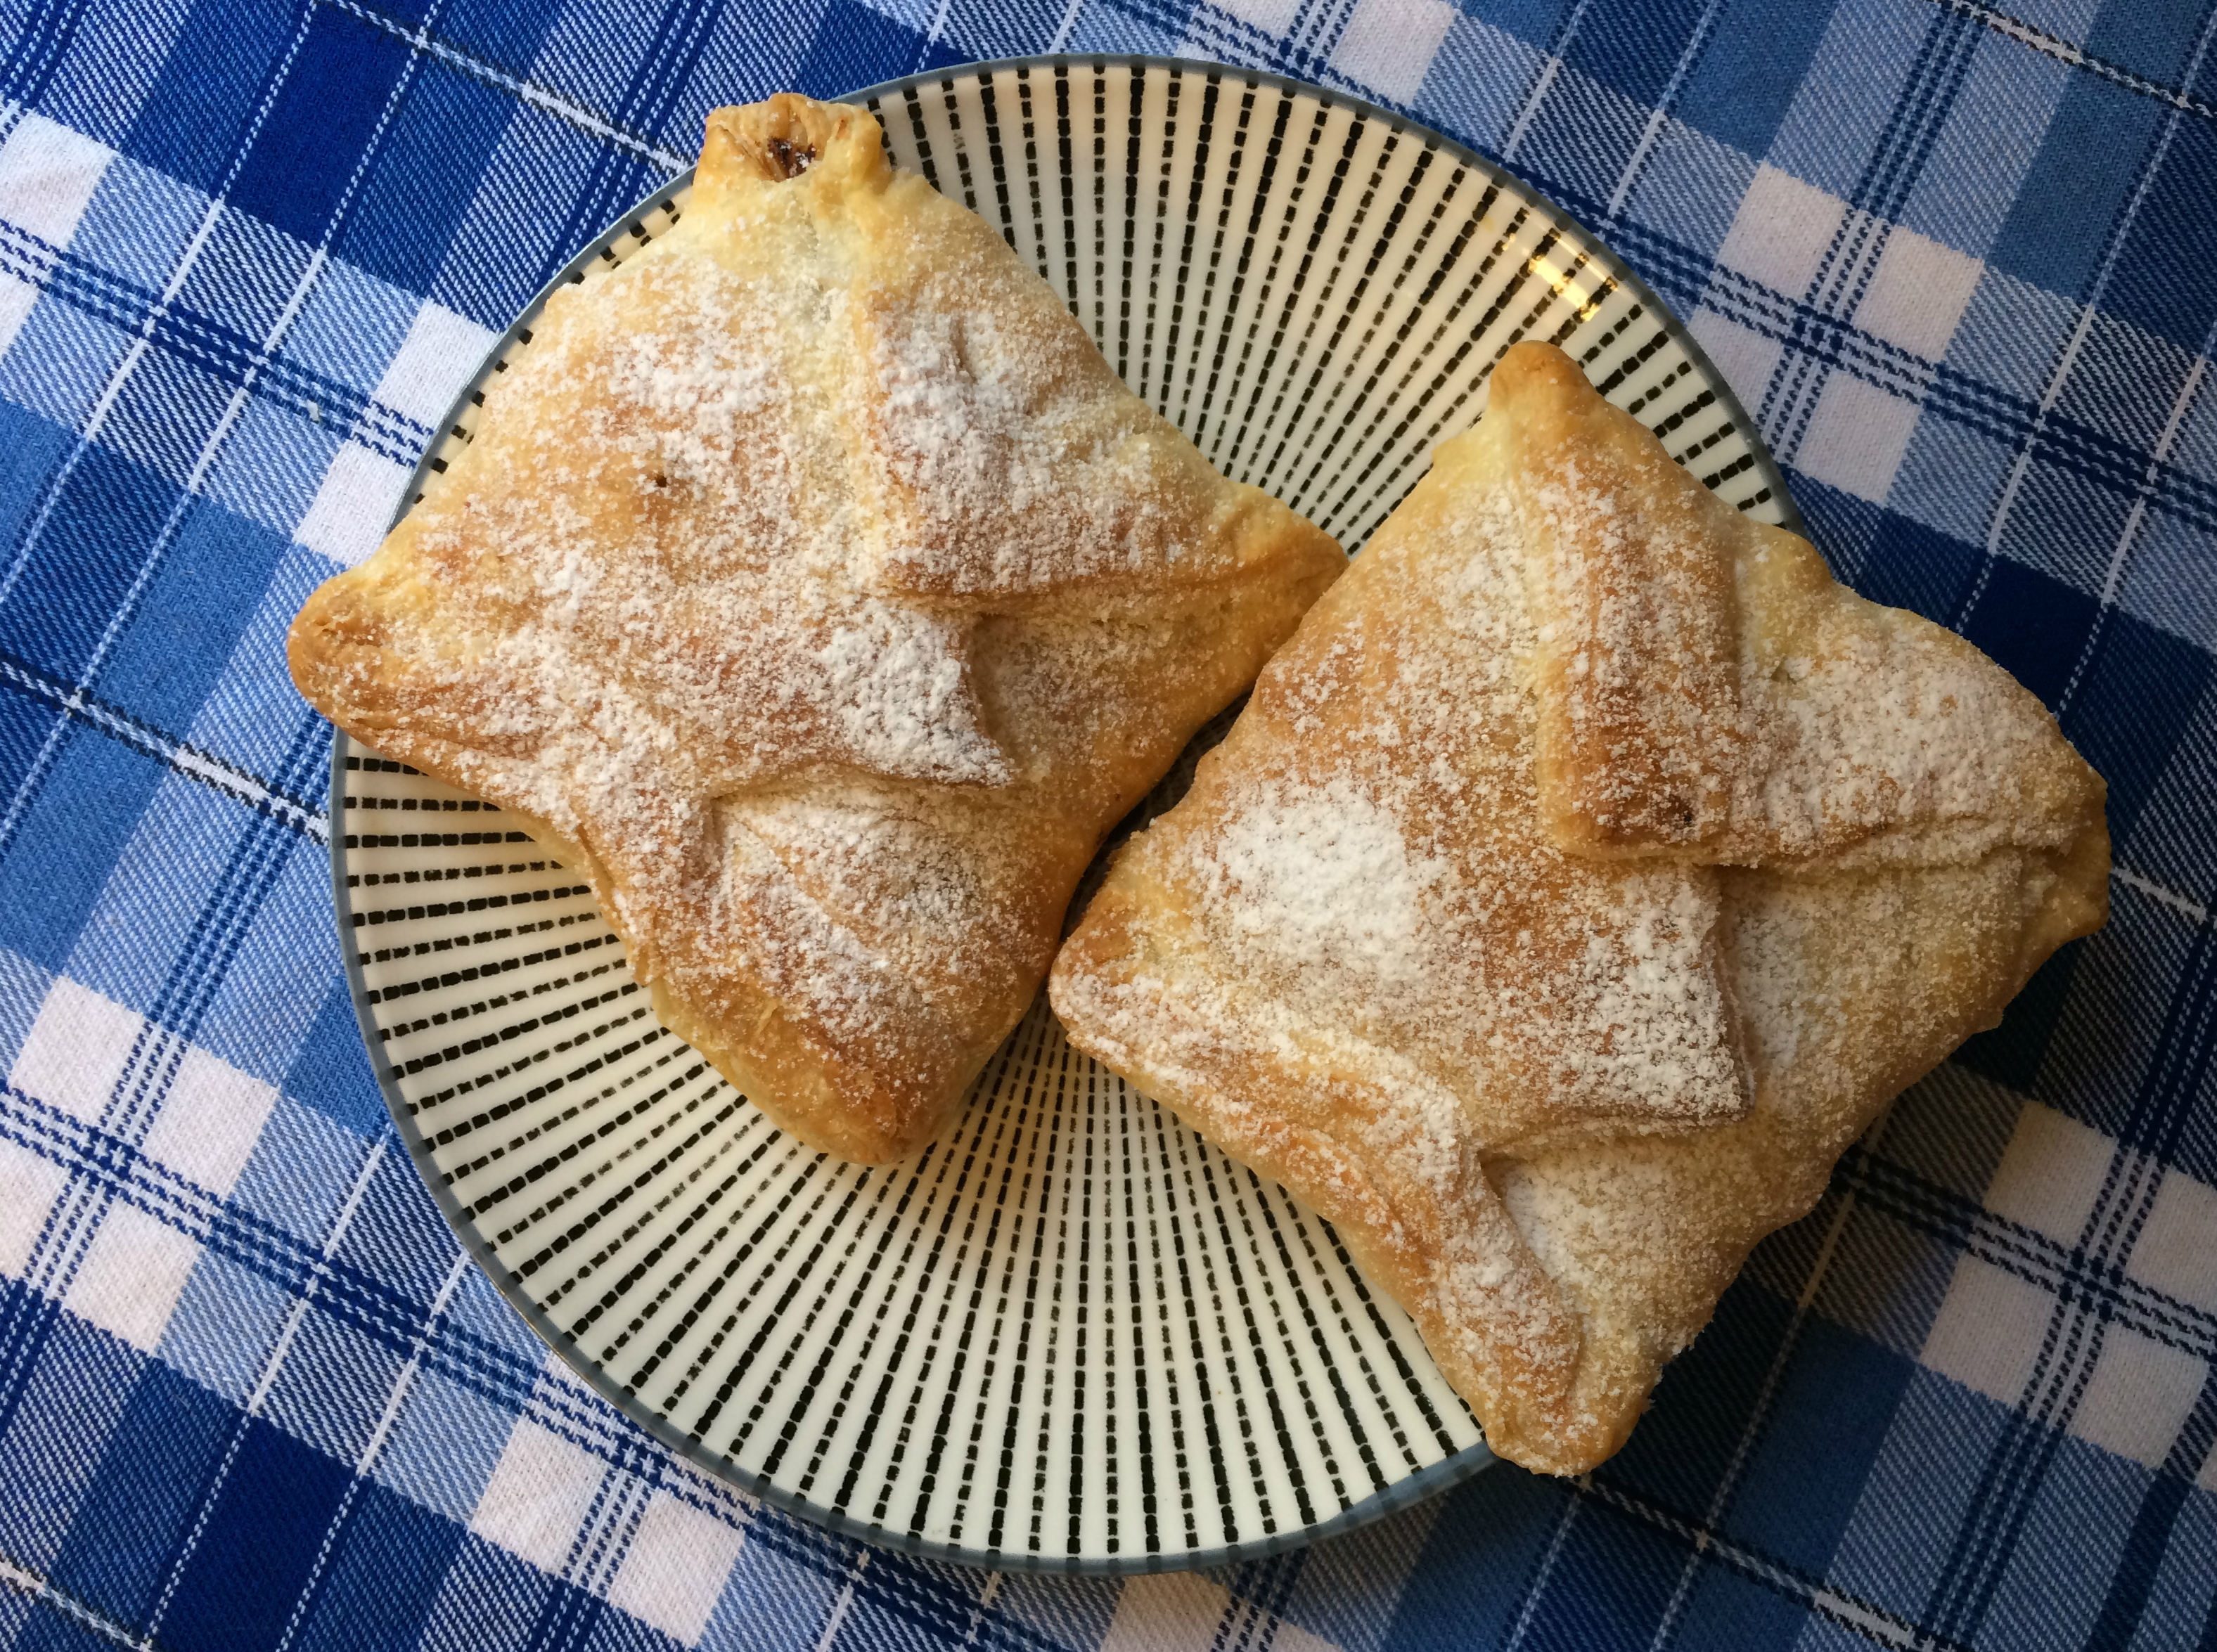
They’re ready when the tops are golden brown. As you can see, the one at the back left didn’t have a good seal because some of the raspberry mixture overflowed while I was closing it. The one at the back right was made from the pieced-together pastry scraps so did not stay completely together… Luckily, the powdered sugar dusting is a remedy for small flaws like these!

Allow the pastries to cool for a few minutes, then dust the top with some powdered sugar. I like to put mine through a small sieve to ensure a fine consistency.
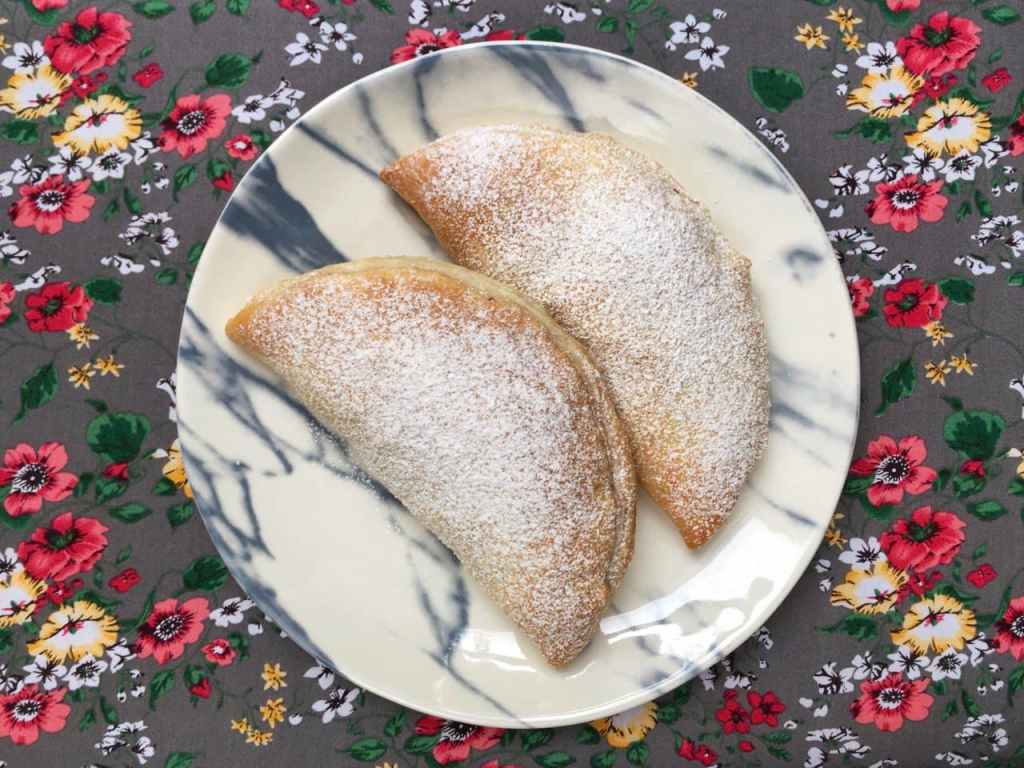
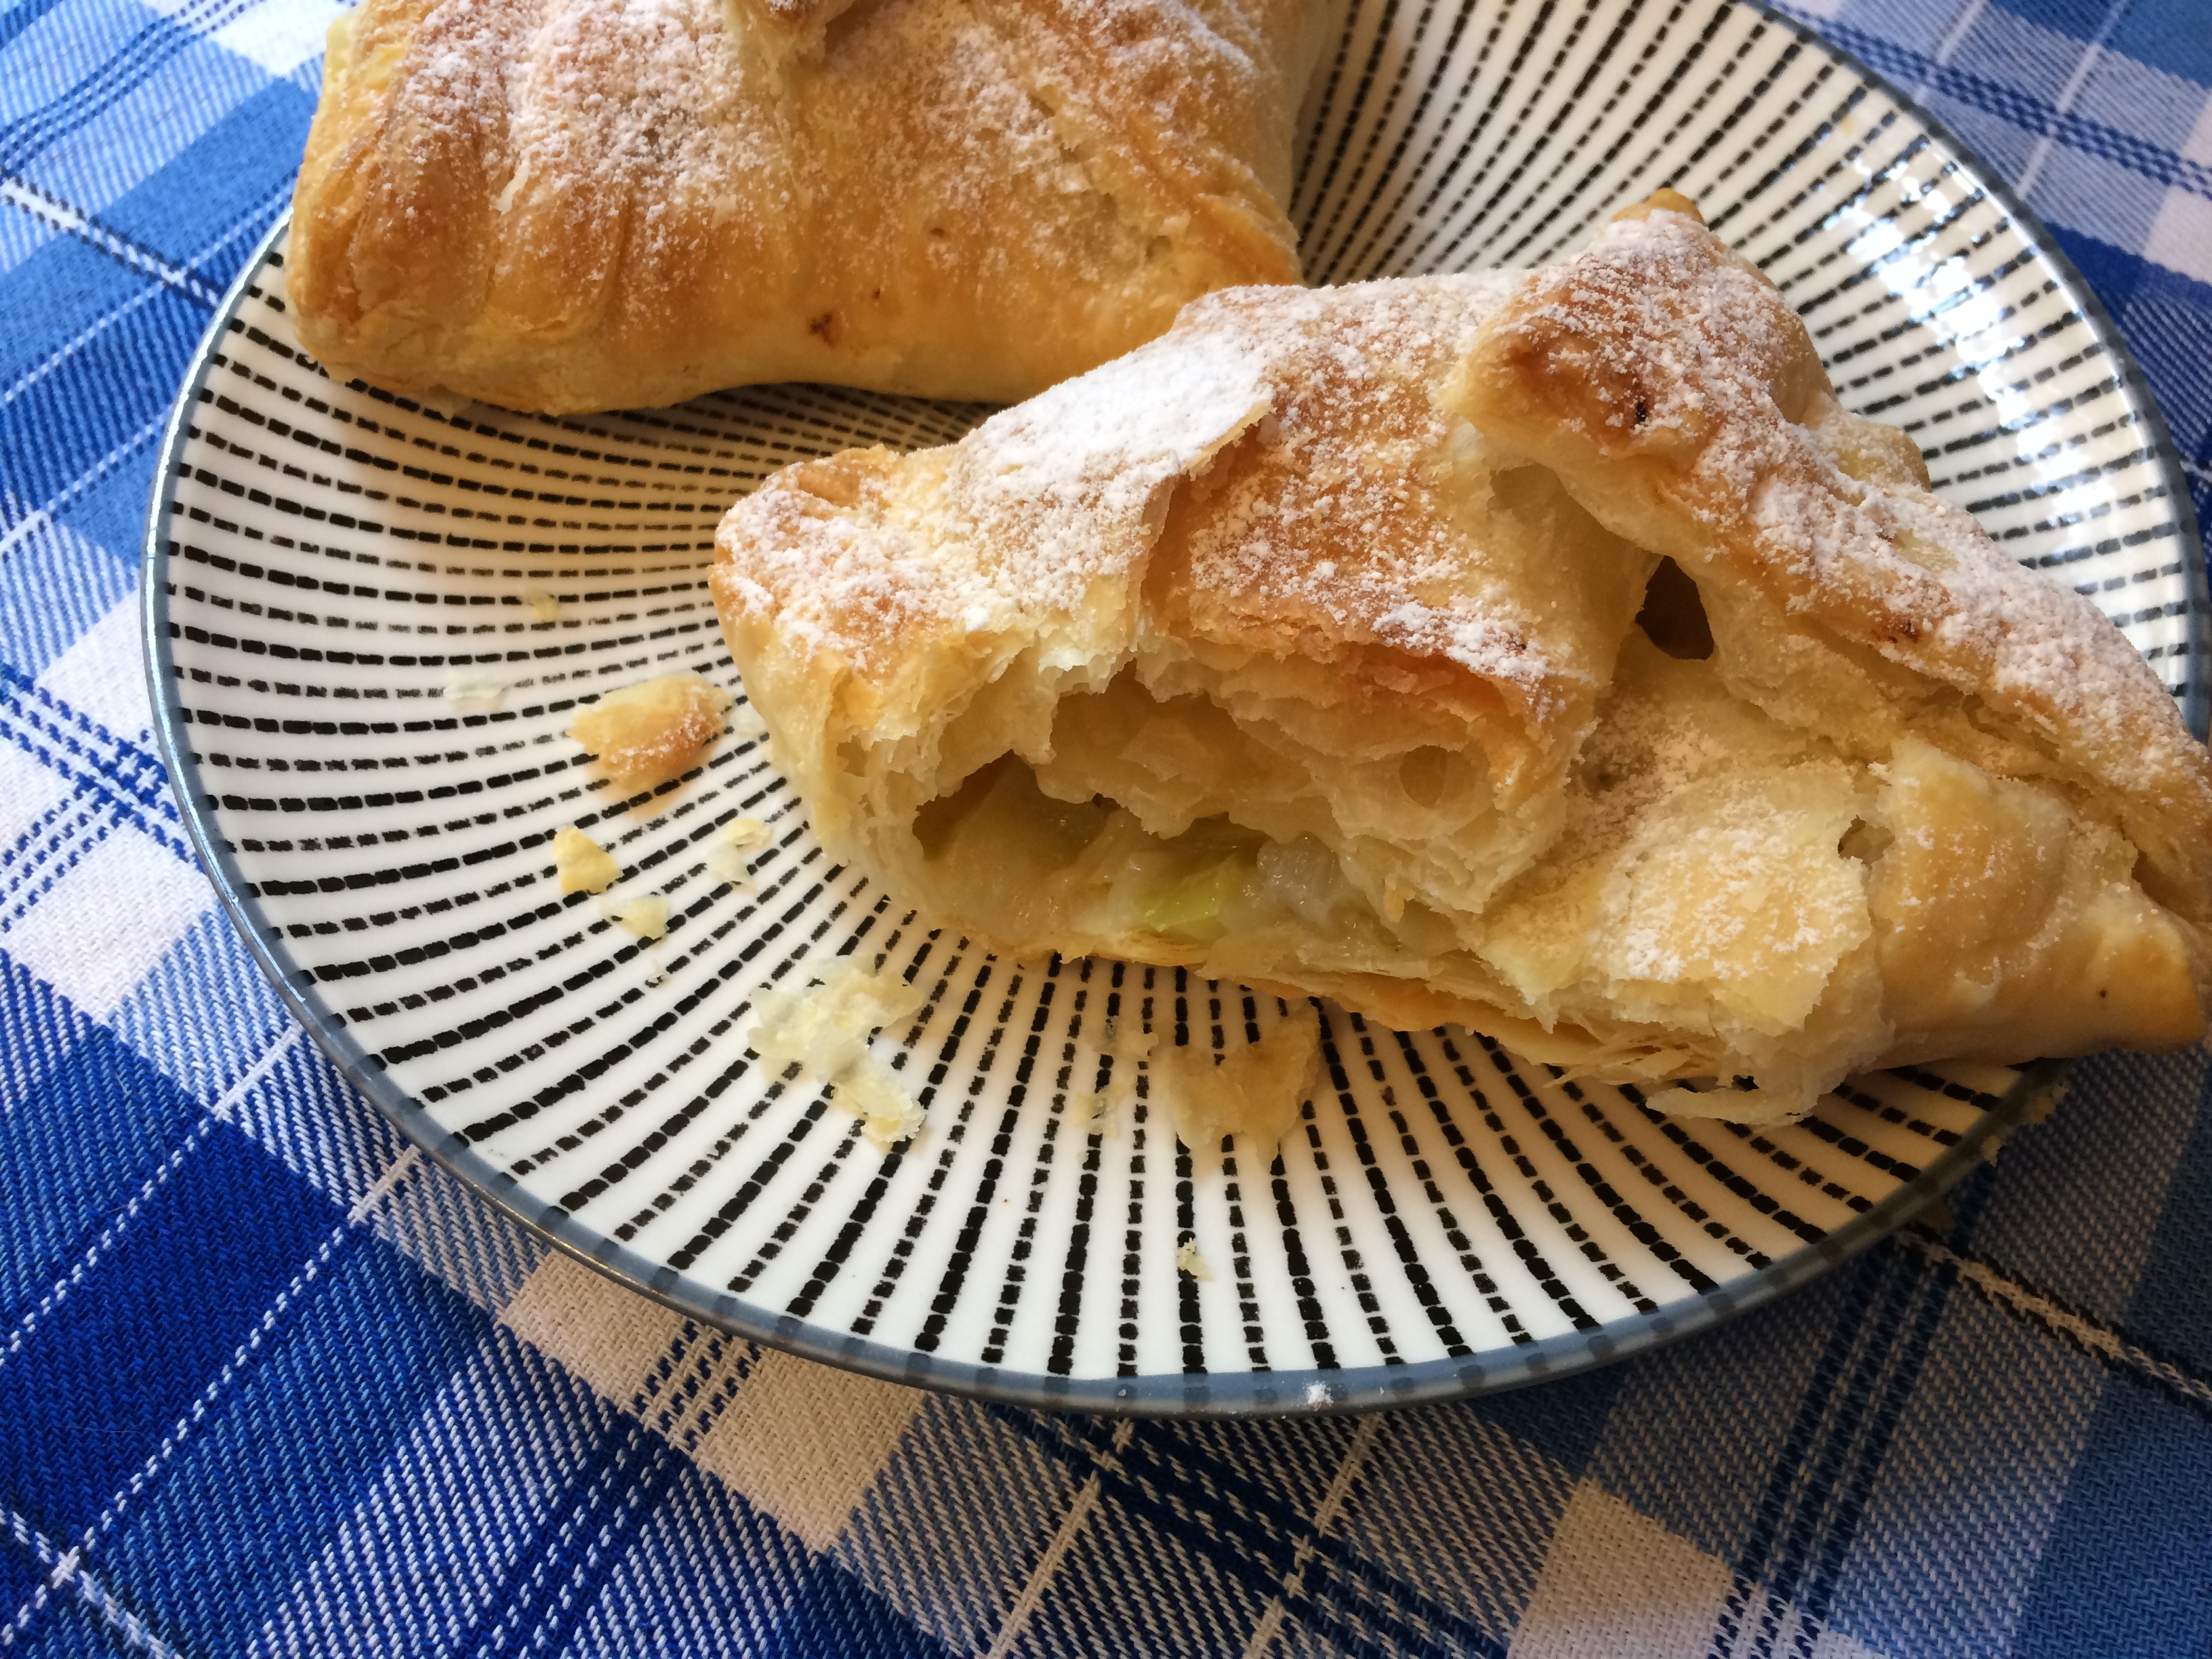
And there you have some lovely, freshly baked raspberry cocopane pastries… the perfect thing for a very romantic Valentine’s Day breakfast!

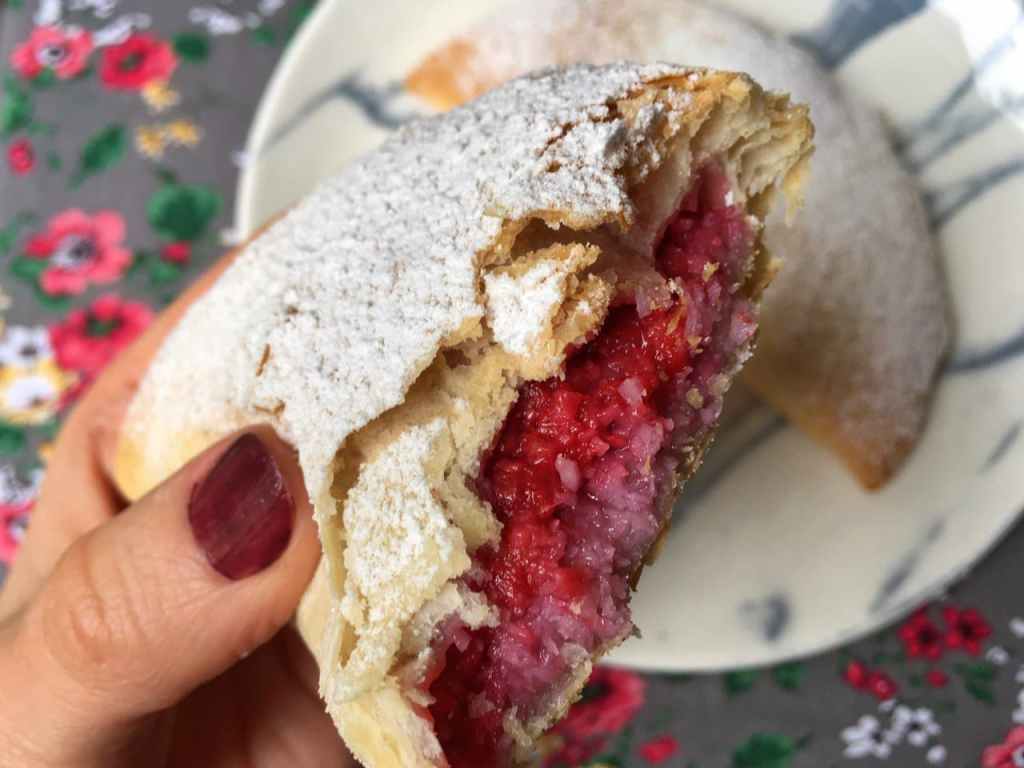
Crunchy and flaky on the outside, soft and fruity on the inside.

Just before serving these yummy treats, hit “play” on this video:
Variations:
- Use another type of fruit (cherries, apricot, apple or banana come to mind).
- Color the cocopane blue with blue spirulina before adding the raspberry (your result will undoubtedly be a bit purple) or green with matcha.
- Add a bit of rosewater to make a raspberry-rosewater version.
- For a frangipane version, use ground almonds instead of grated coconut, and substitute soy cream and canola oil for the coconut cream and coconut oil.


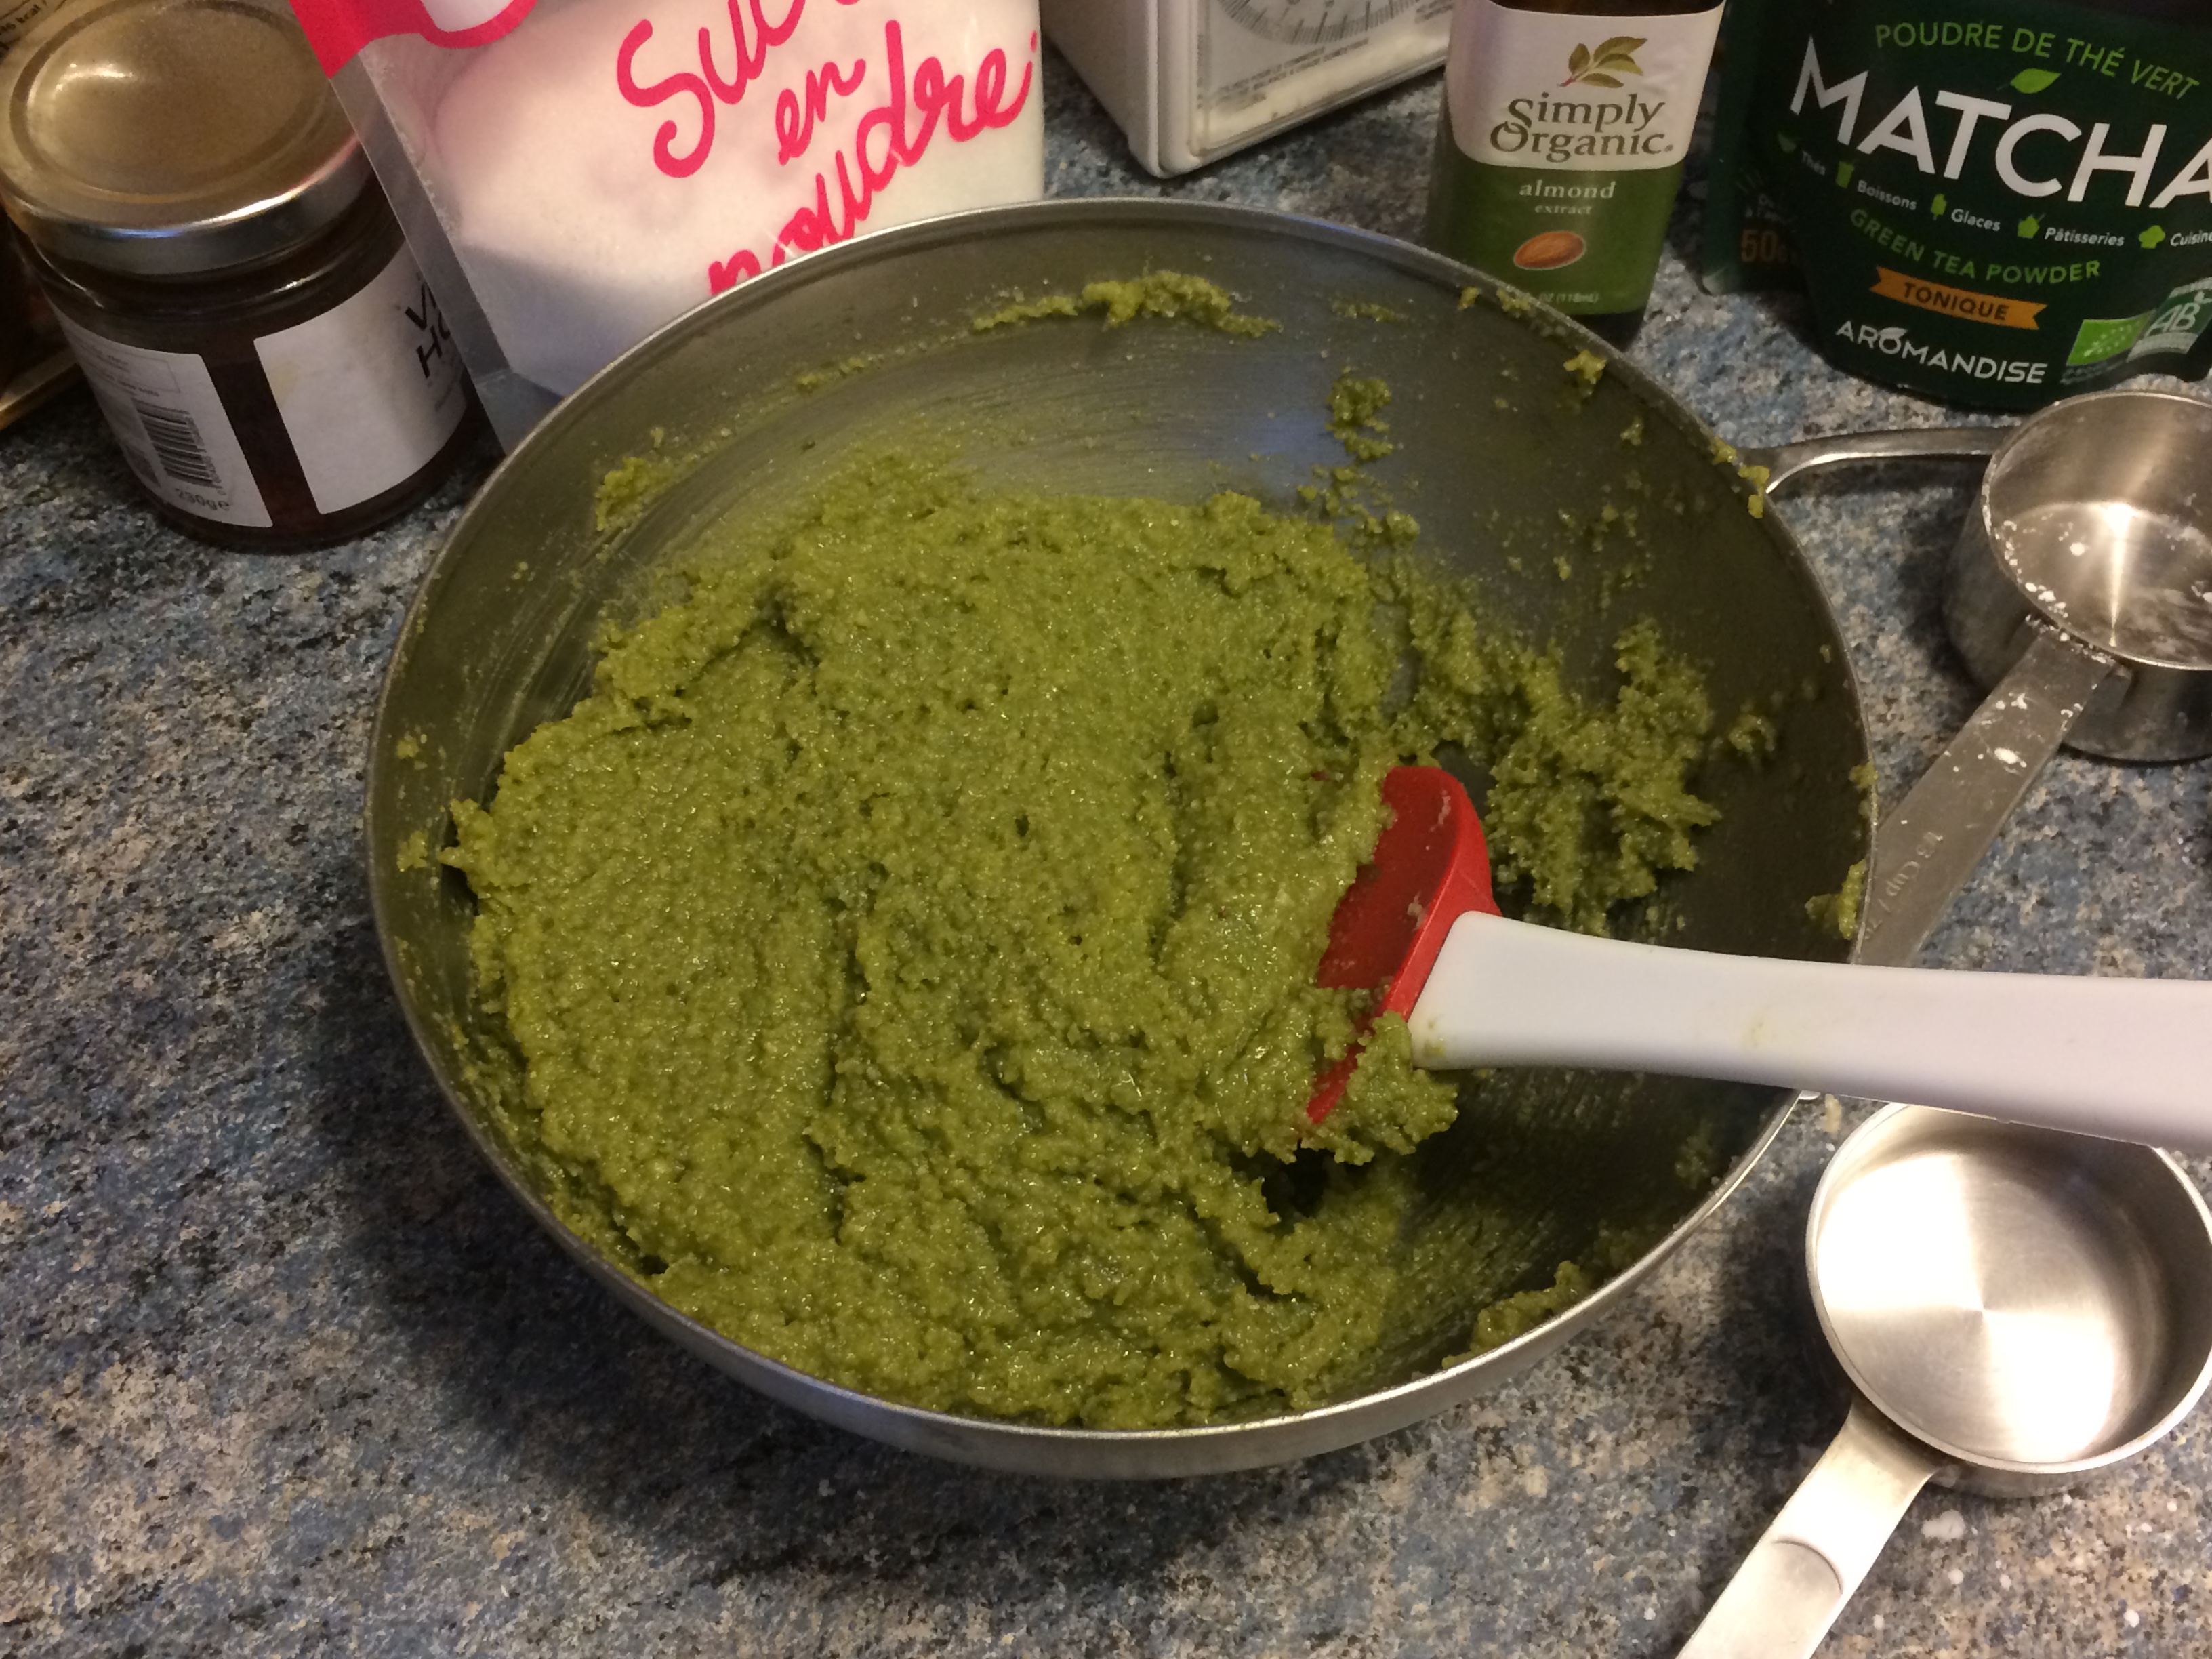 In a separate small bowl, combine the cream, milk, oil and almond extract, whisking with a fork. Add this liquid mixture to the dry mixture and stir thoroughly until you have a thick uniform paste. Taste it to check the sweetness – as matcha is fairly bitter, you may find you need a bit more sugar.
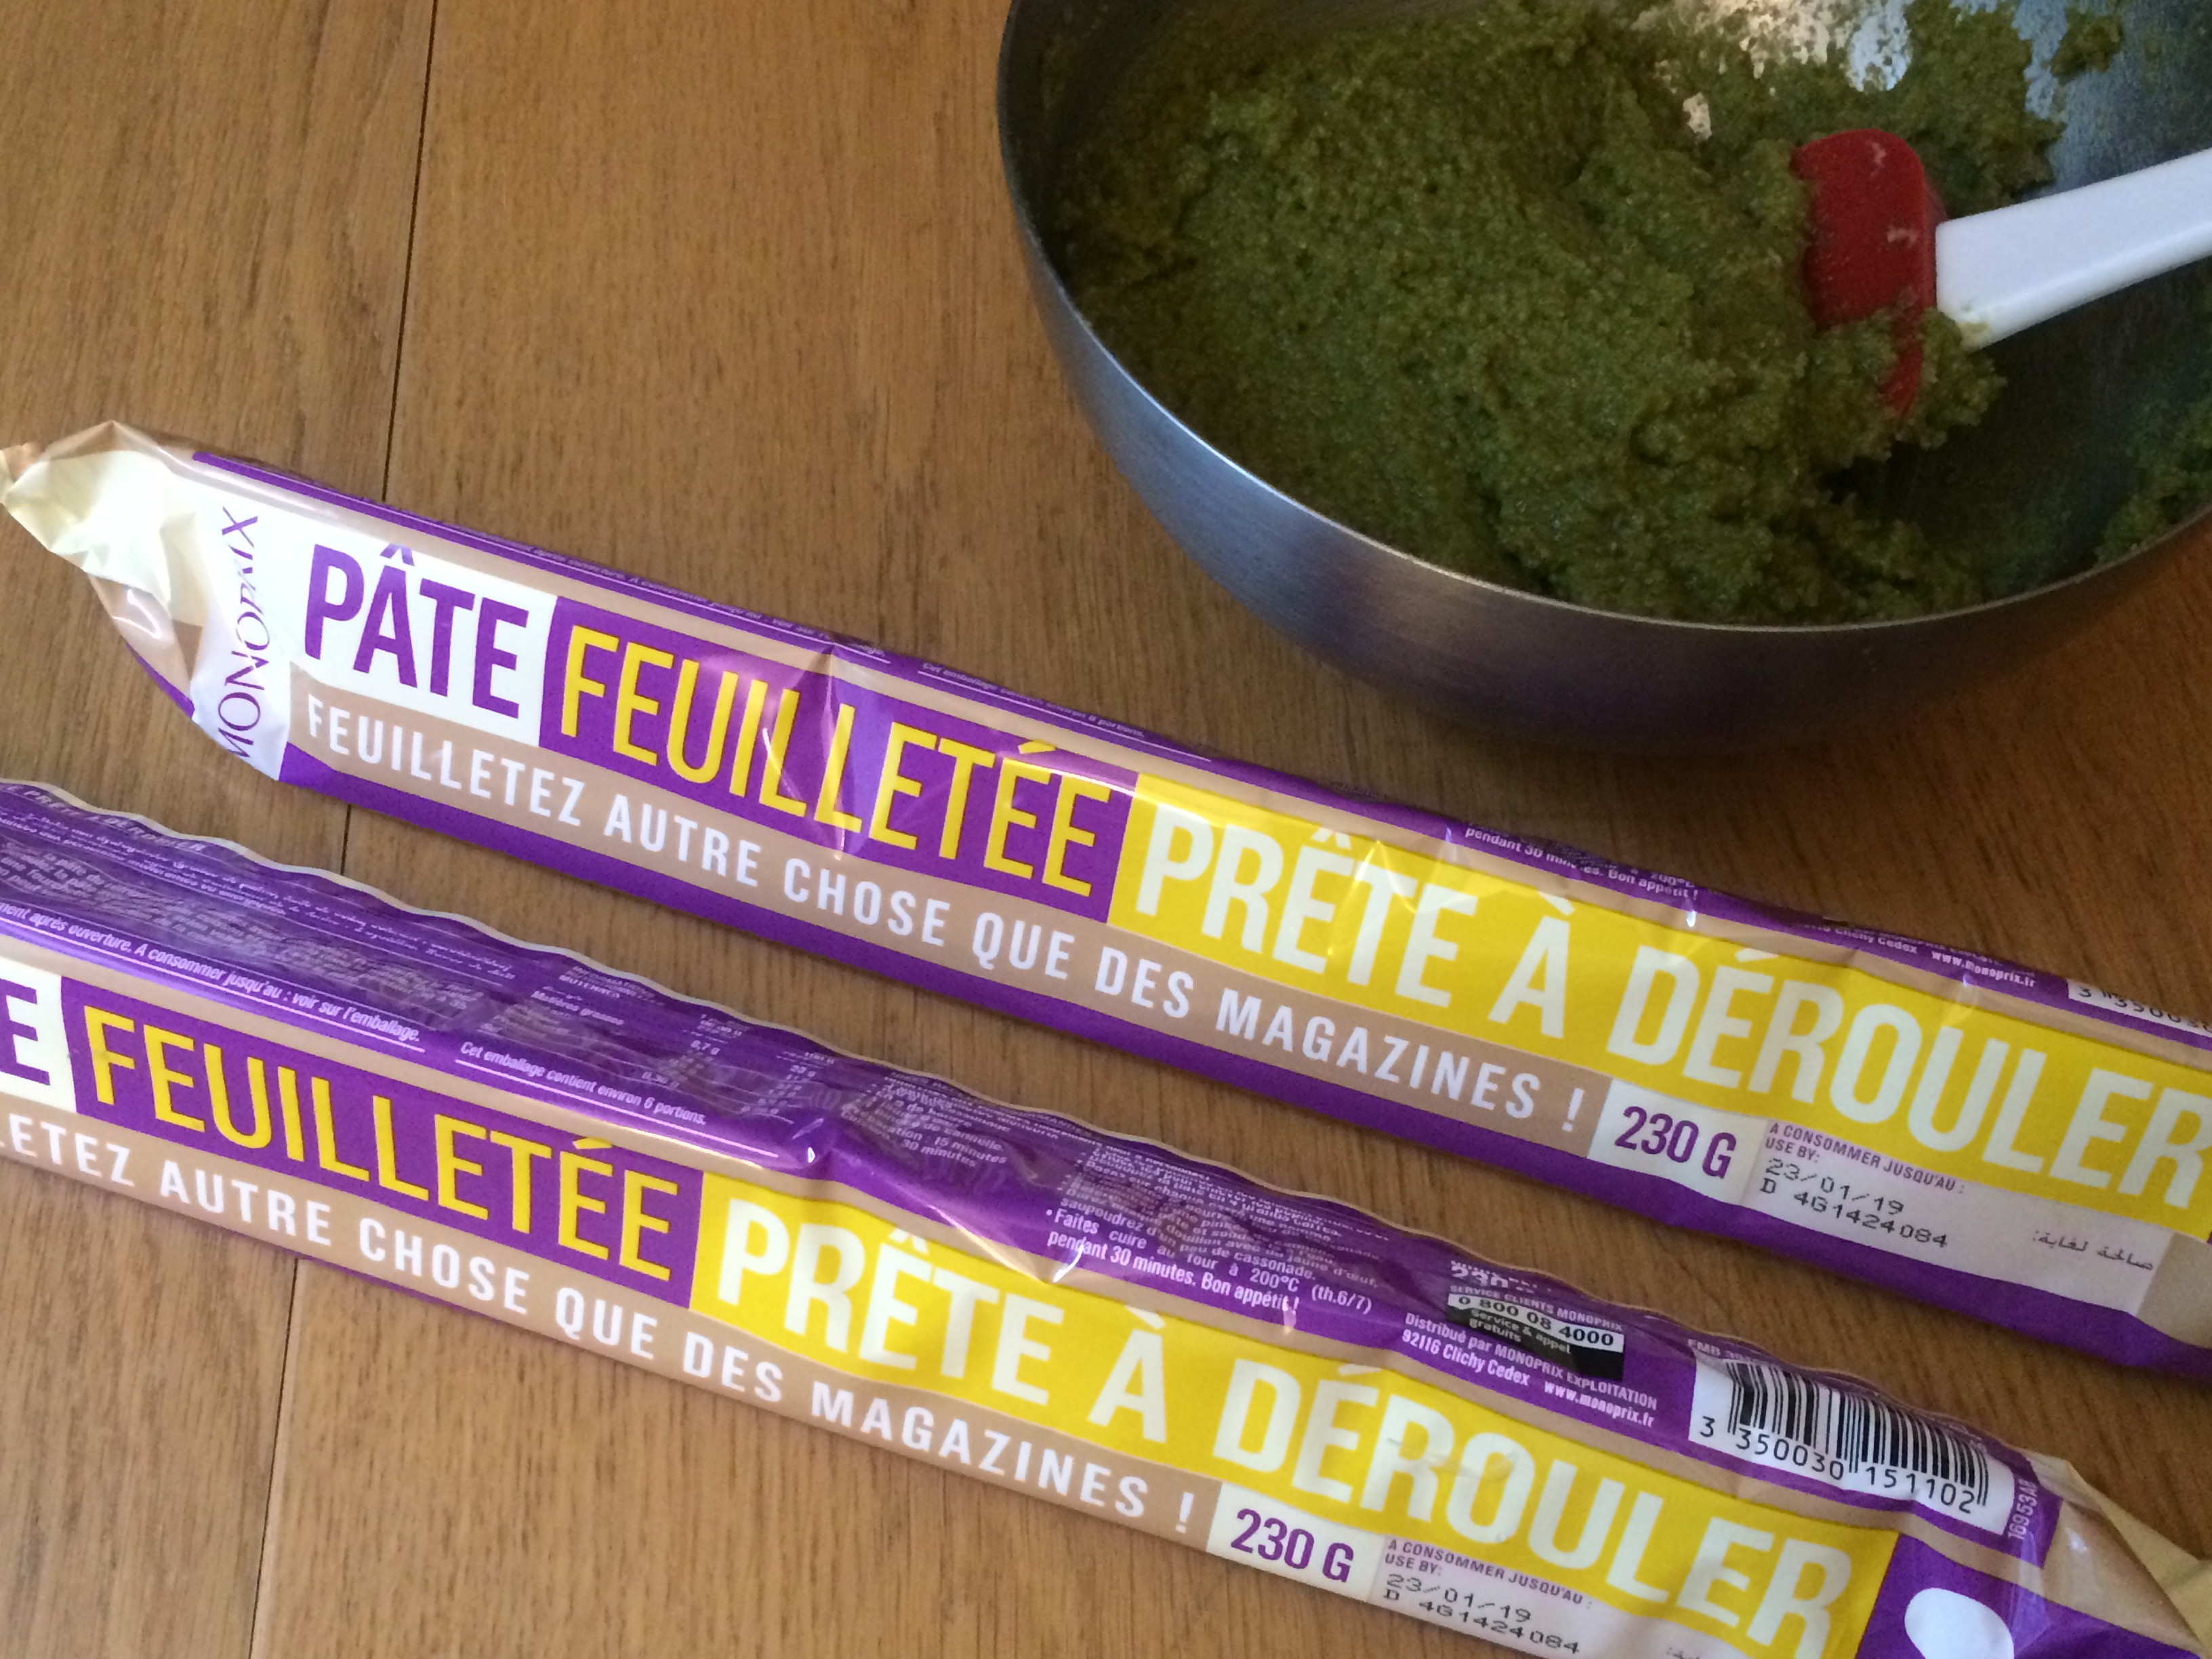 Preheat your oven to 350°F (180°C) and take your first pastry crust out of the fridge. Unroll it on a large surface.
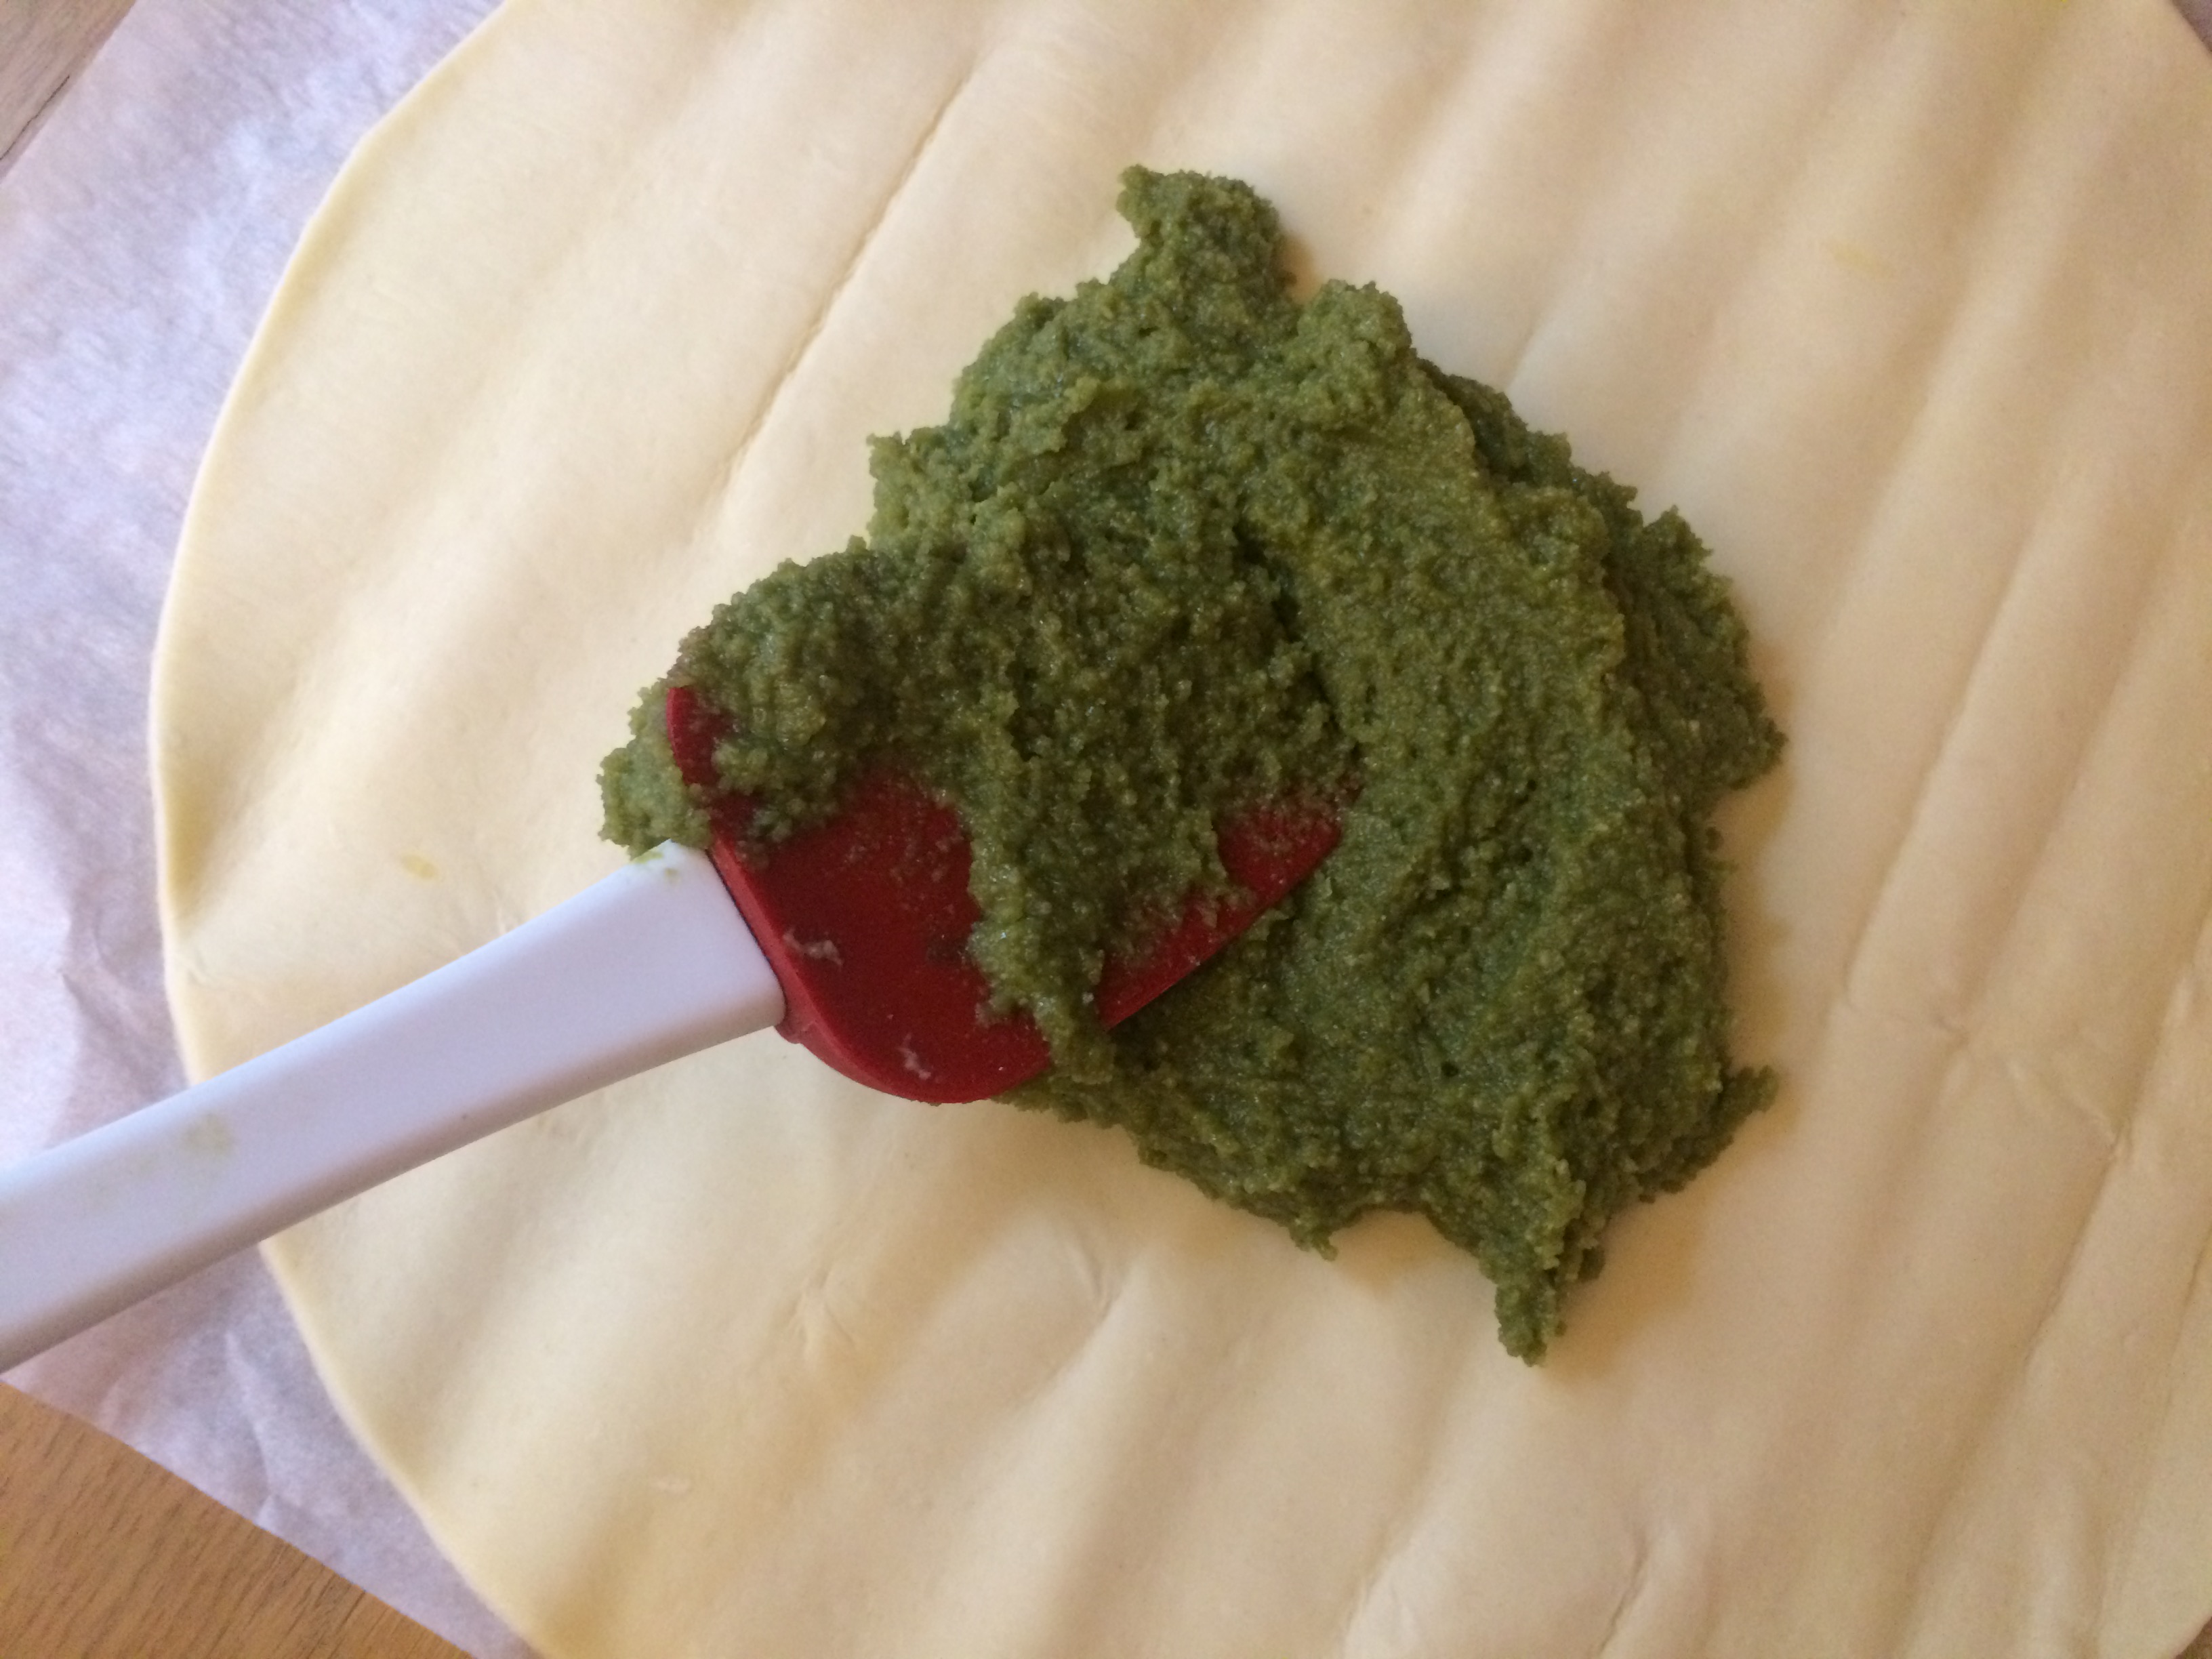 Transfer your matcha almond paste to the center of the pastry and gently spread it out with a spatula to a uniform thickness.
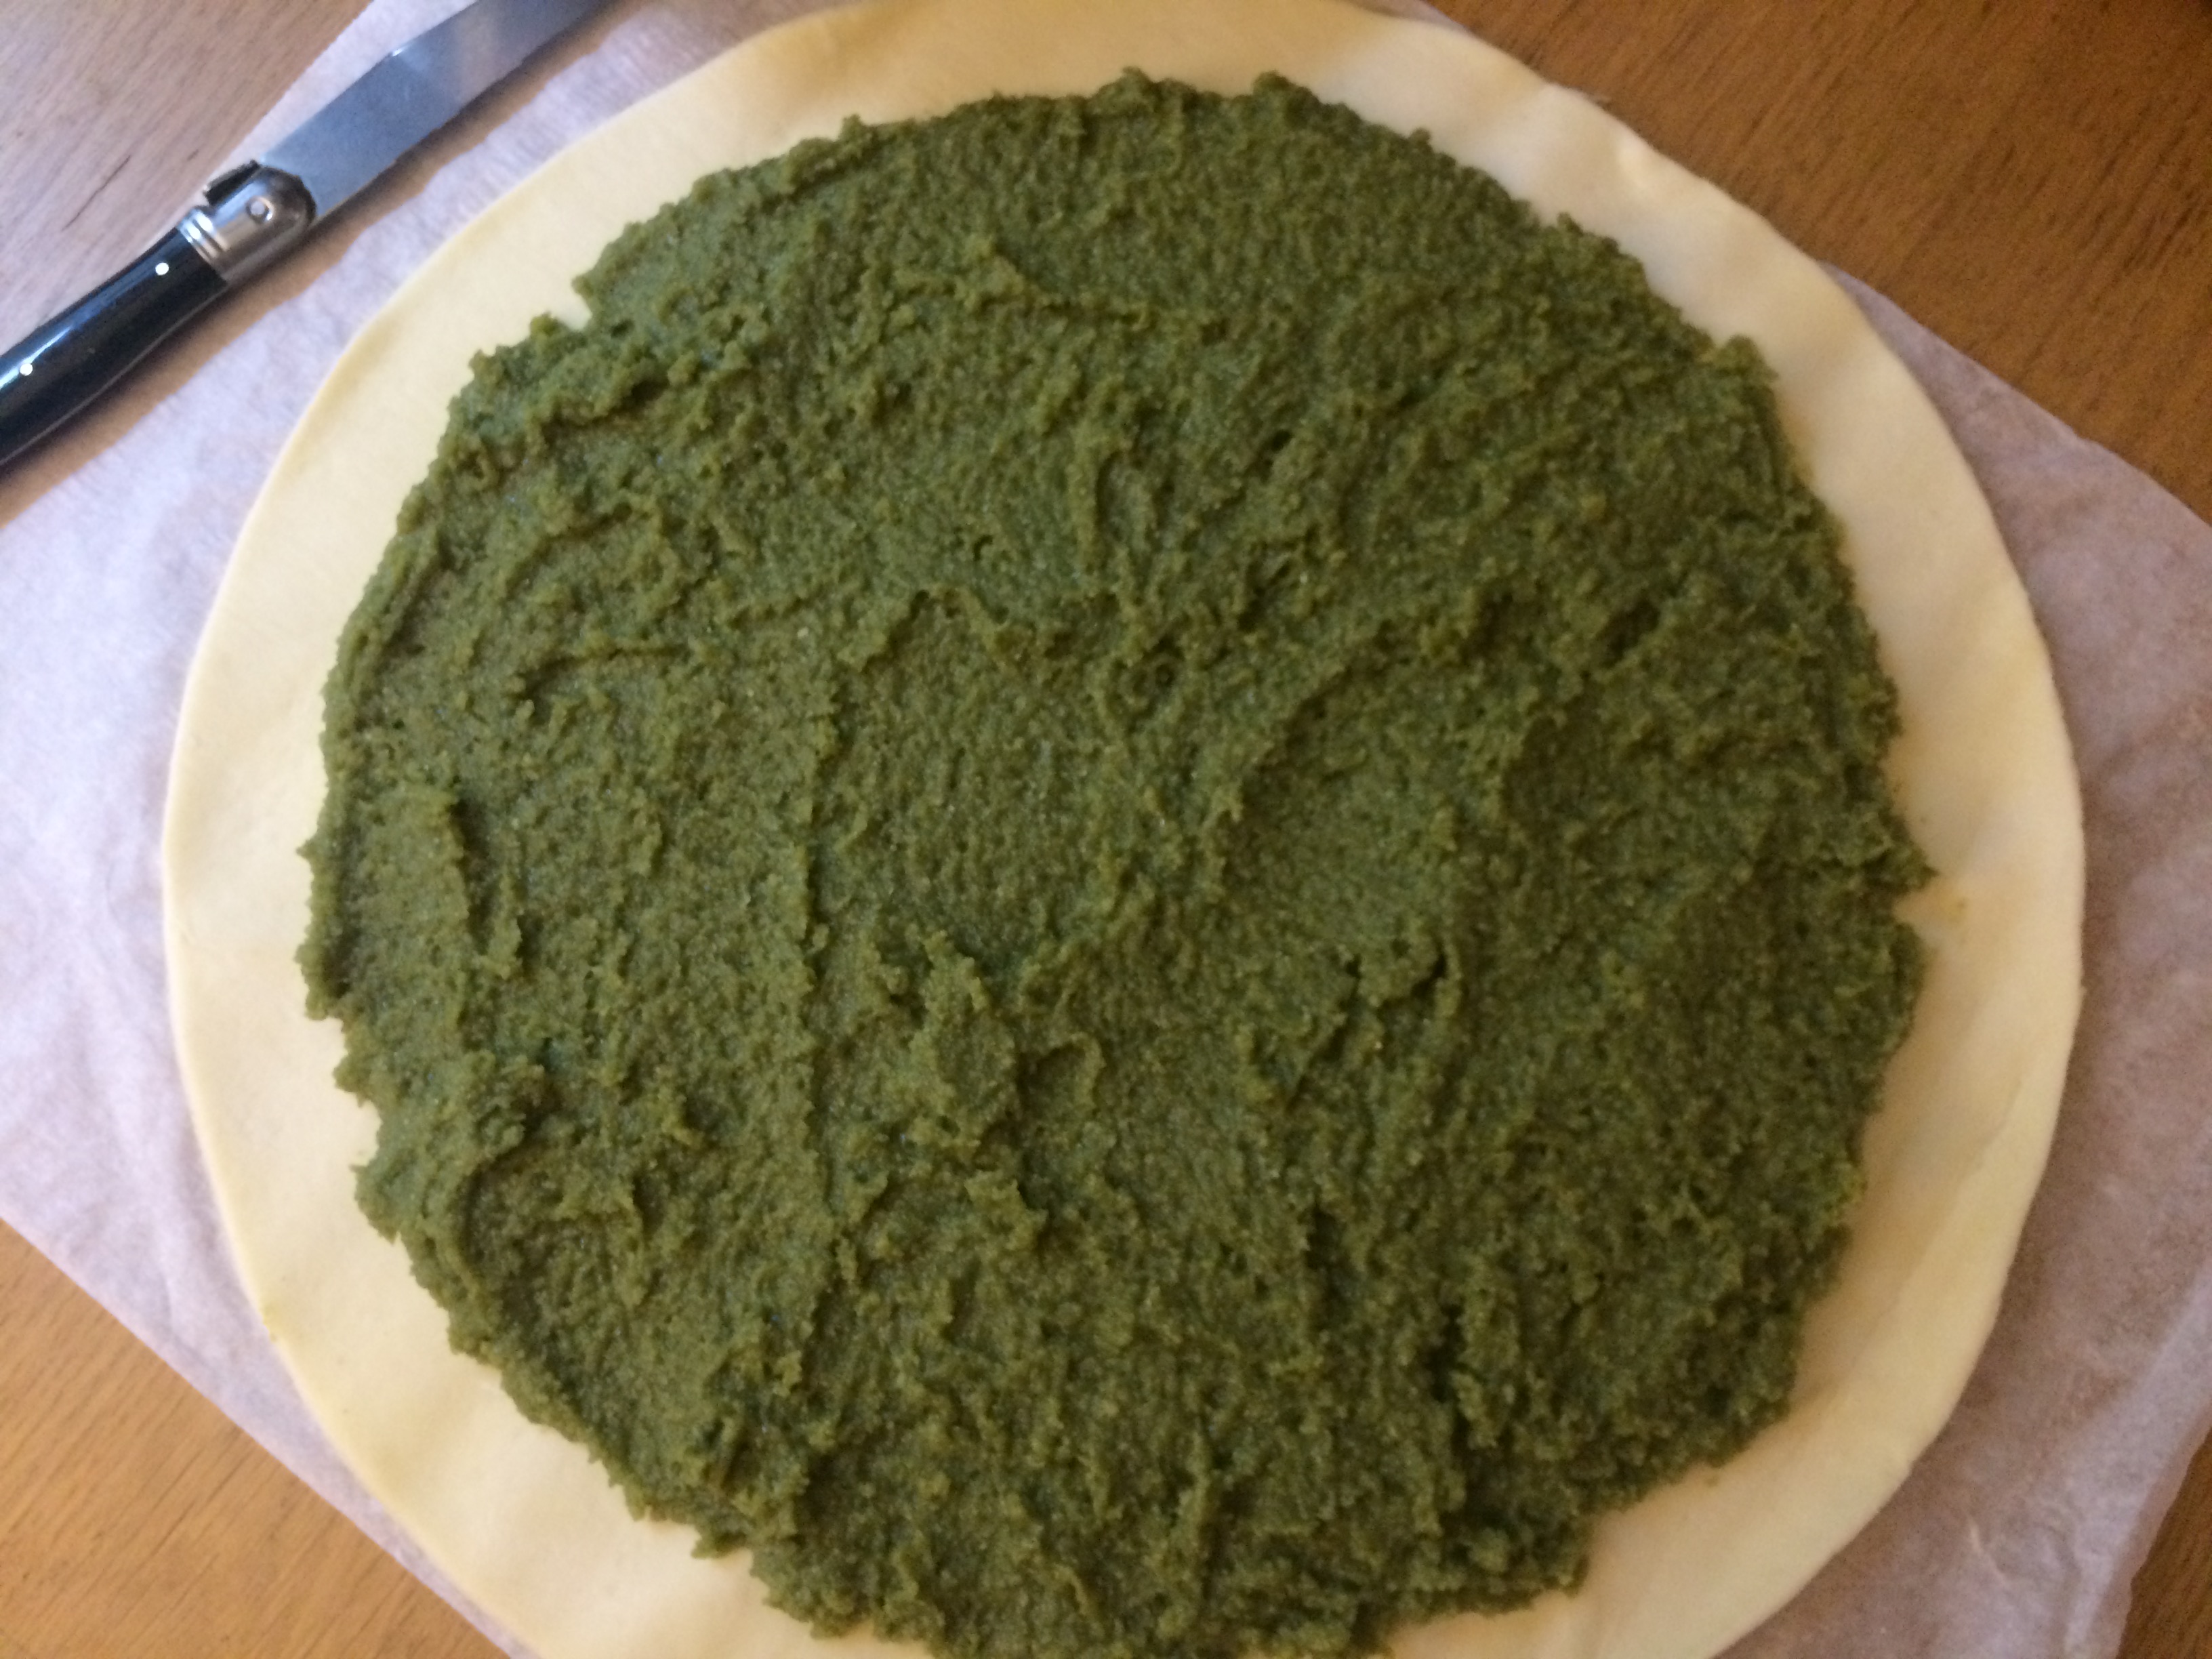 Leave a margin around the edge, as you’ll be folding it upwards to seal the galette.
 Gently press your fève into the matcha almond paste. Choose a spot closer to the edge than the center.
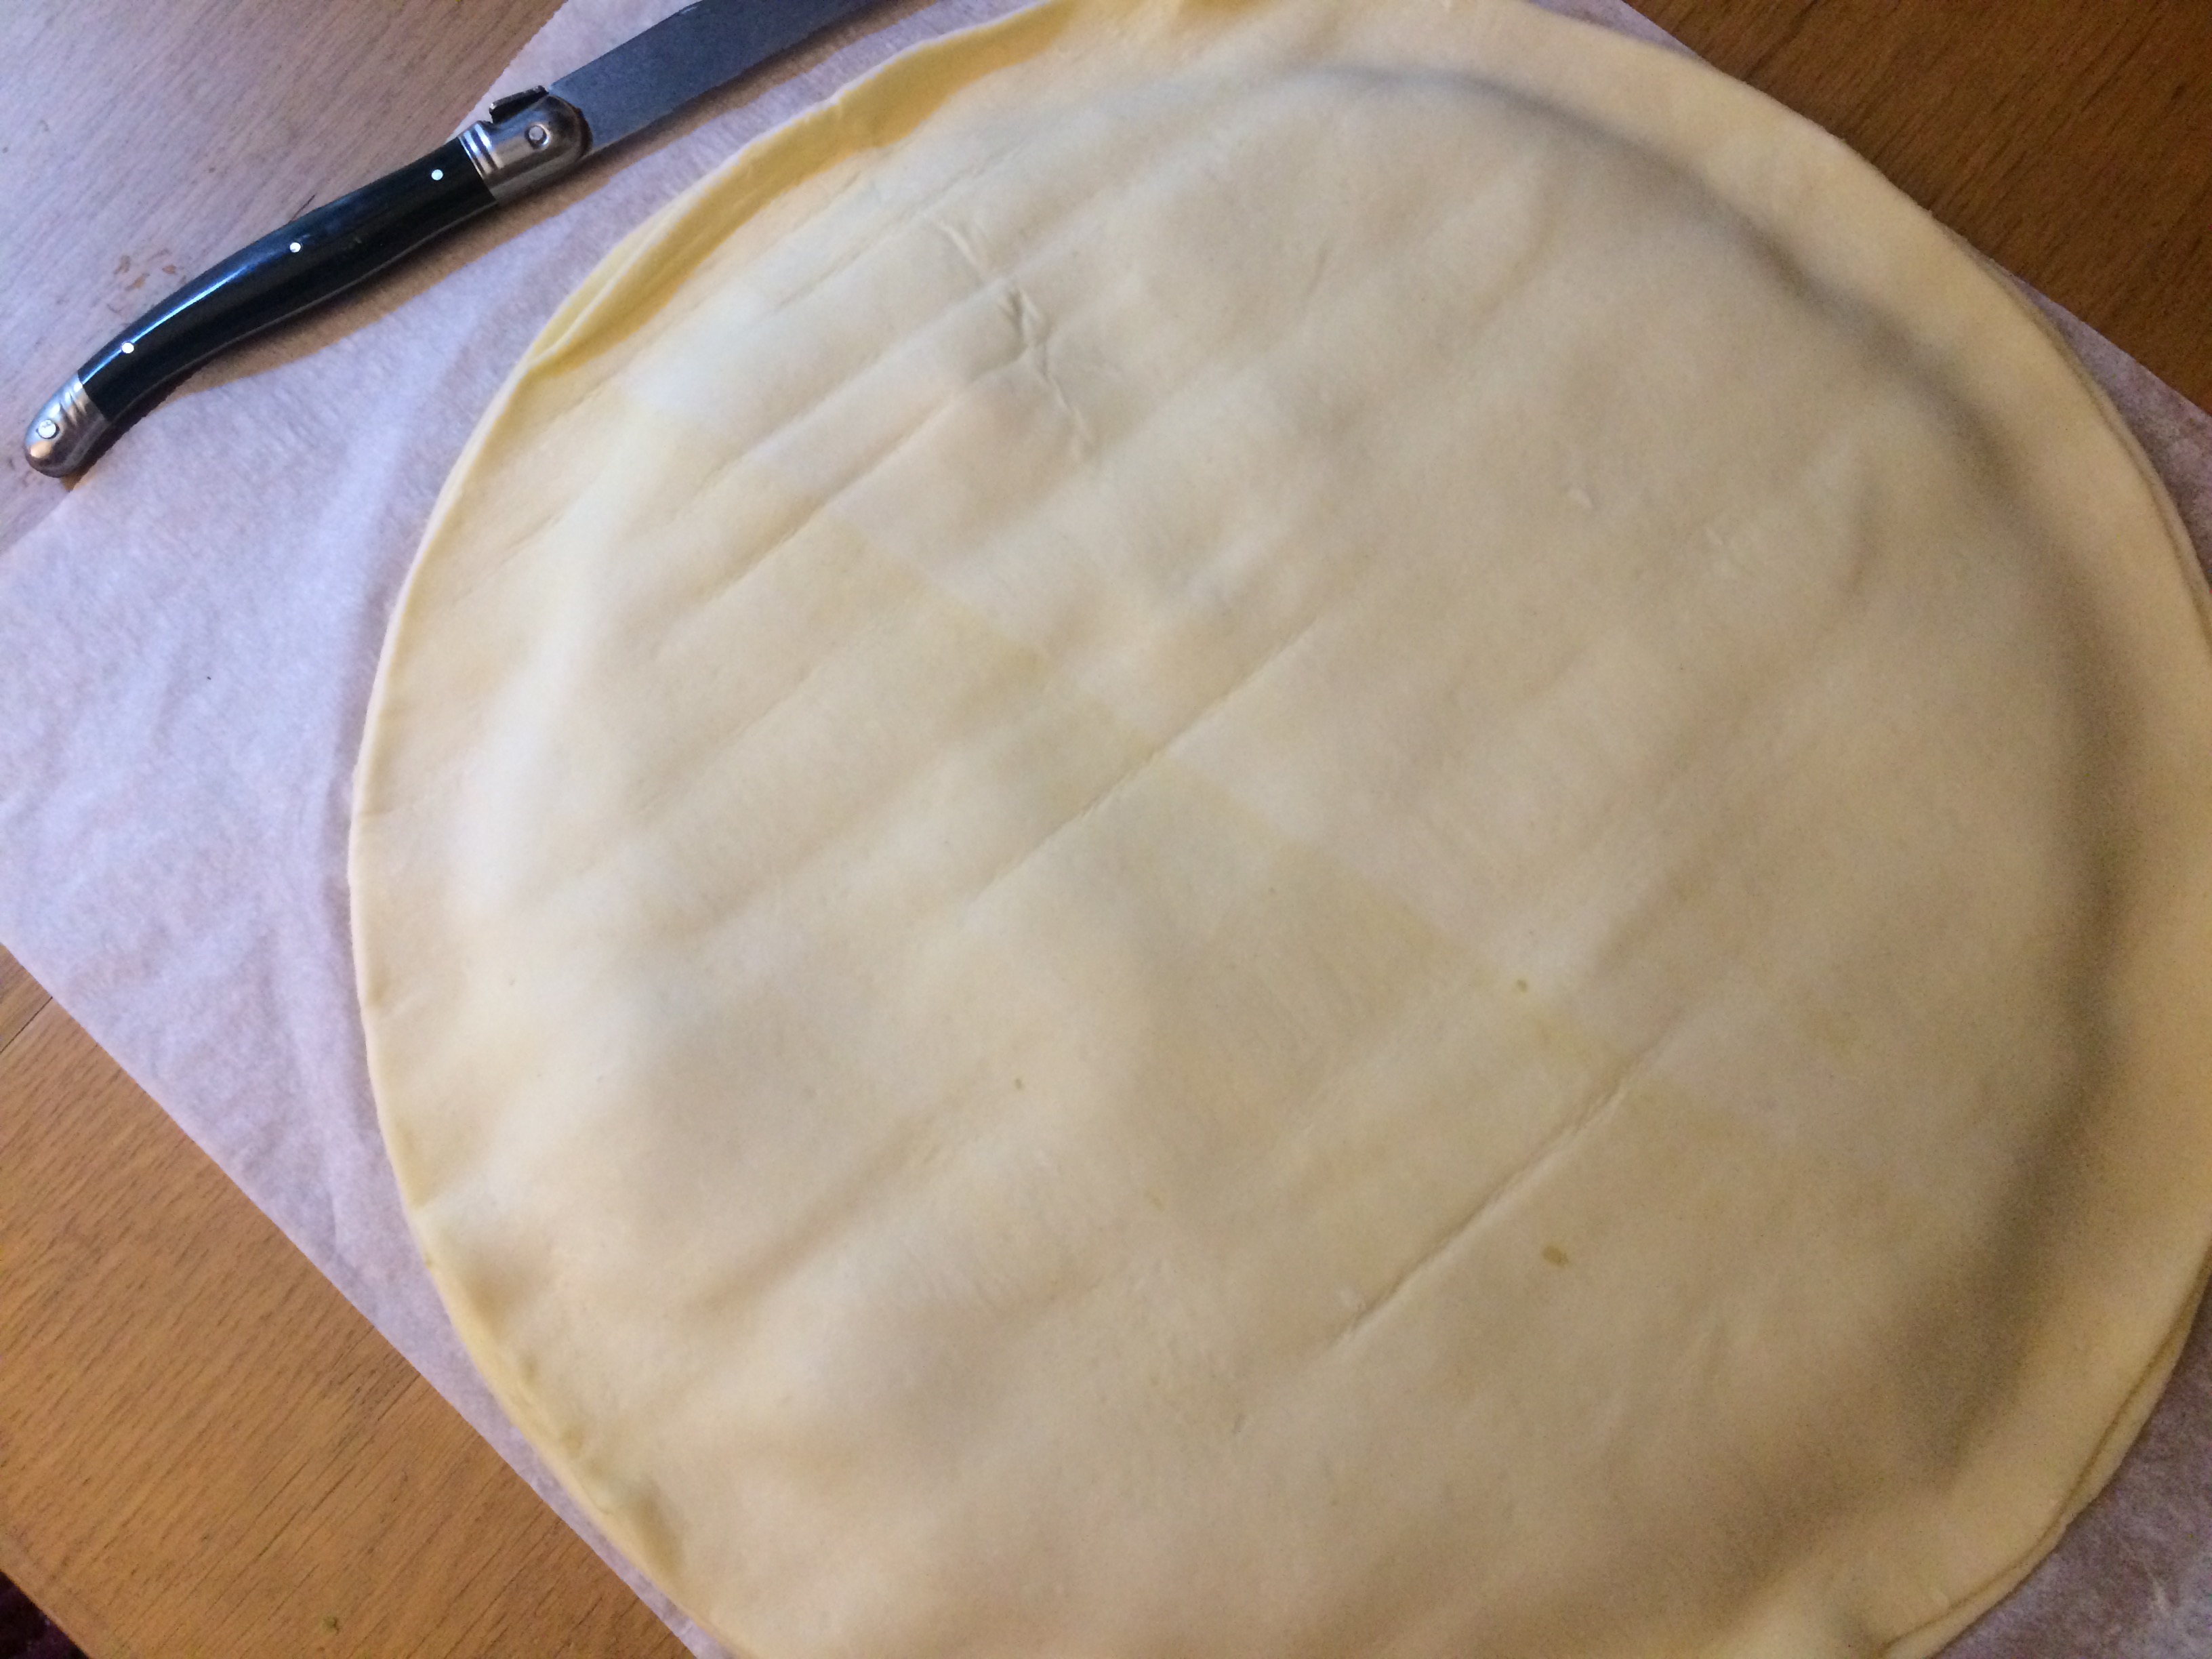 Take your second pastry crust out of the fridge. Carefully place it atop the bottom one so that they align as closely as possible. Push the top pastry down gently around the edge of the almond paste underneath. If you want to make sure that a certain person ends up with the fève, find a way to remember where you’ve put it. 😉
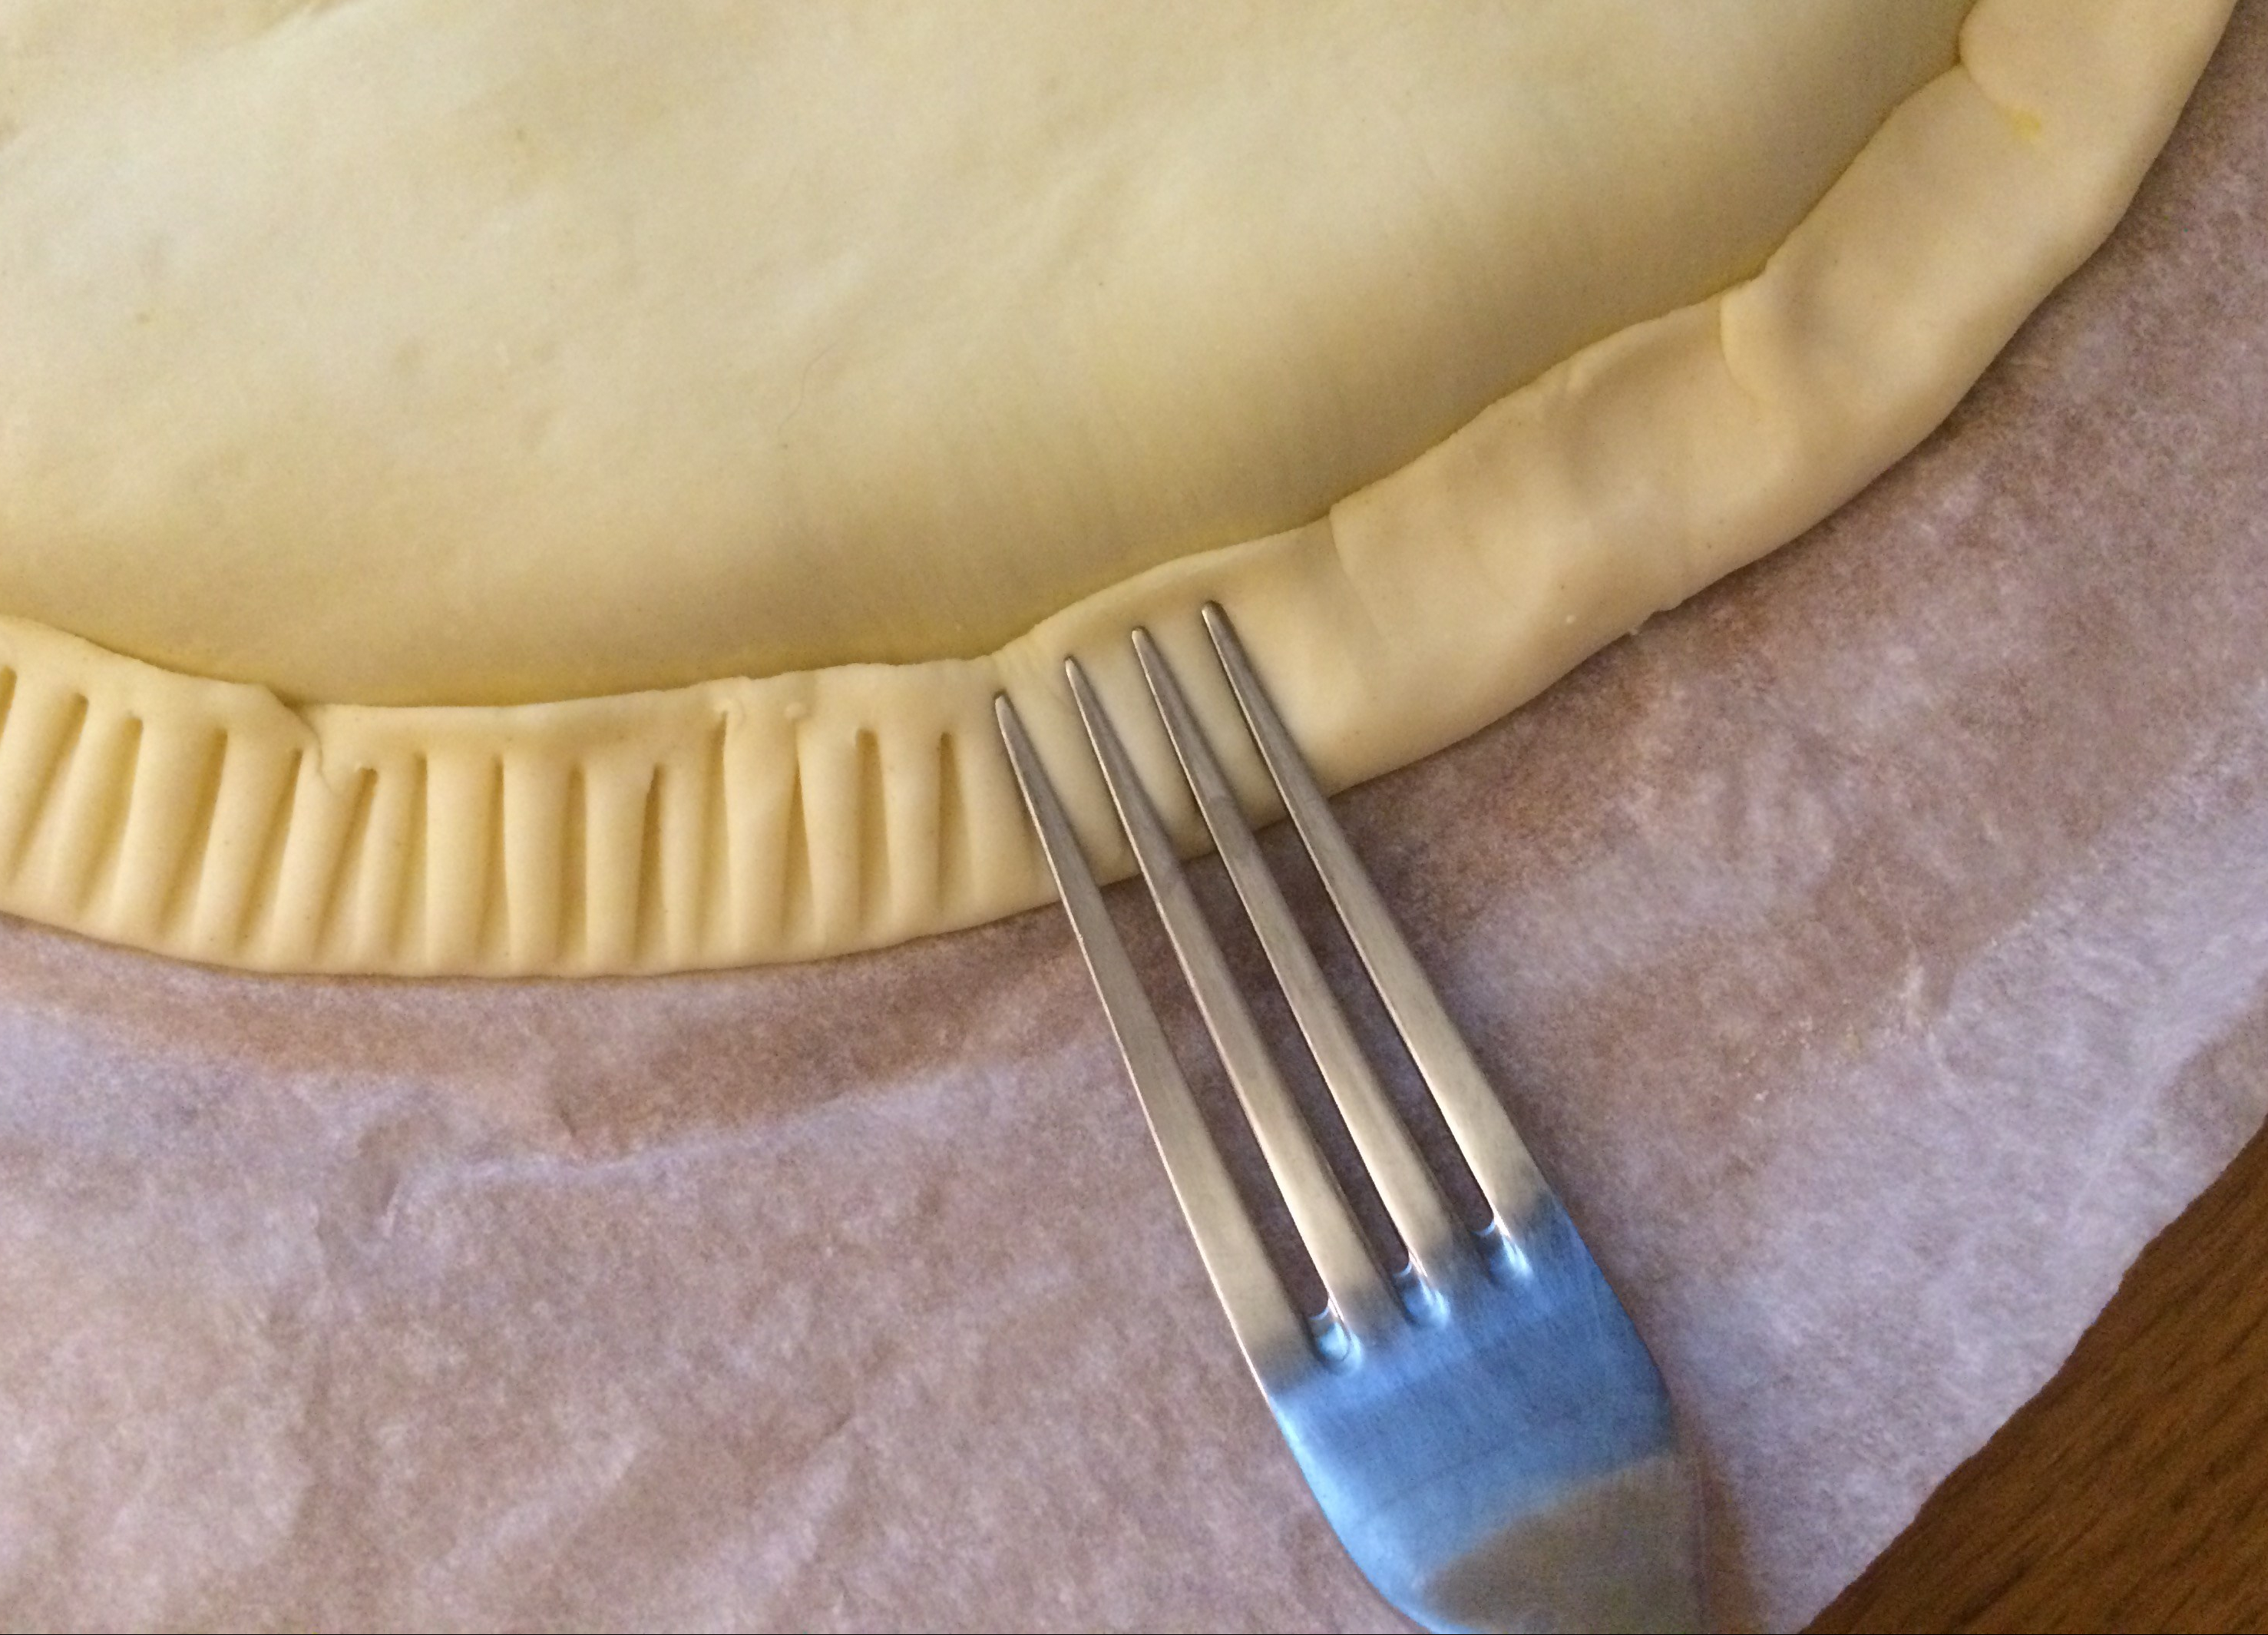 Fold the edges of the bottom and top pastries upward together and seal with the tines of a fork.
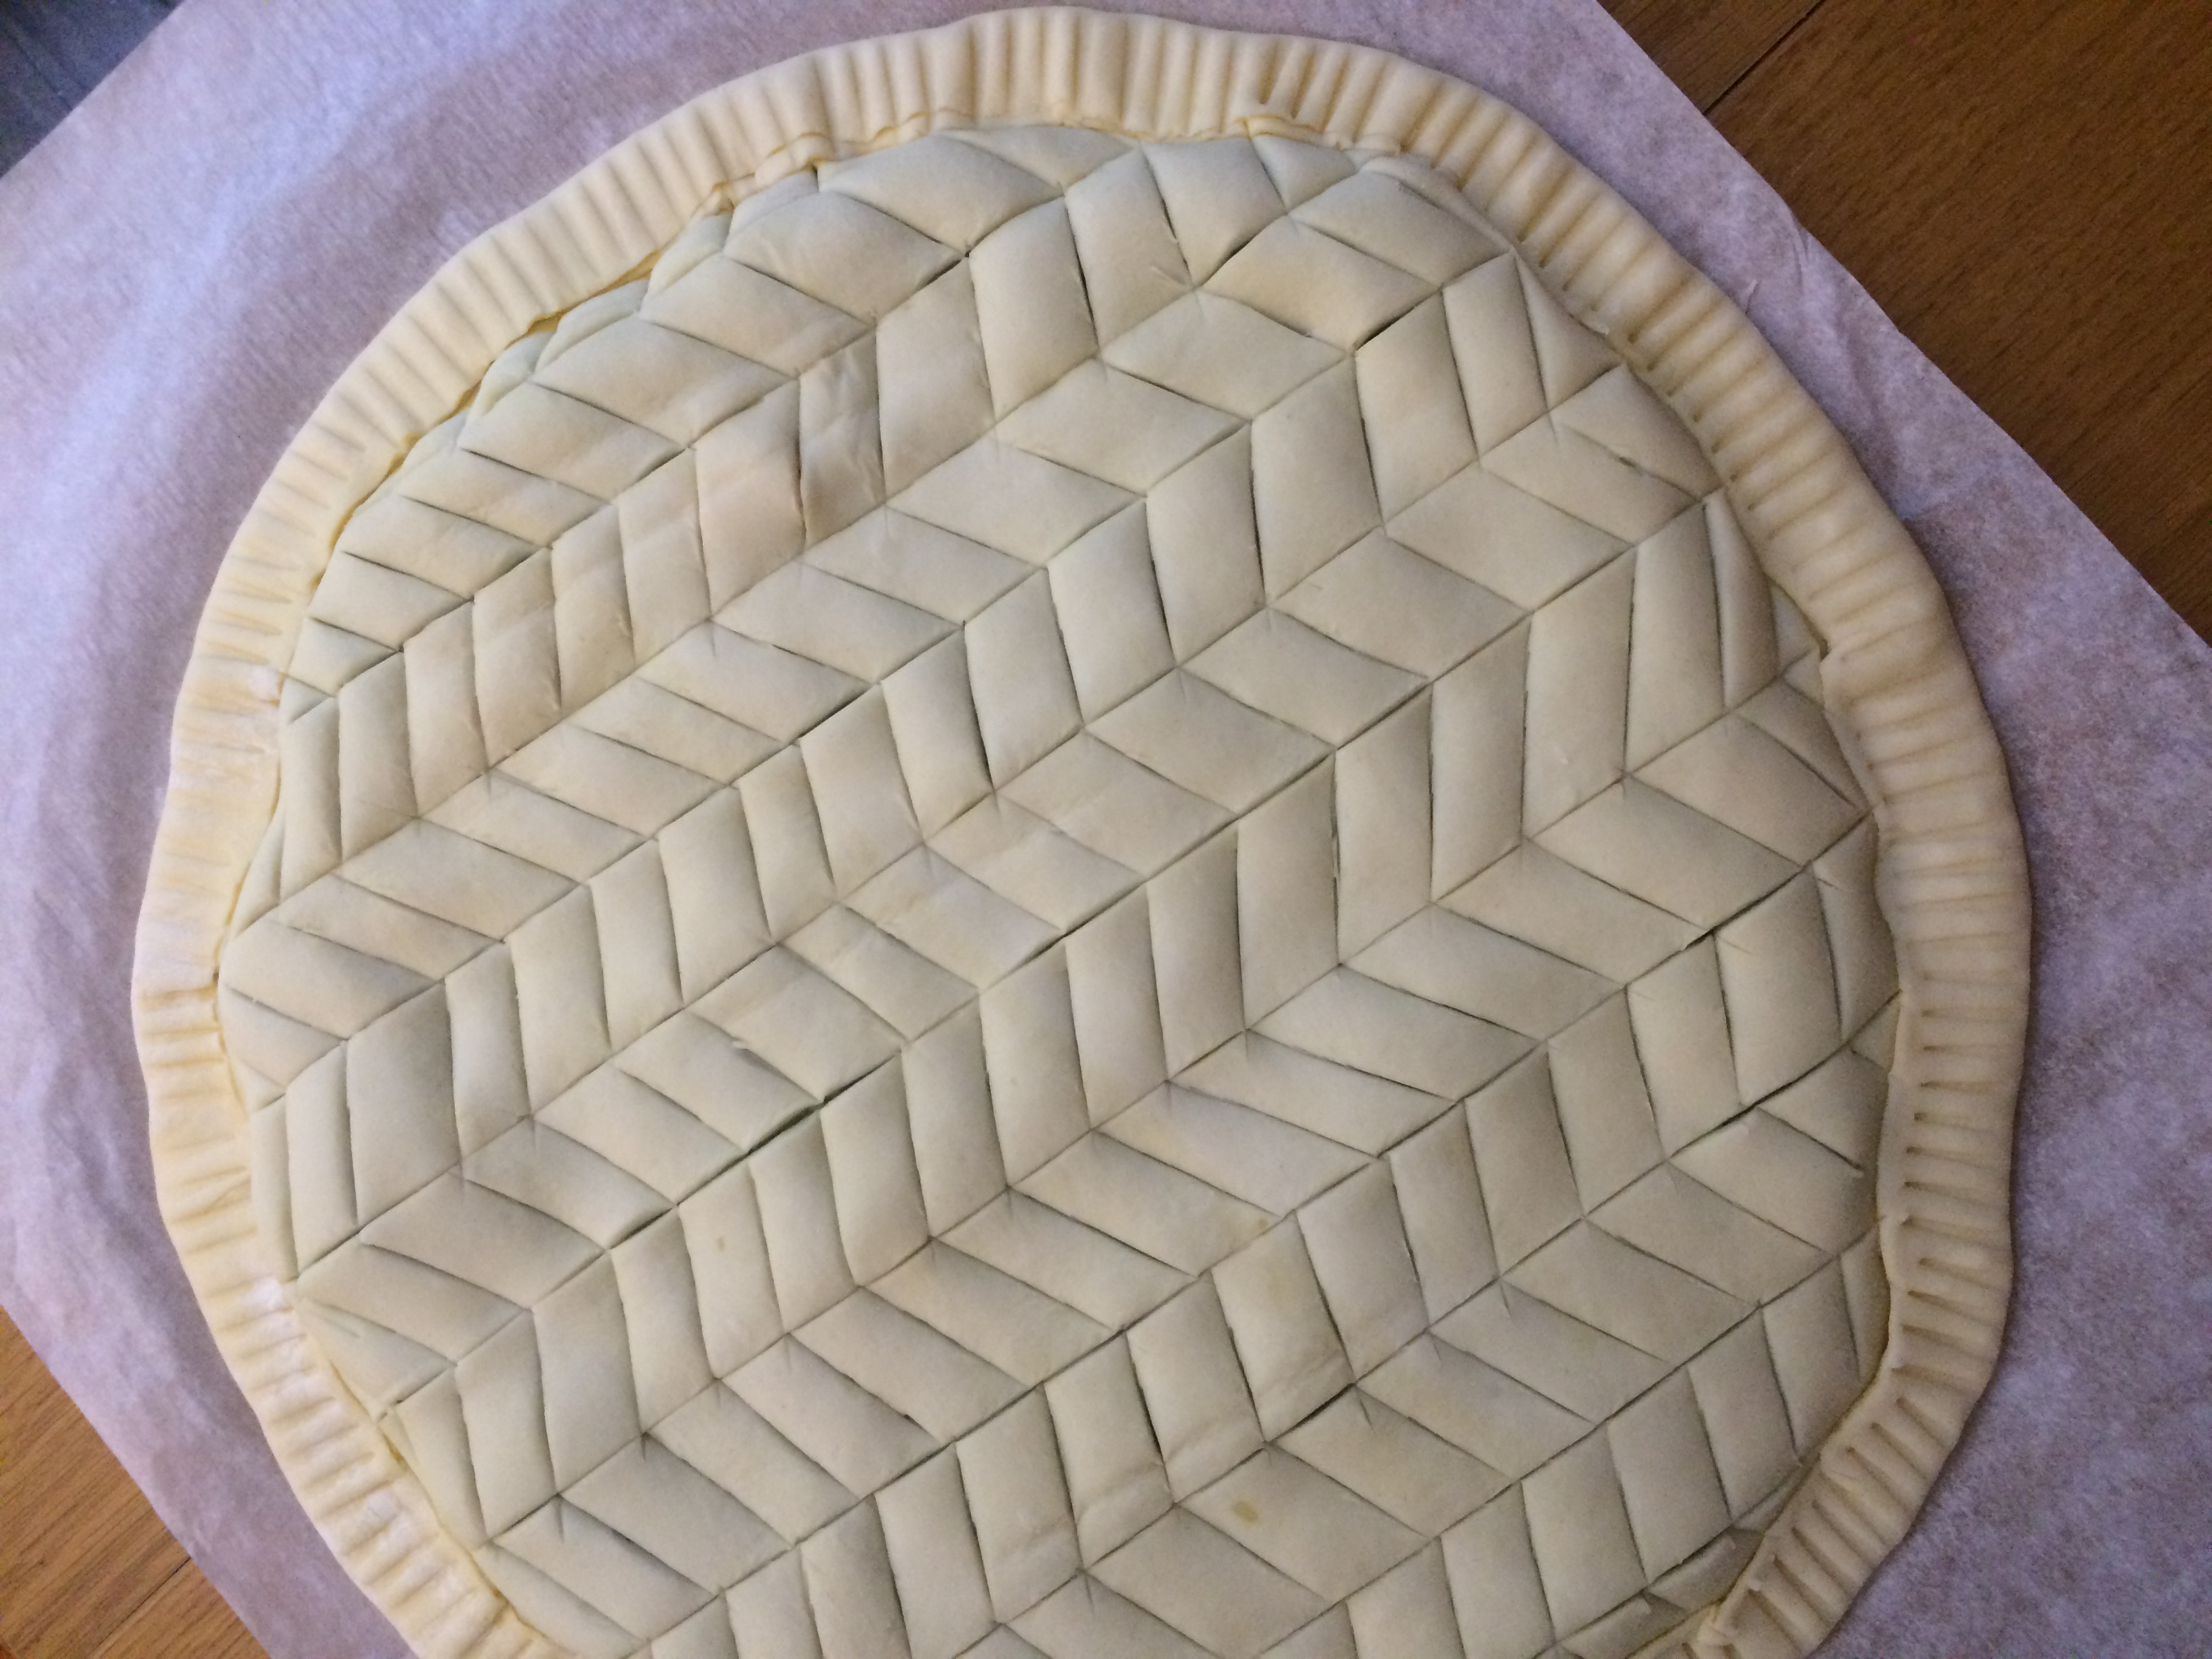
 With a sharp knife, trace a design into the top pastry. Try to occasionally cut through the top pastry to allow steam to escape while the galette bakes, but take care not to cut through it too continuously or pieces of the top crust could break off when you slice the baked galette. You can get creative at this point and make a fancy design of your choosing (swirls, flowers, geometrical lines). Do a Google image search to see the different galette des rois designs that are out there.
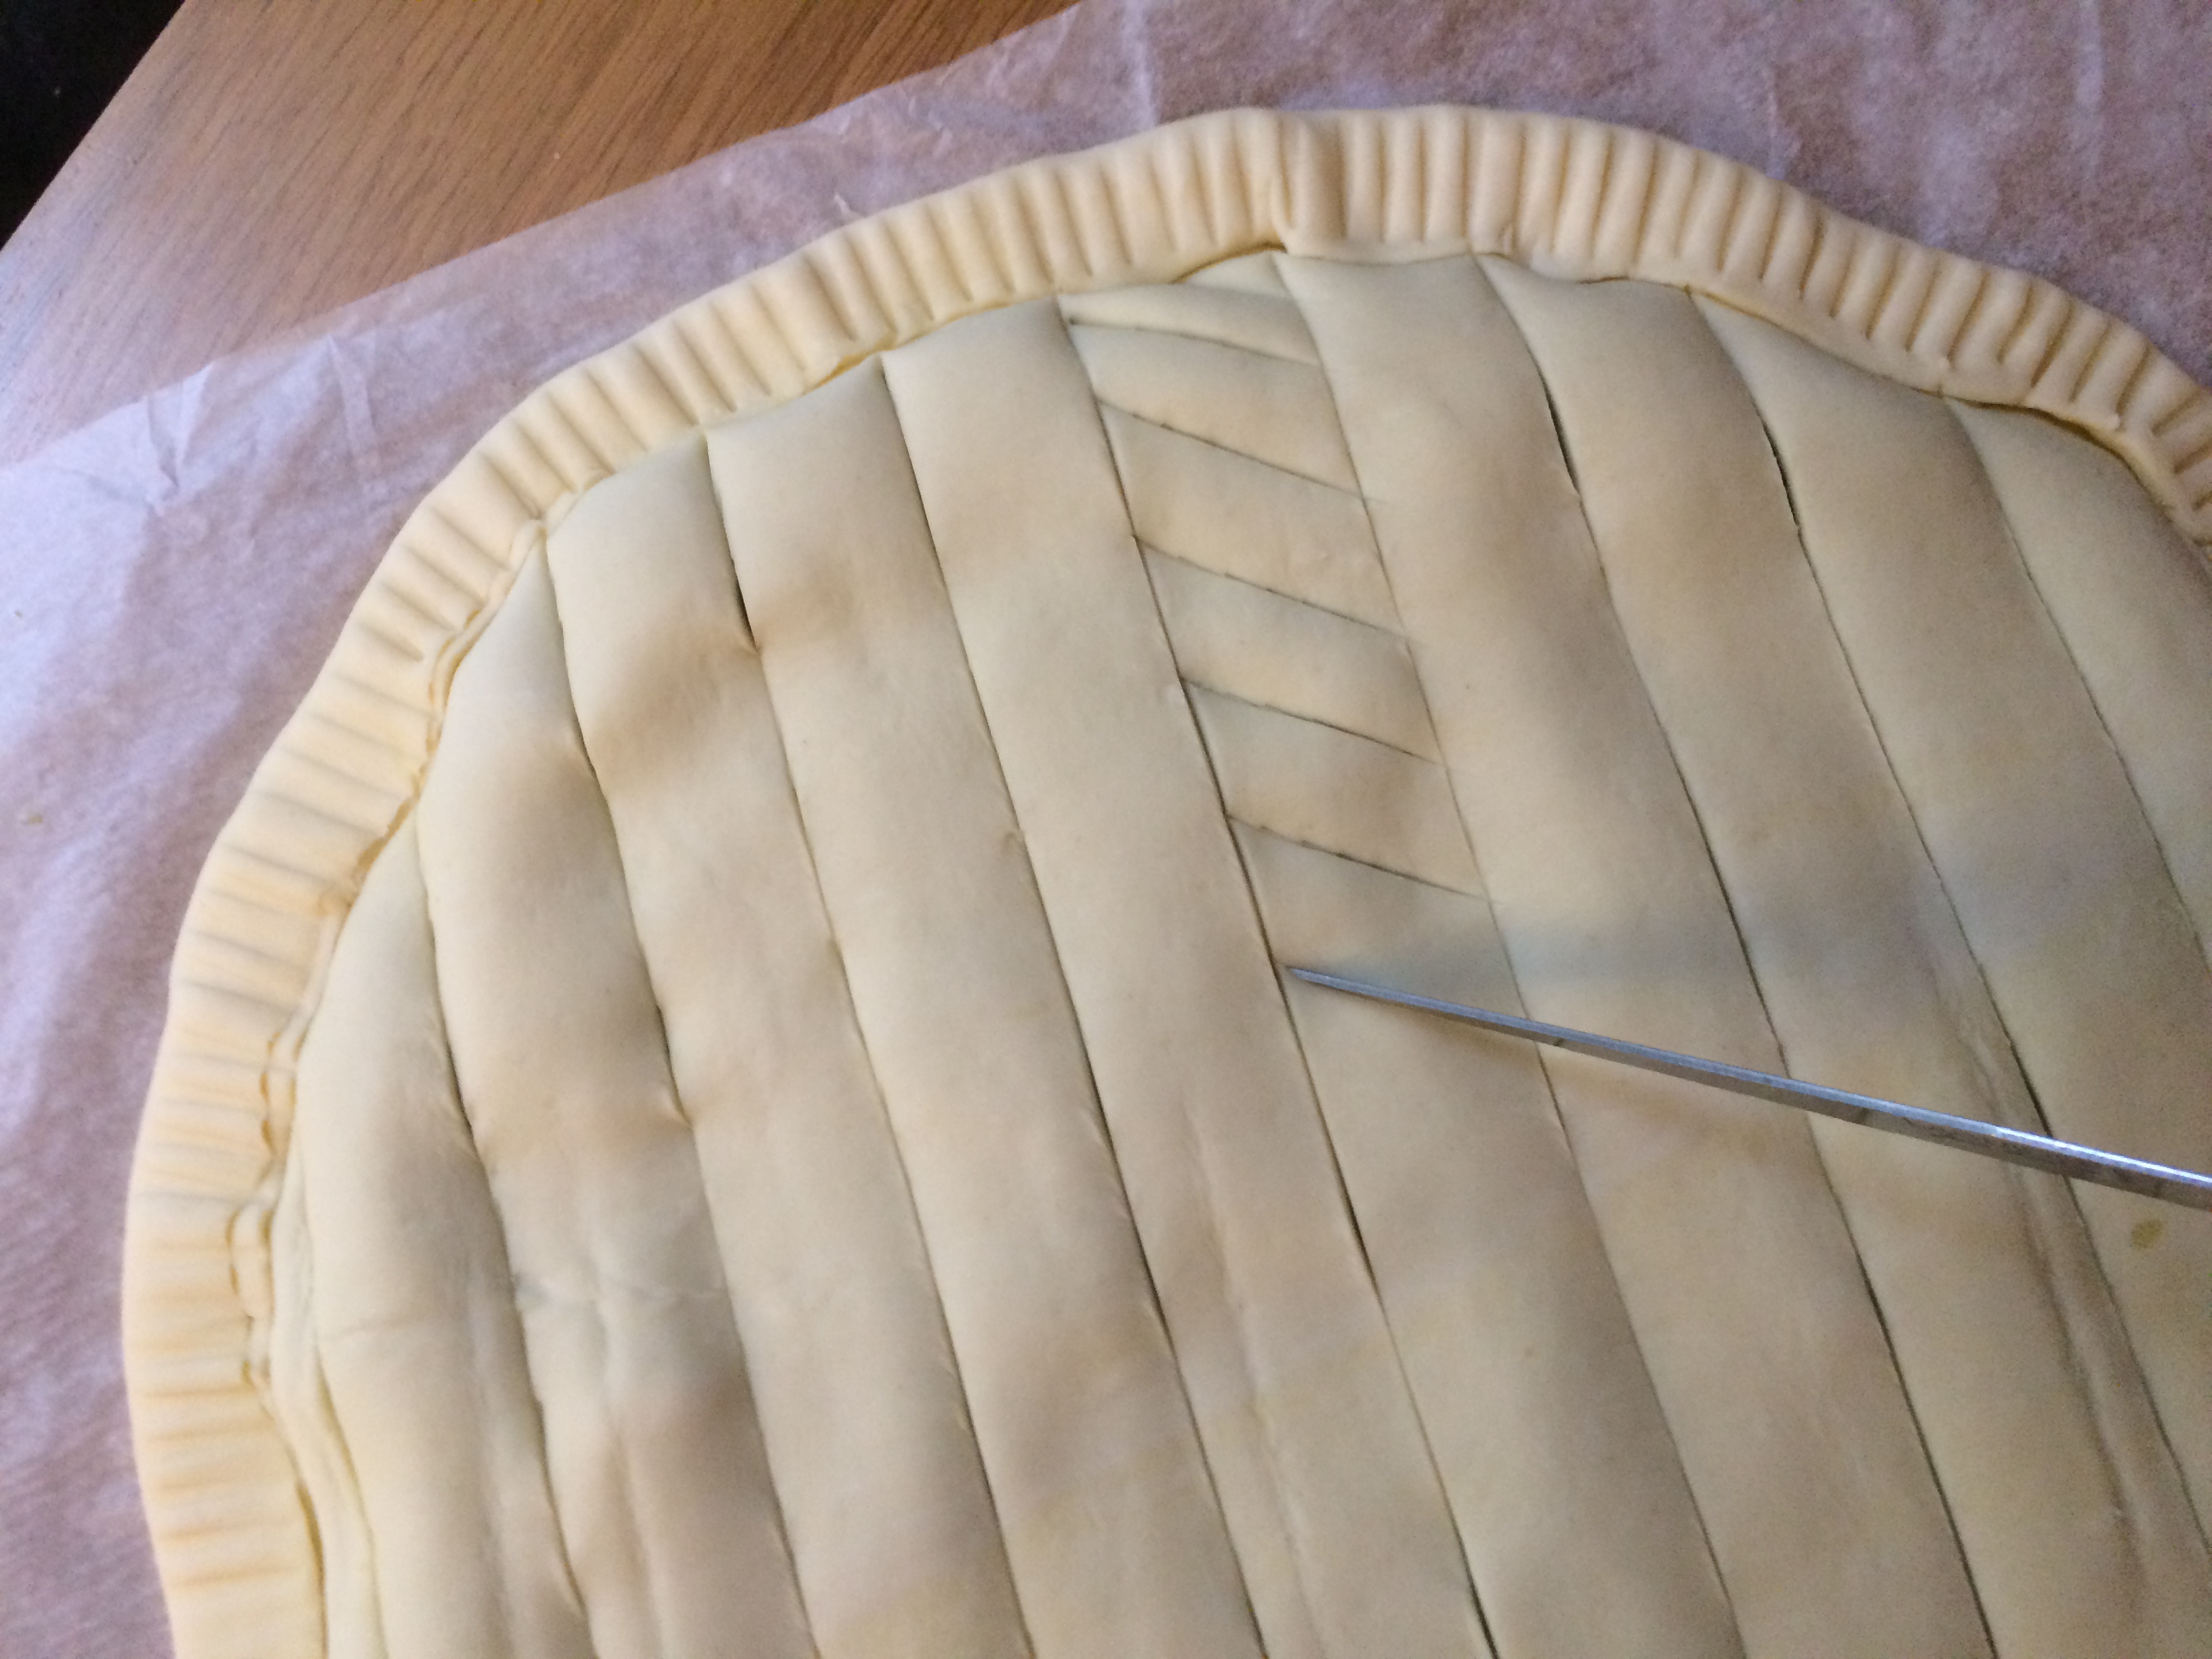

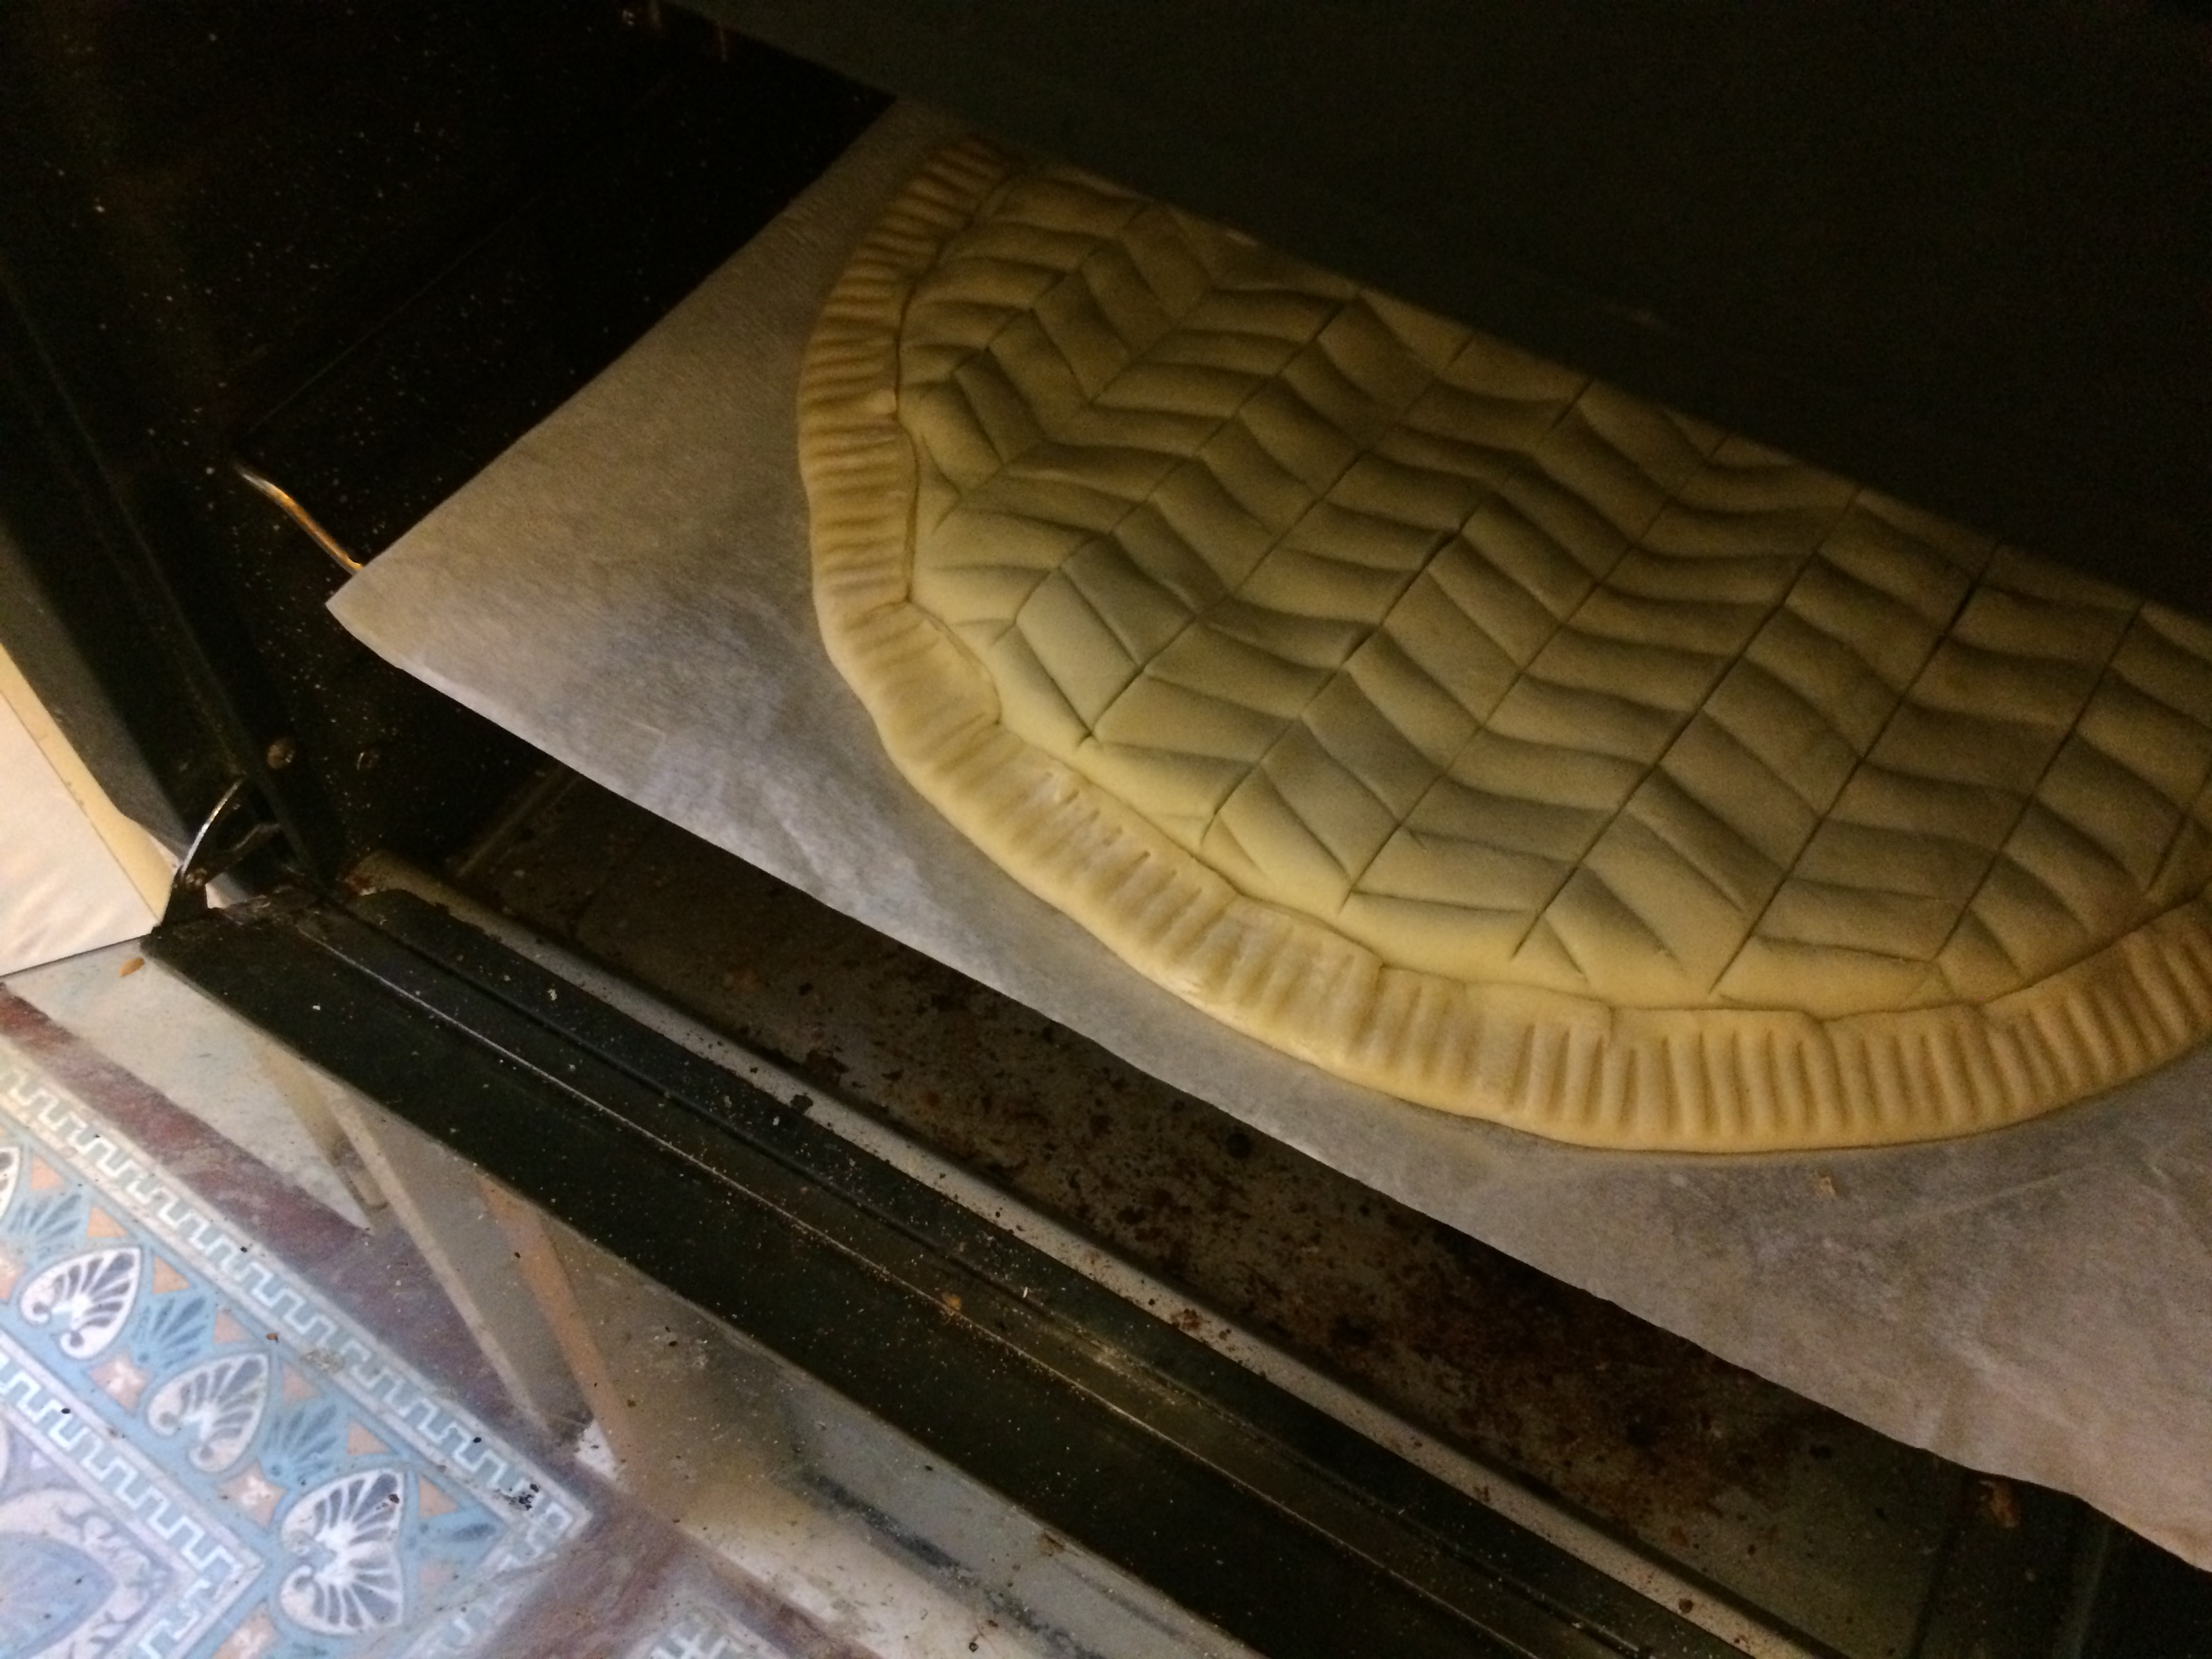 Place your galette into the preheated oven (on a baking sheet, if you like, but I put mine directly on the rack as my baking sheet is too small). Bake for 25 to 30 minutes, until the top is golden brown but not too dark. Begin checking it at around 20 minutes to make sure it doesn’t get too dark.
 While the galette bakes, you can prepare the (optional) apricot glaze.
 Place 1 to 2 tablespoons of the jam in a small saucepan over medium heat with a couple tablespoons of water. Bring to a boil, then turn the heat down low and simmer for a minute or two, stirring constantly to break up the lumps. Try to remove any unbreakable lumps or bits of apricot skin.
 When the galette is done baking, remove it from the oven and place it on a cooling rack. Brush a thin layer of the apricot glaze across the top, including the top of the edges. At first it may seem that the jam is too sticky and shiny, but once it’s dry it will be fairly dry to the touch and more matte. Remove any jam clumps that collect in the crevices of the pastry design.
 Allow the glaze to dry (5-10 minutes) before serving. If not serving immediately, you can pop the galette in the oven again to warm it just prior to serving.
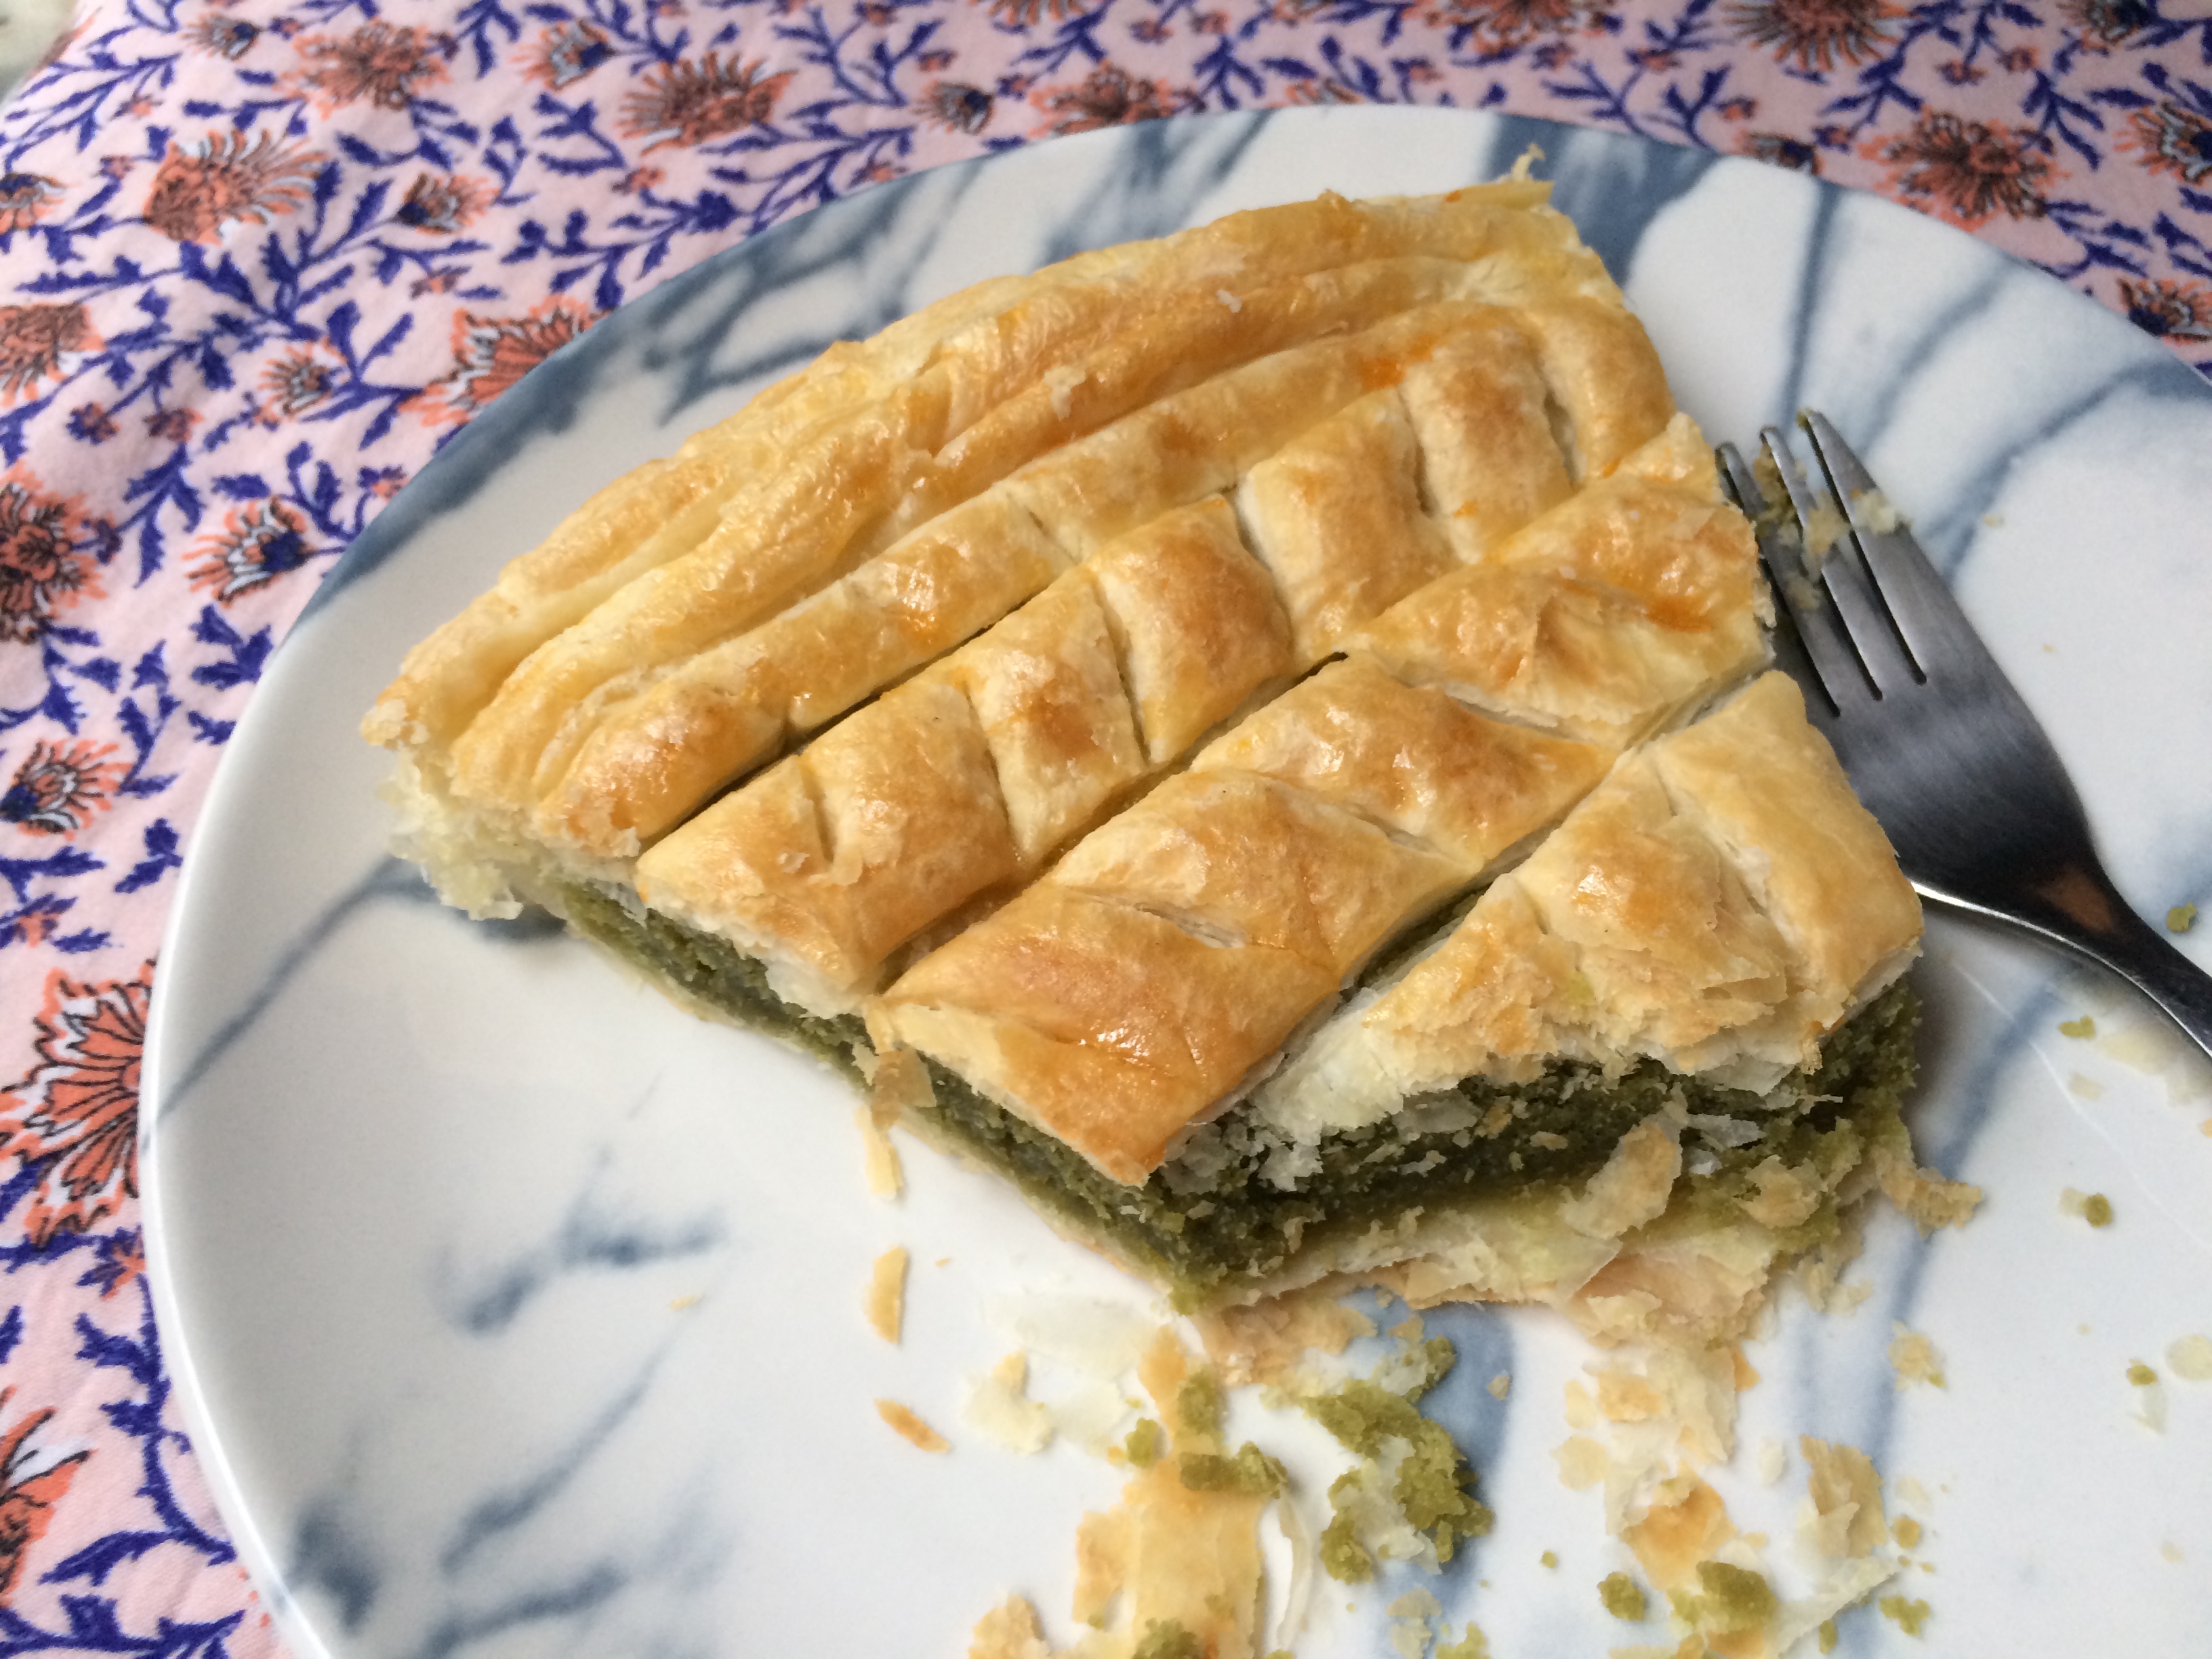
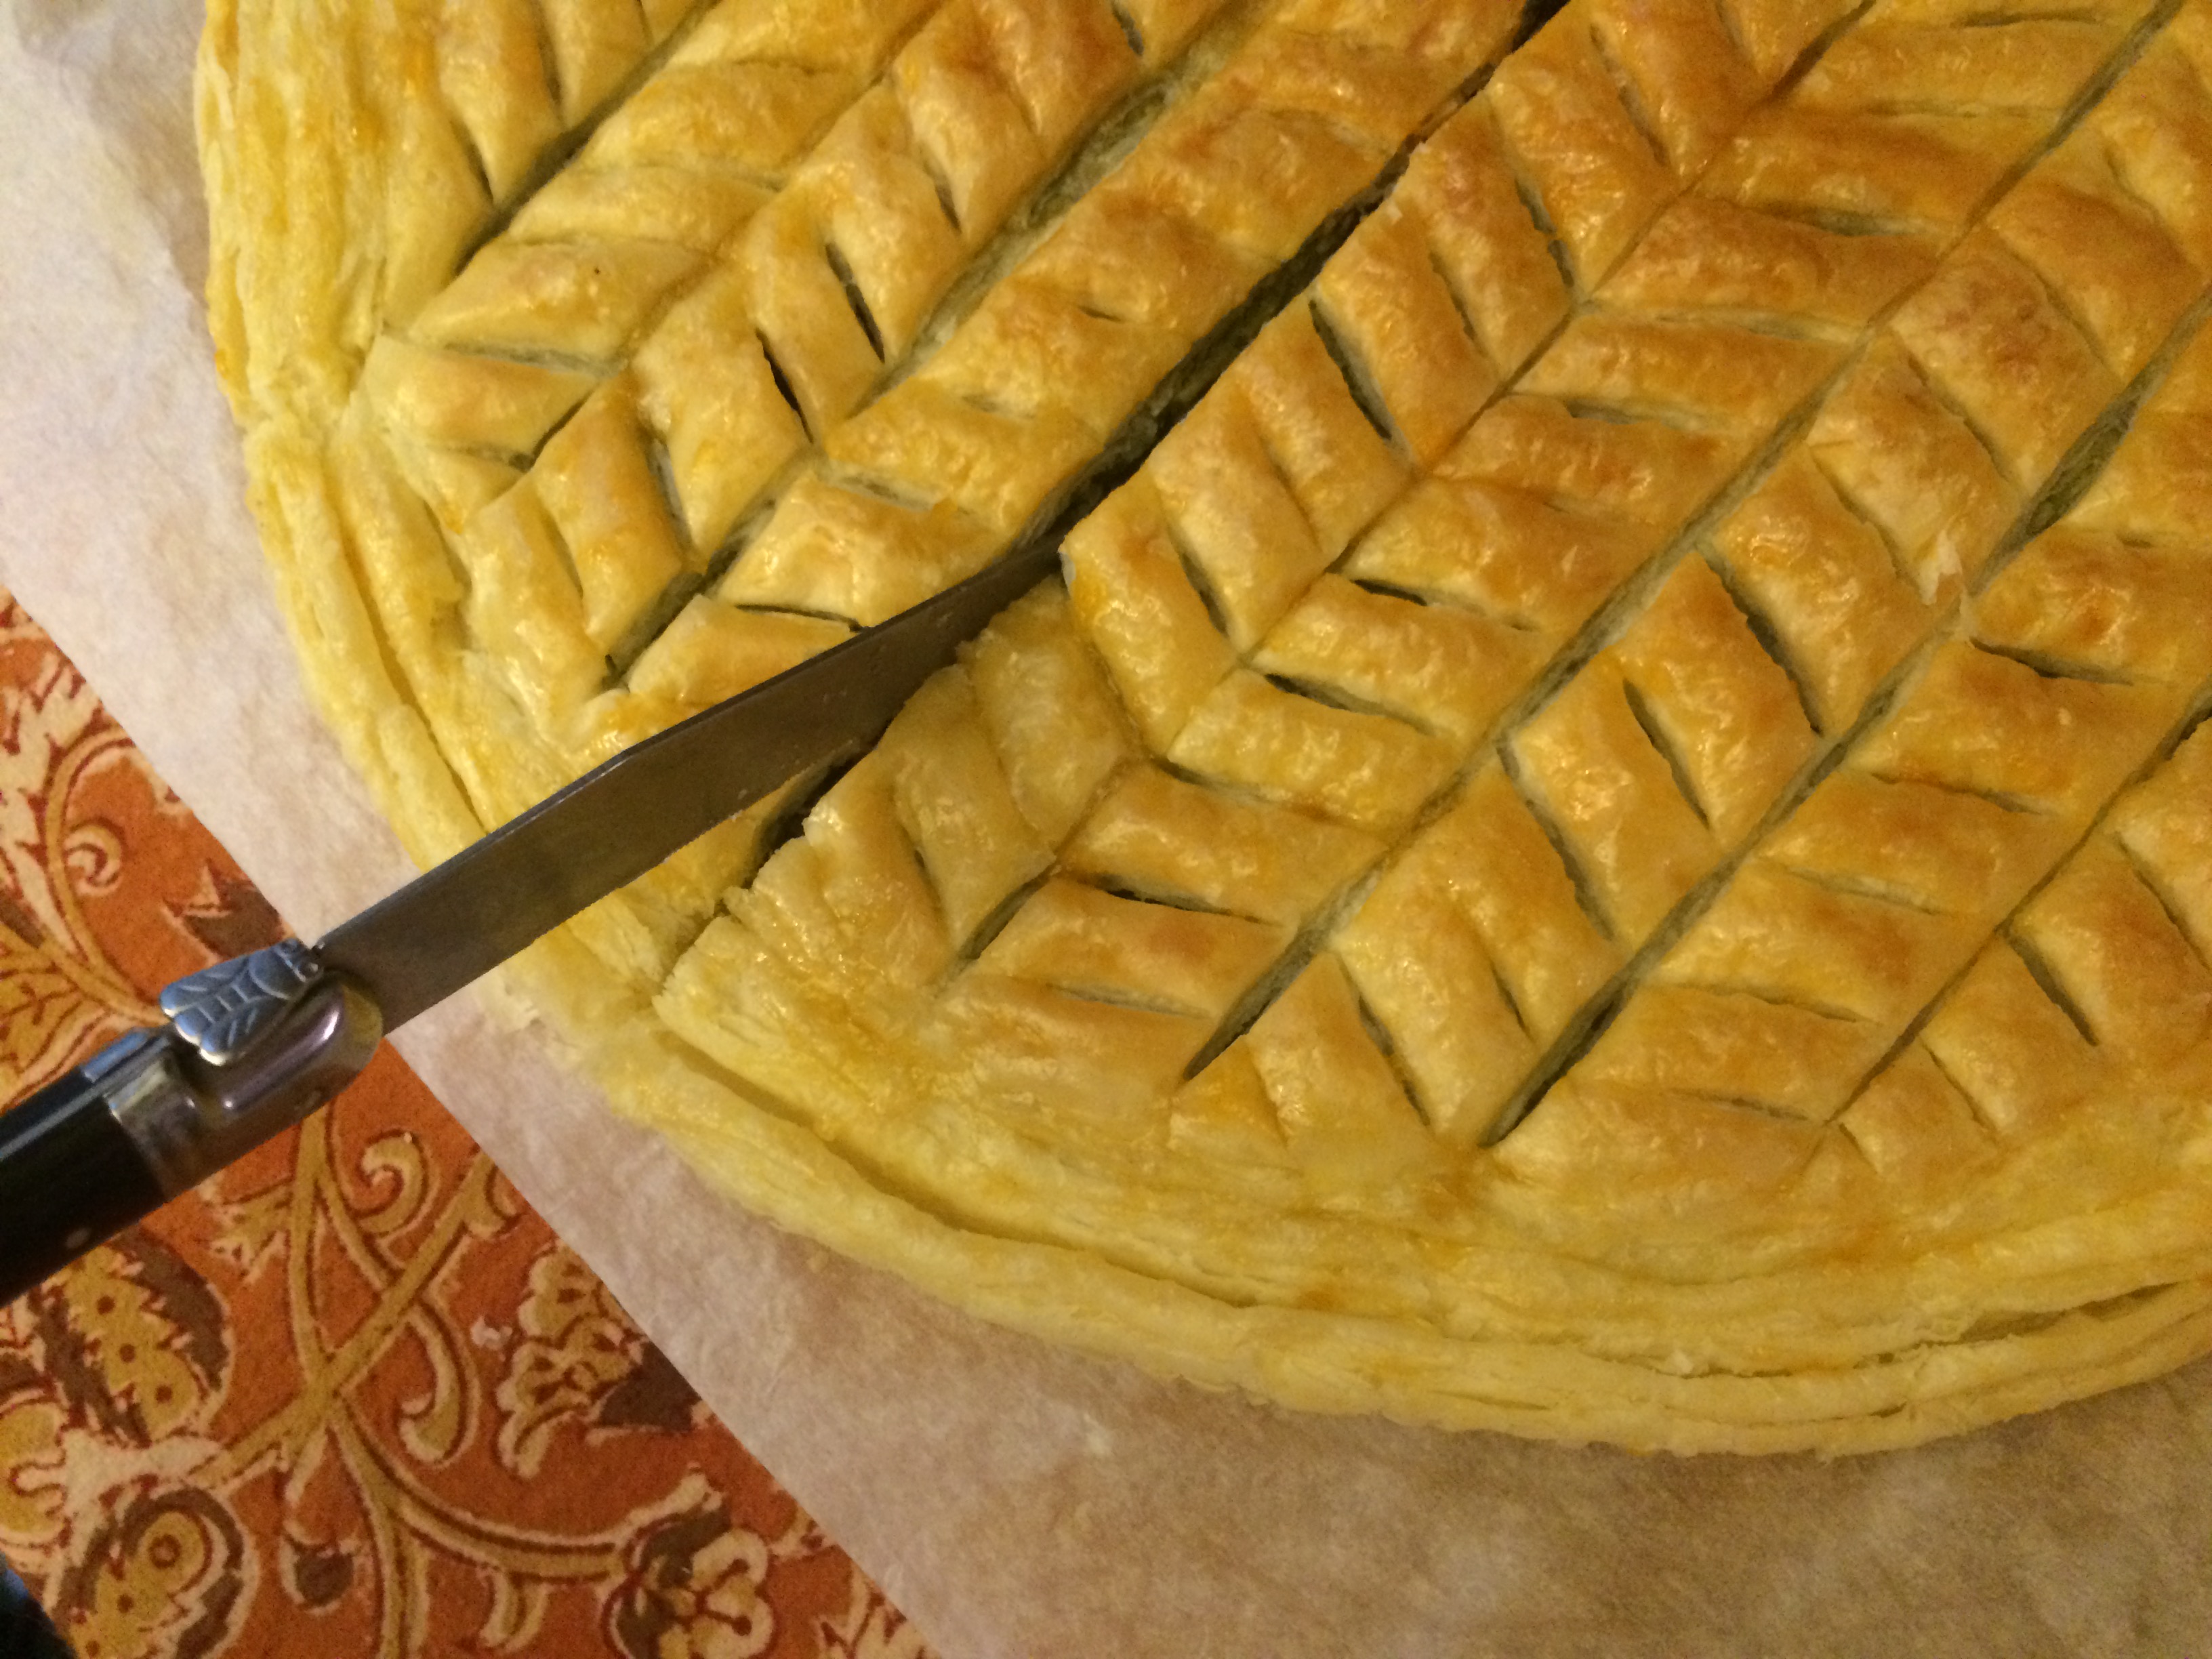 A design like this one, with the first line traced right down the center, makes it easy to slice up.
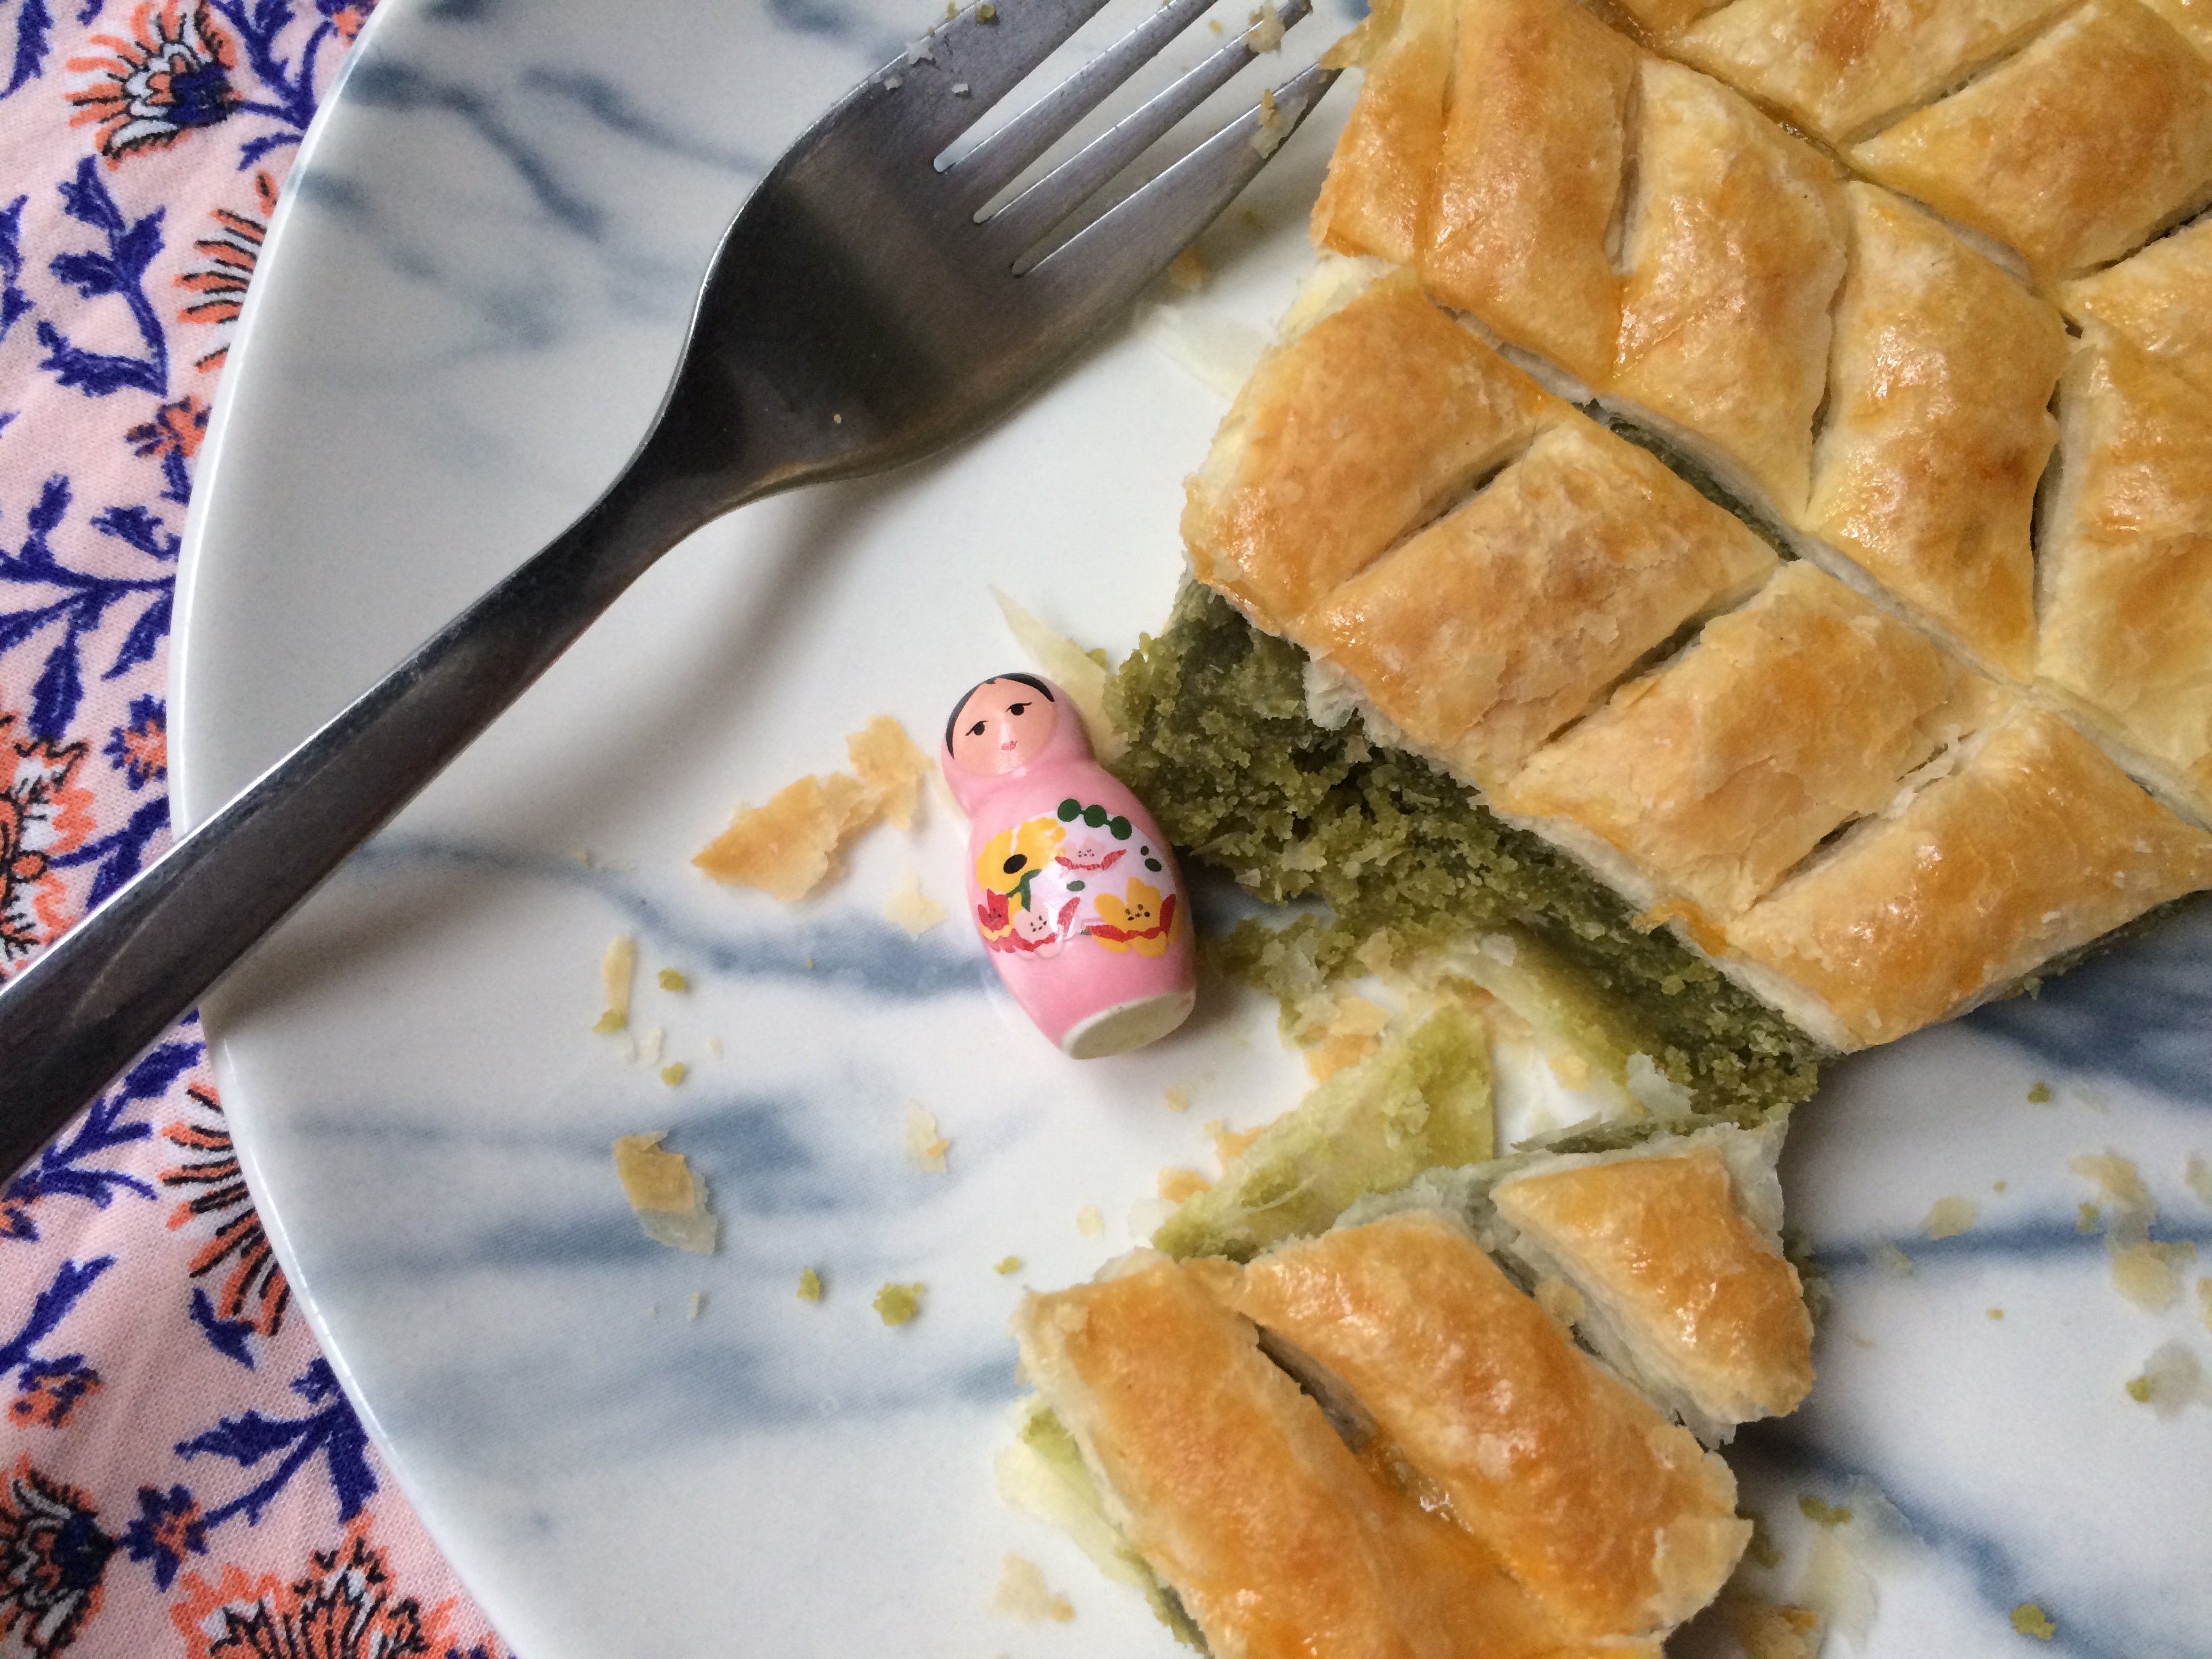 Hey, you found the fève! Congratulations, you’re the queen! Or king!
 Since you’re making your own galette, you may want to make a crown to go with it (or look for one at a costume shop). I decided to make things simple and design a kitty-sized one (toilet paper tube + aluminum foil).