

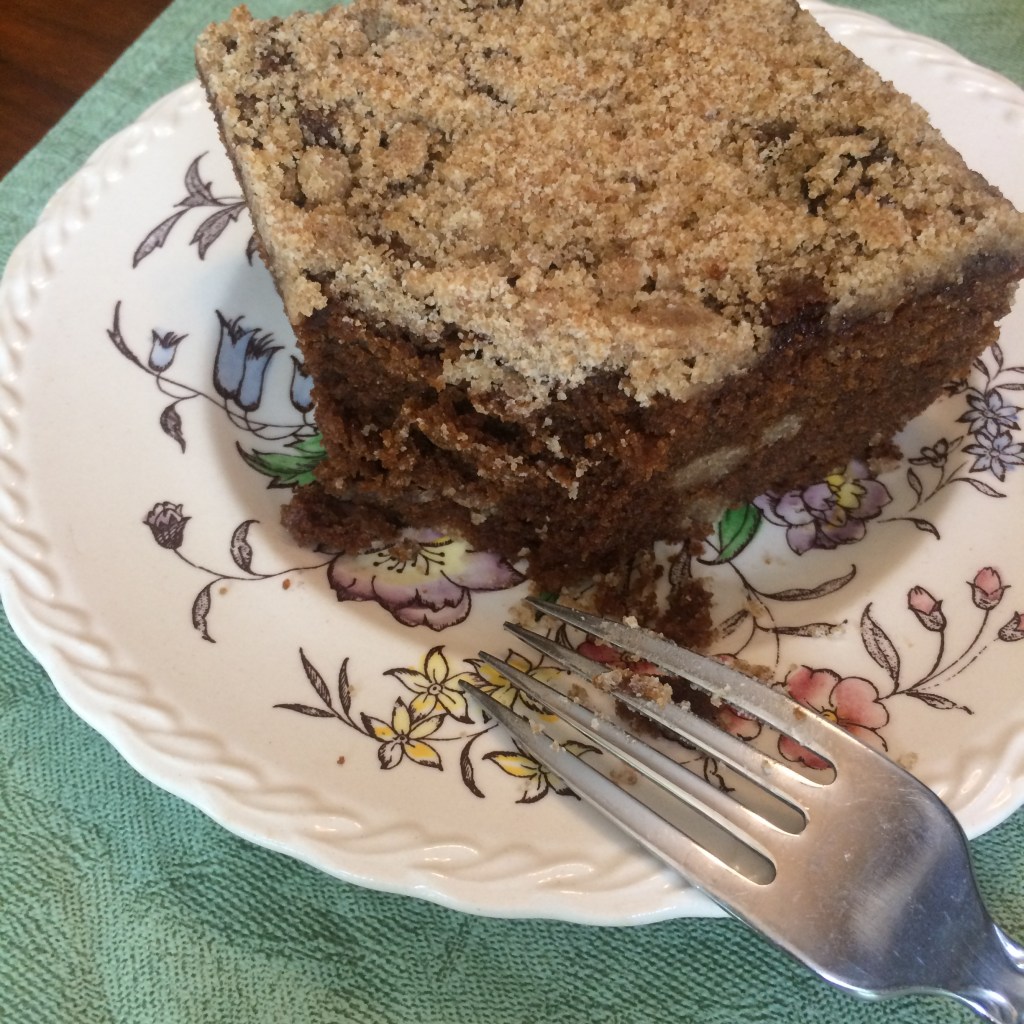
During my visit back home in the Midwest this summer, I decided to try baking a molasses cake with a crumb topping that my mom used to make when I was little. It was one of my very favorites back in the day, but I hadn’t had it for ages and wondered if my result would be true to my memories. Turned out, it was every bit as yummy as I remembered and the traditional recipe was even accidentally vegan (although some versions use butter instead of oil). I thought it would be a fun recipe to share with you all, especially since it’s somewhat uncommon.
Its name comes from the large amount of thick, gooey molasses that goes into it… so sweet that it attracts sugar-loving insects which must then be “shooed” away.

In researching it, I discovered that it’s actually an Amish recipe. I’ve always been fascinated by this unique culture, which you’ve probably heard of even if you’re not from North America. This group, most famous for rejecting modern technology, is made up of several distinct but related traditionalist Christian church fellowships with German and Swiss Anabaptist origins. Several hundred thousand of them live in rural parts of the US and Canada, and their best known settlements are in Pennsylvania. There are some in my home state of Wisconsin, but I’ve never encountered them anywhere but on the Amtrak – since they don’t drive or fly, trains are their main form of transportation when going long distances. I find it quite remarkable that they’ve managed to preserve their way of life and language (Pennsylvania German) all this time.
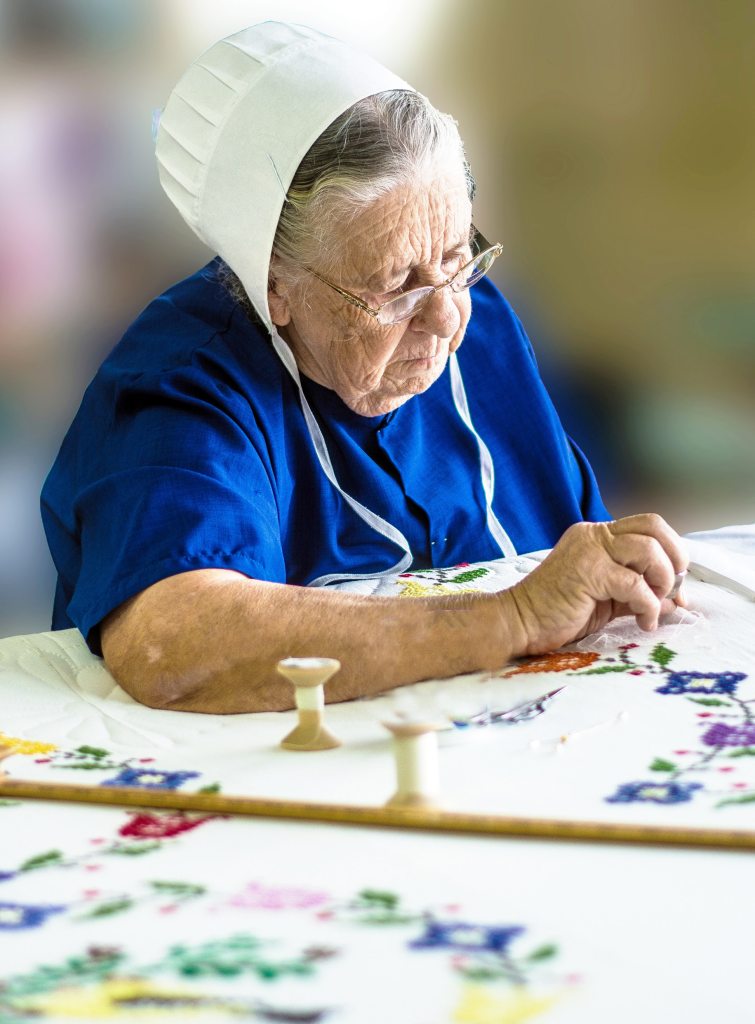


Among other things, the Amish are known for their handmade quilts and traveling by horse and buggy.
This British reality TV show provides an interesting glimpse into an Amish community that hosted a group of decidedly non-Amish teenagers from the UK. Other more traditional documentaries can also be found on YouTube.


Molasses is the star of this scrumptious moist dessert, which in my view can compete with the most decadent chocolate cake any day in terms of richness of flavor. It’s made by refining sugarcane and tastes something like a stronger and darker maple syrup with notes of gingerbread and honey. Molasses isn’t used so often today, but it was a very common sweetener in the Americas before the 1900s.

Unlike white sugar, molasses contains nutrients. It’s an excellent source of vitamin B6 and key minerals including calcium, magnesium, iron and manganese (one tablespoon provides 20% the recommended daily amount of each).
Traditional versions of this cake call for a lot of sugar – one recipe I found actually calls for 3 cups of it (!) for 4 cups of flour. I read that the Amish view high-calorie food as a plus, since they do a lot of manual labor and need the energy. Fair enough, but being a sedentary city-dweller myself, I dialed the sugar back to just a little over a half-cup, which was quite sufficient in combination with regular molasses. If you’re using the more bitter blackstrap molasses, you may want to add more sugar.
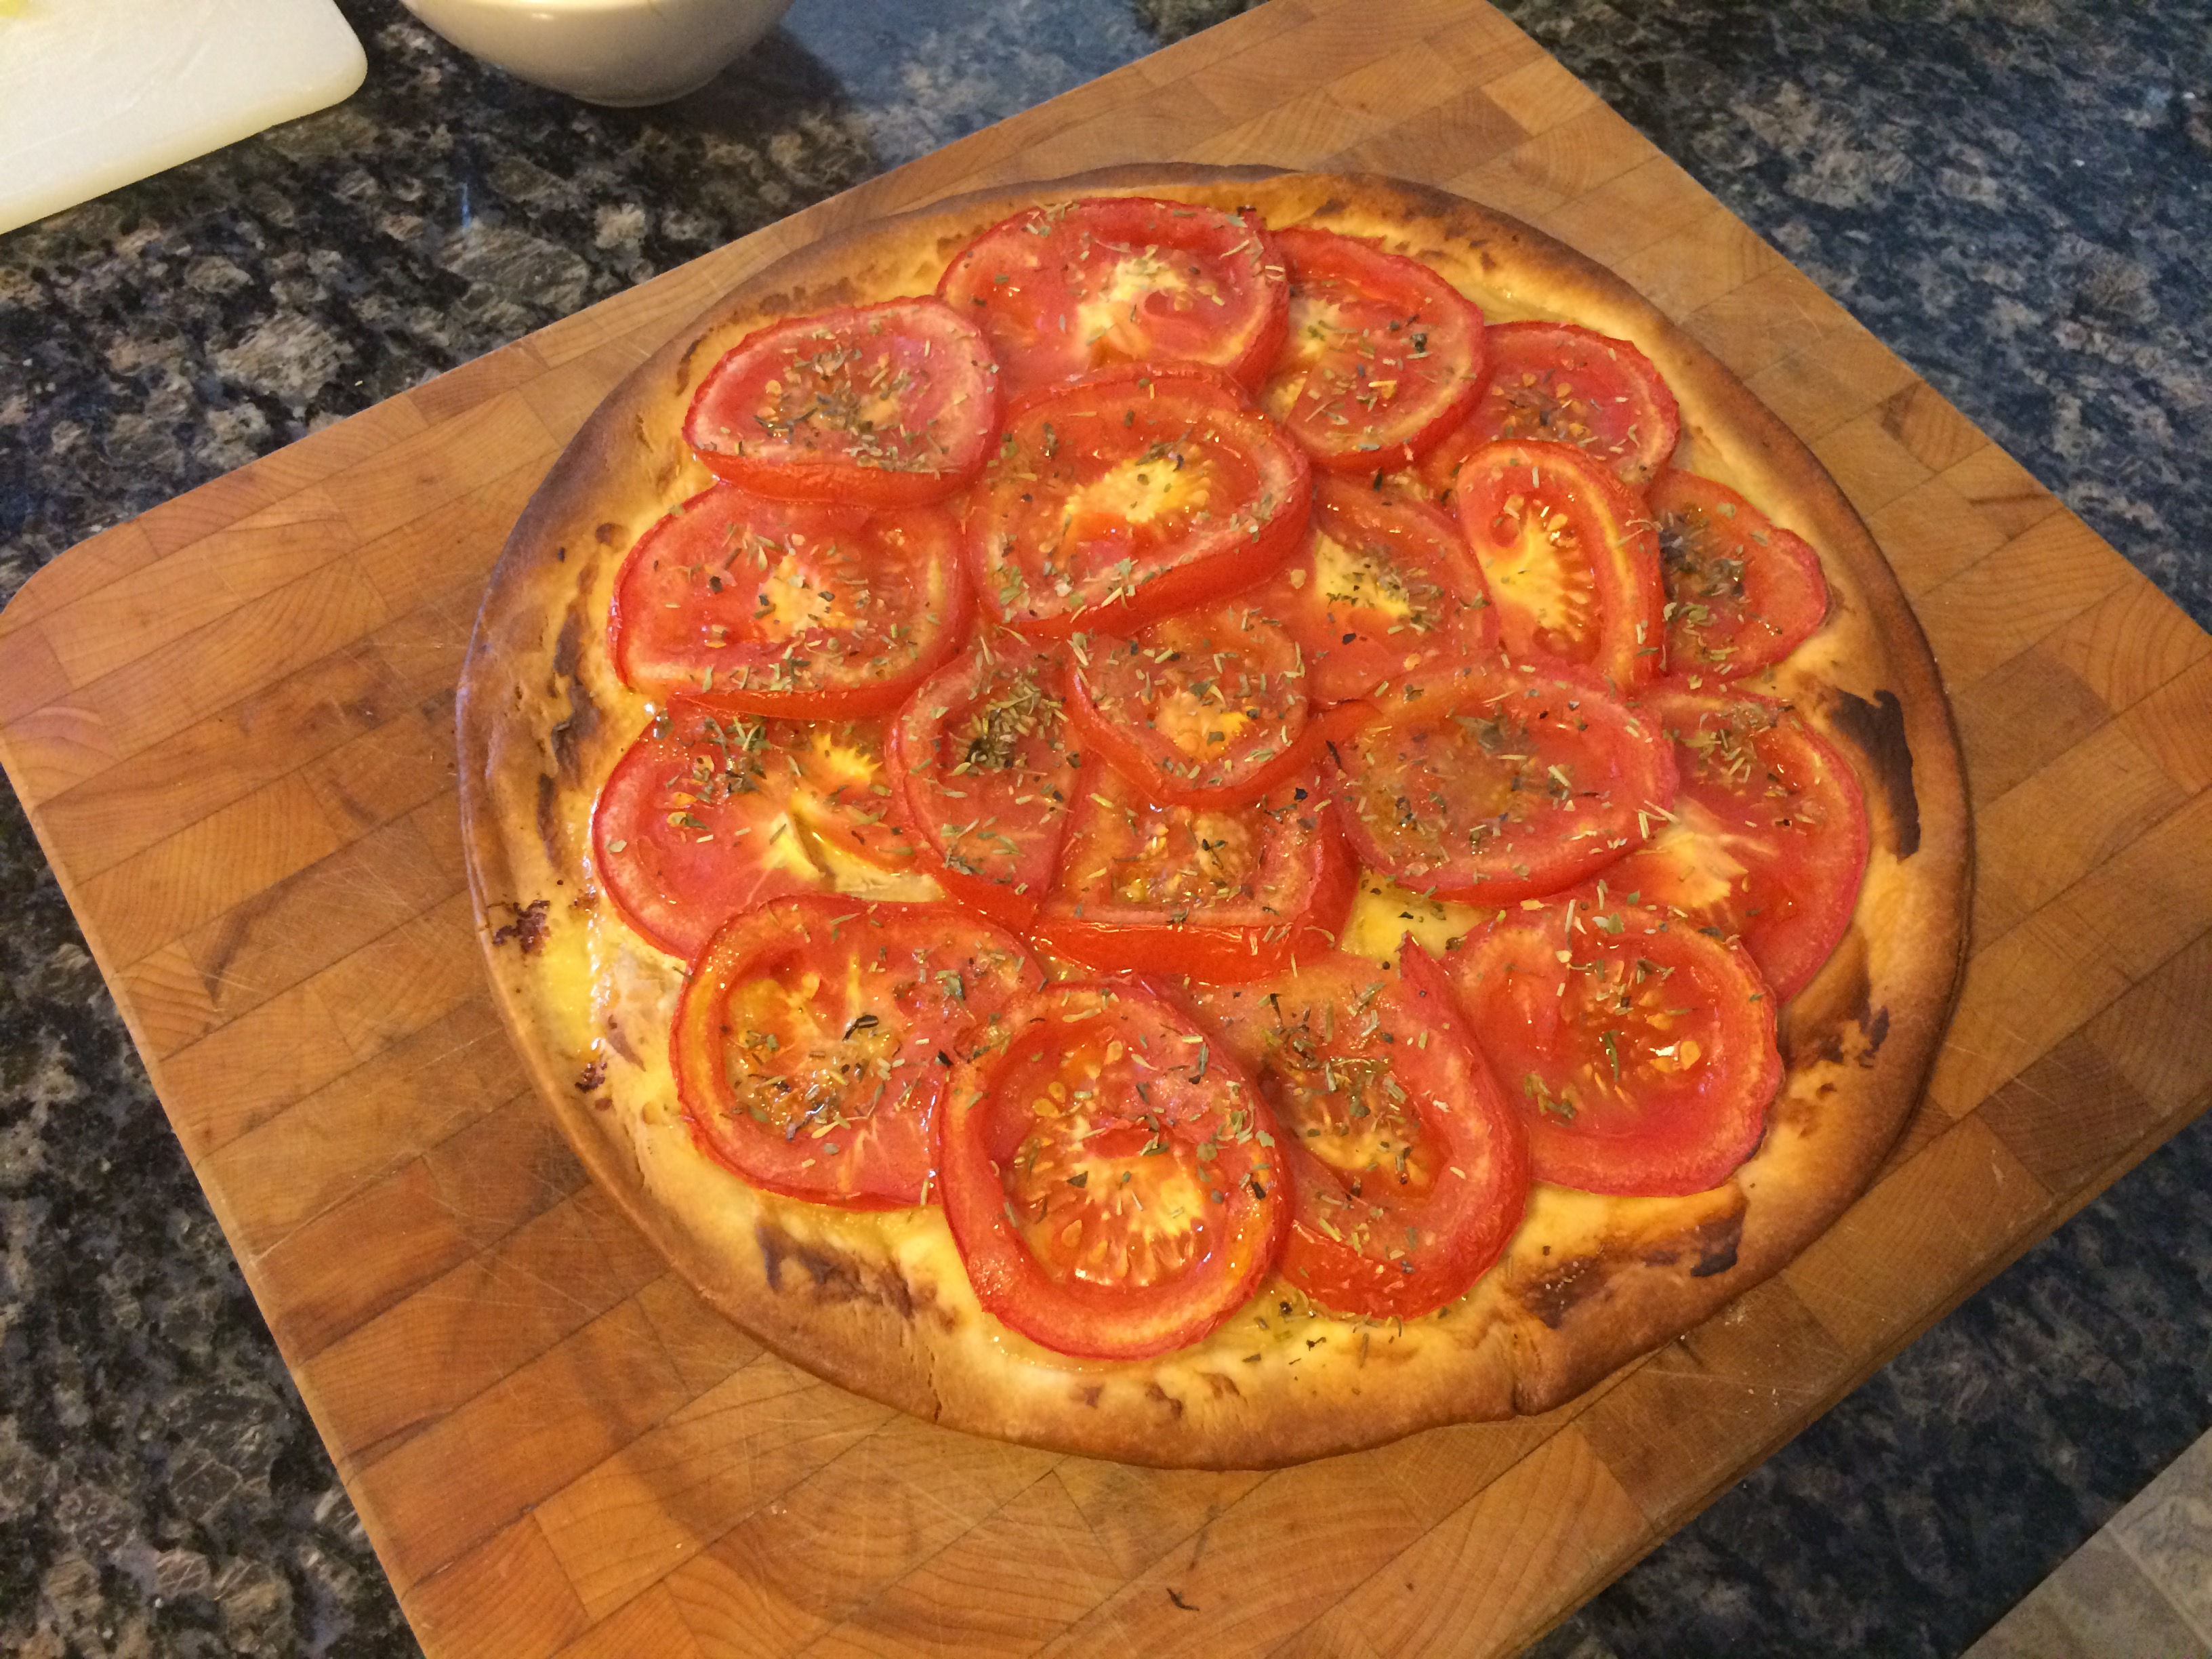
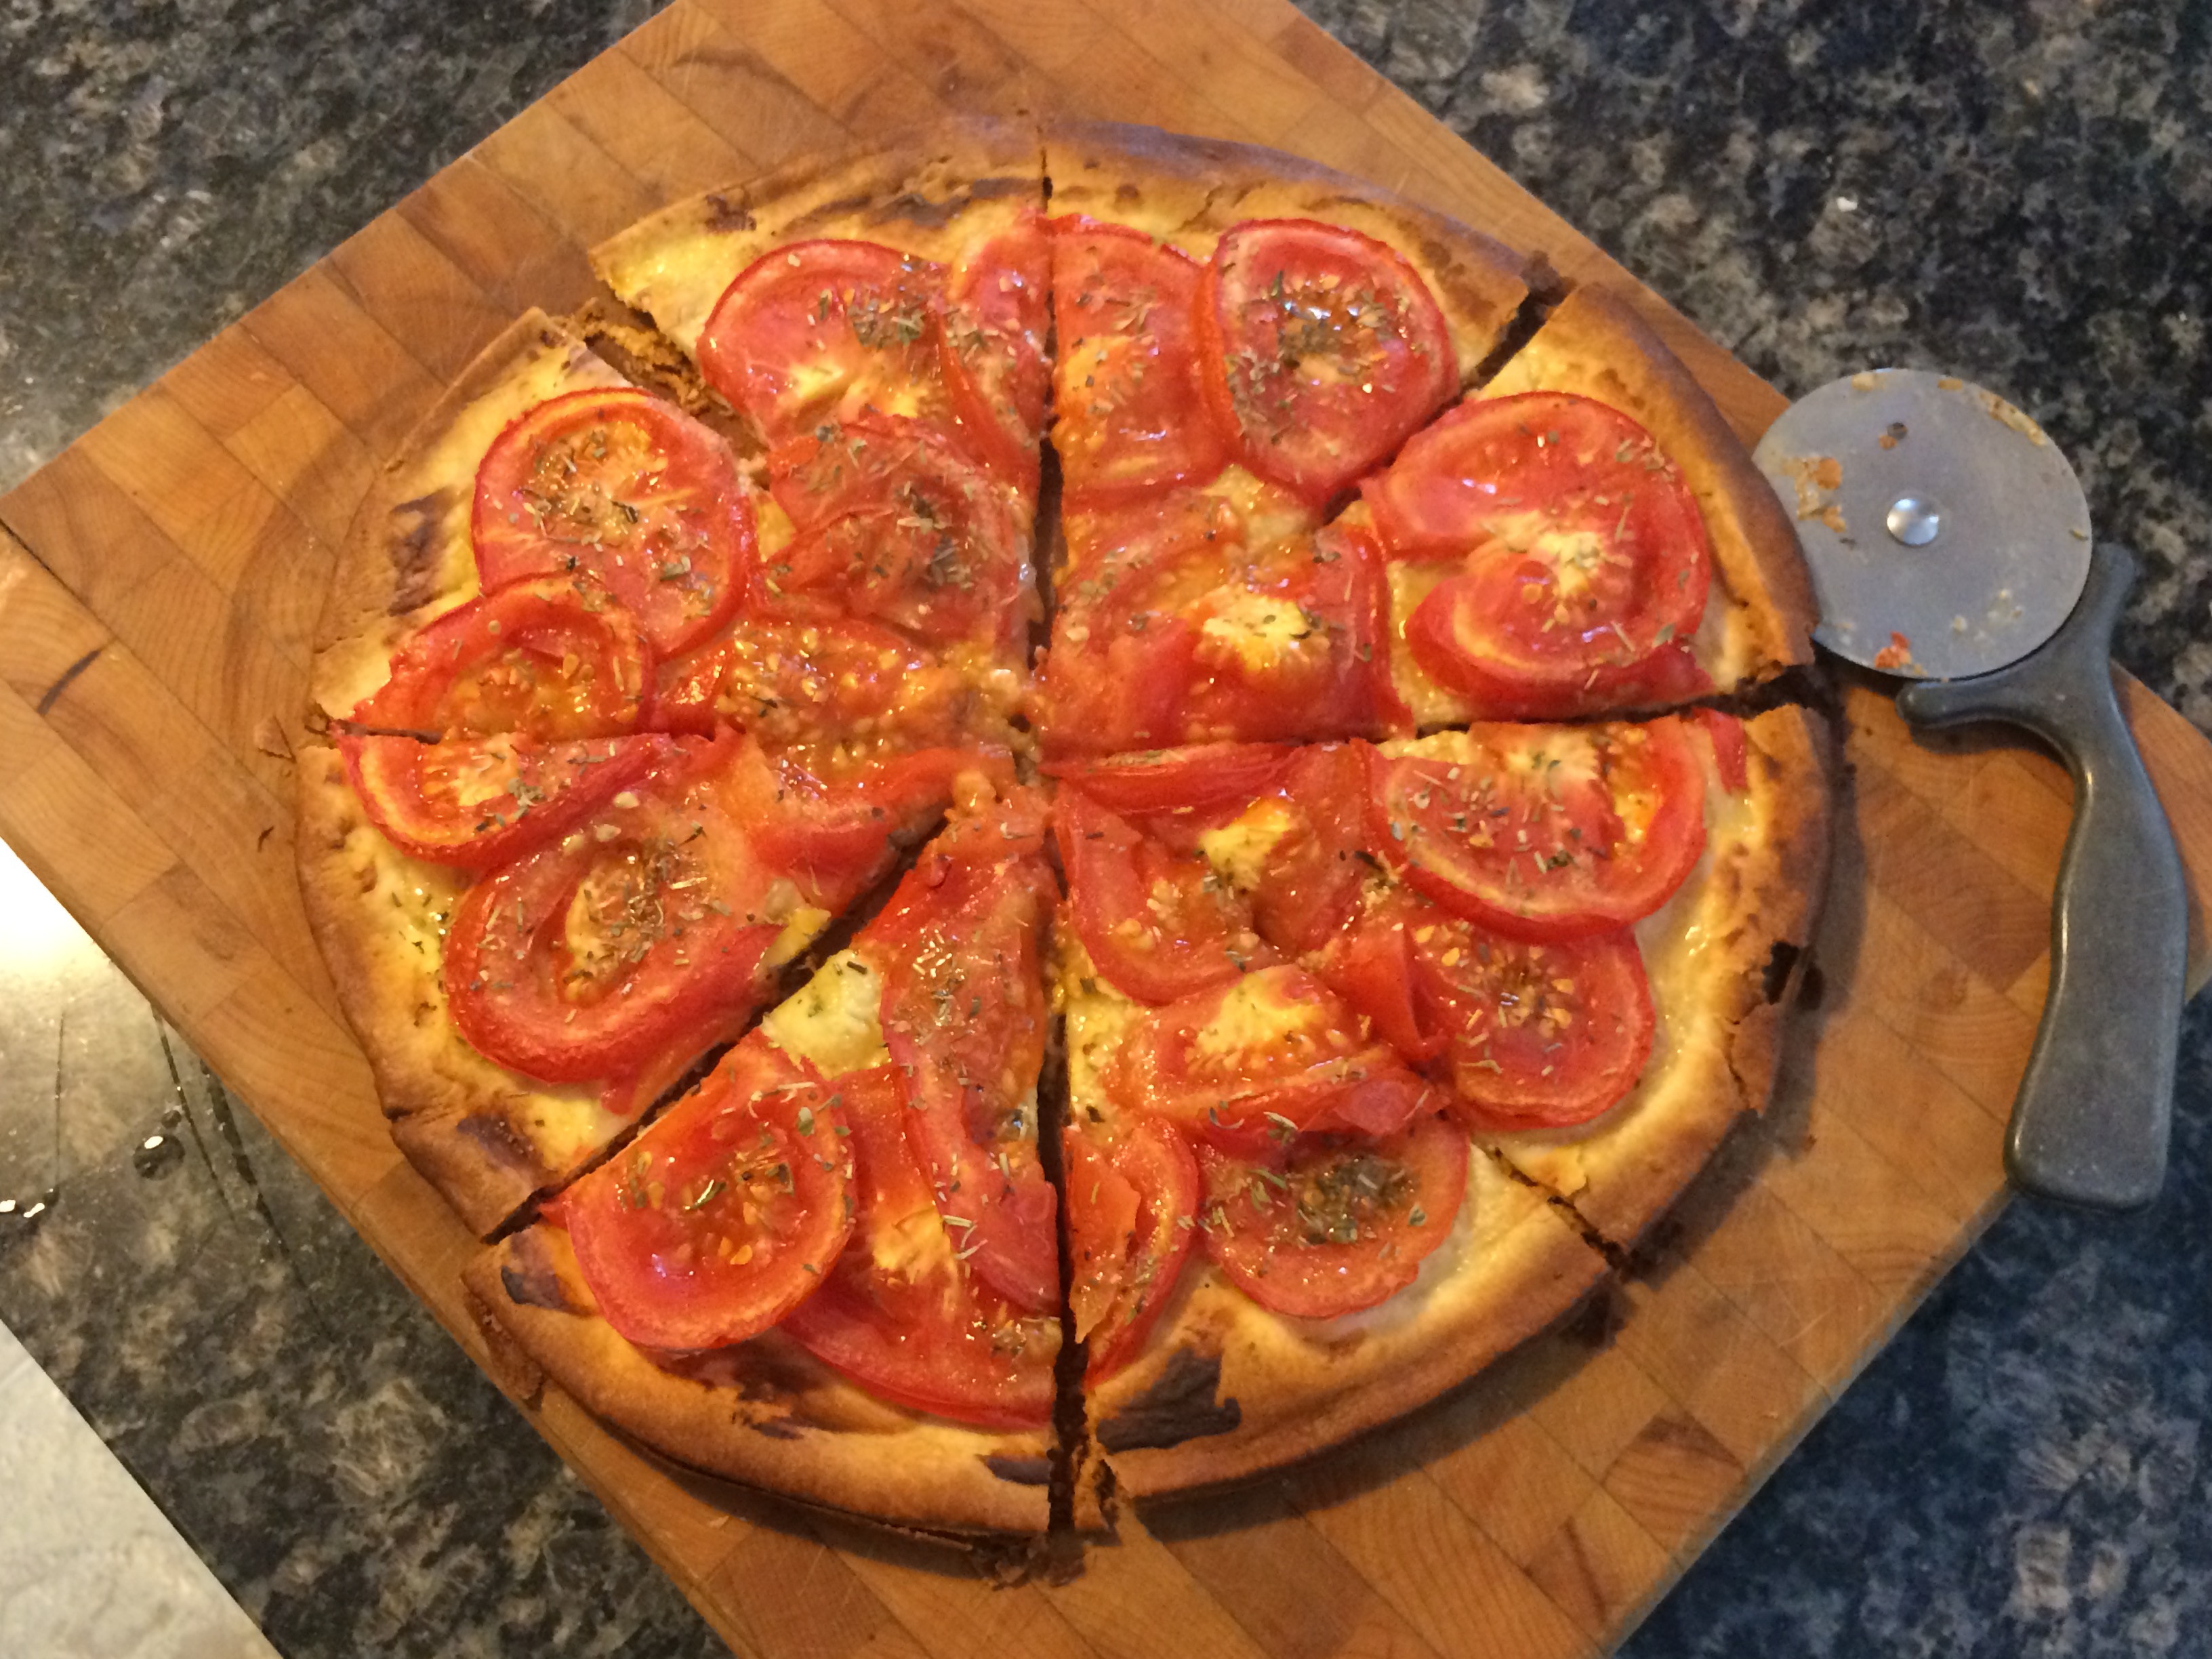
Note: the quantities and cake pan size indicated below are for a cake half the size of the ones shown in the photos here. At the time I took the photos, I had just made my mom’s original recipe, which yields enough for an entire Amish family!
Let’s make a cake!
Amish shoo-fly cake
Makes one 6 x 9 in. (15 x 22 cm) rectangular sheet cake, or similar size square sheet cake
- 2 cups (240 g) all-purpose flour
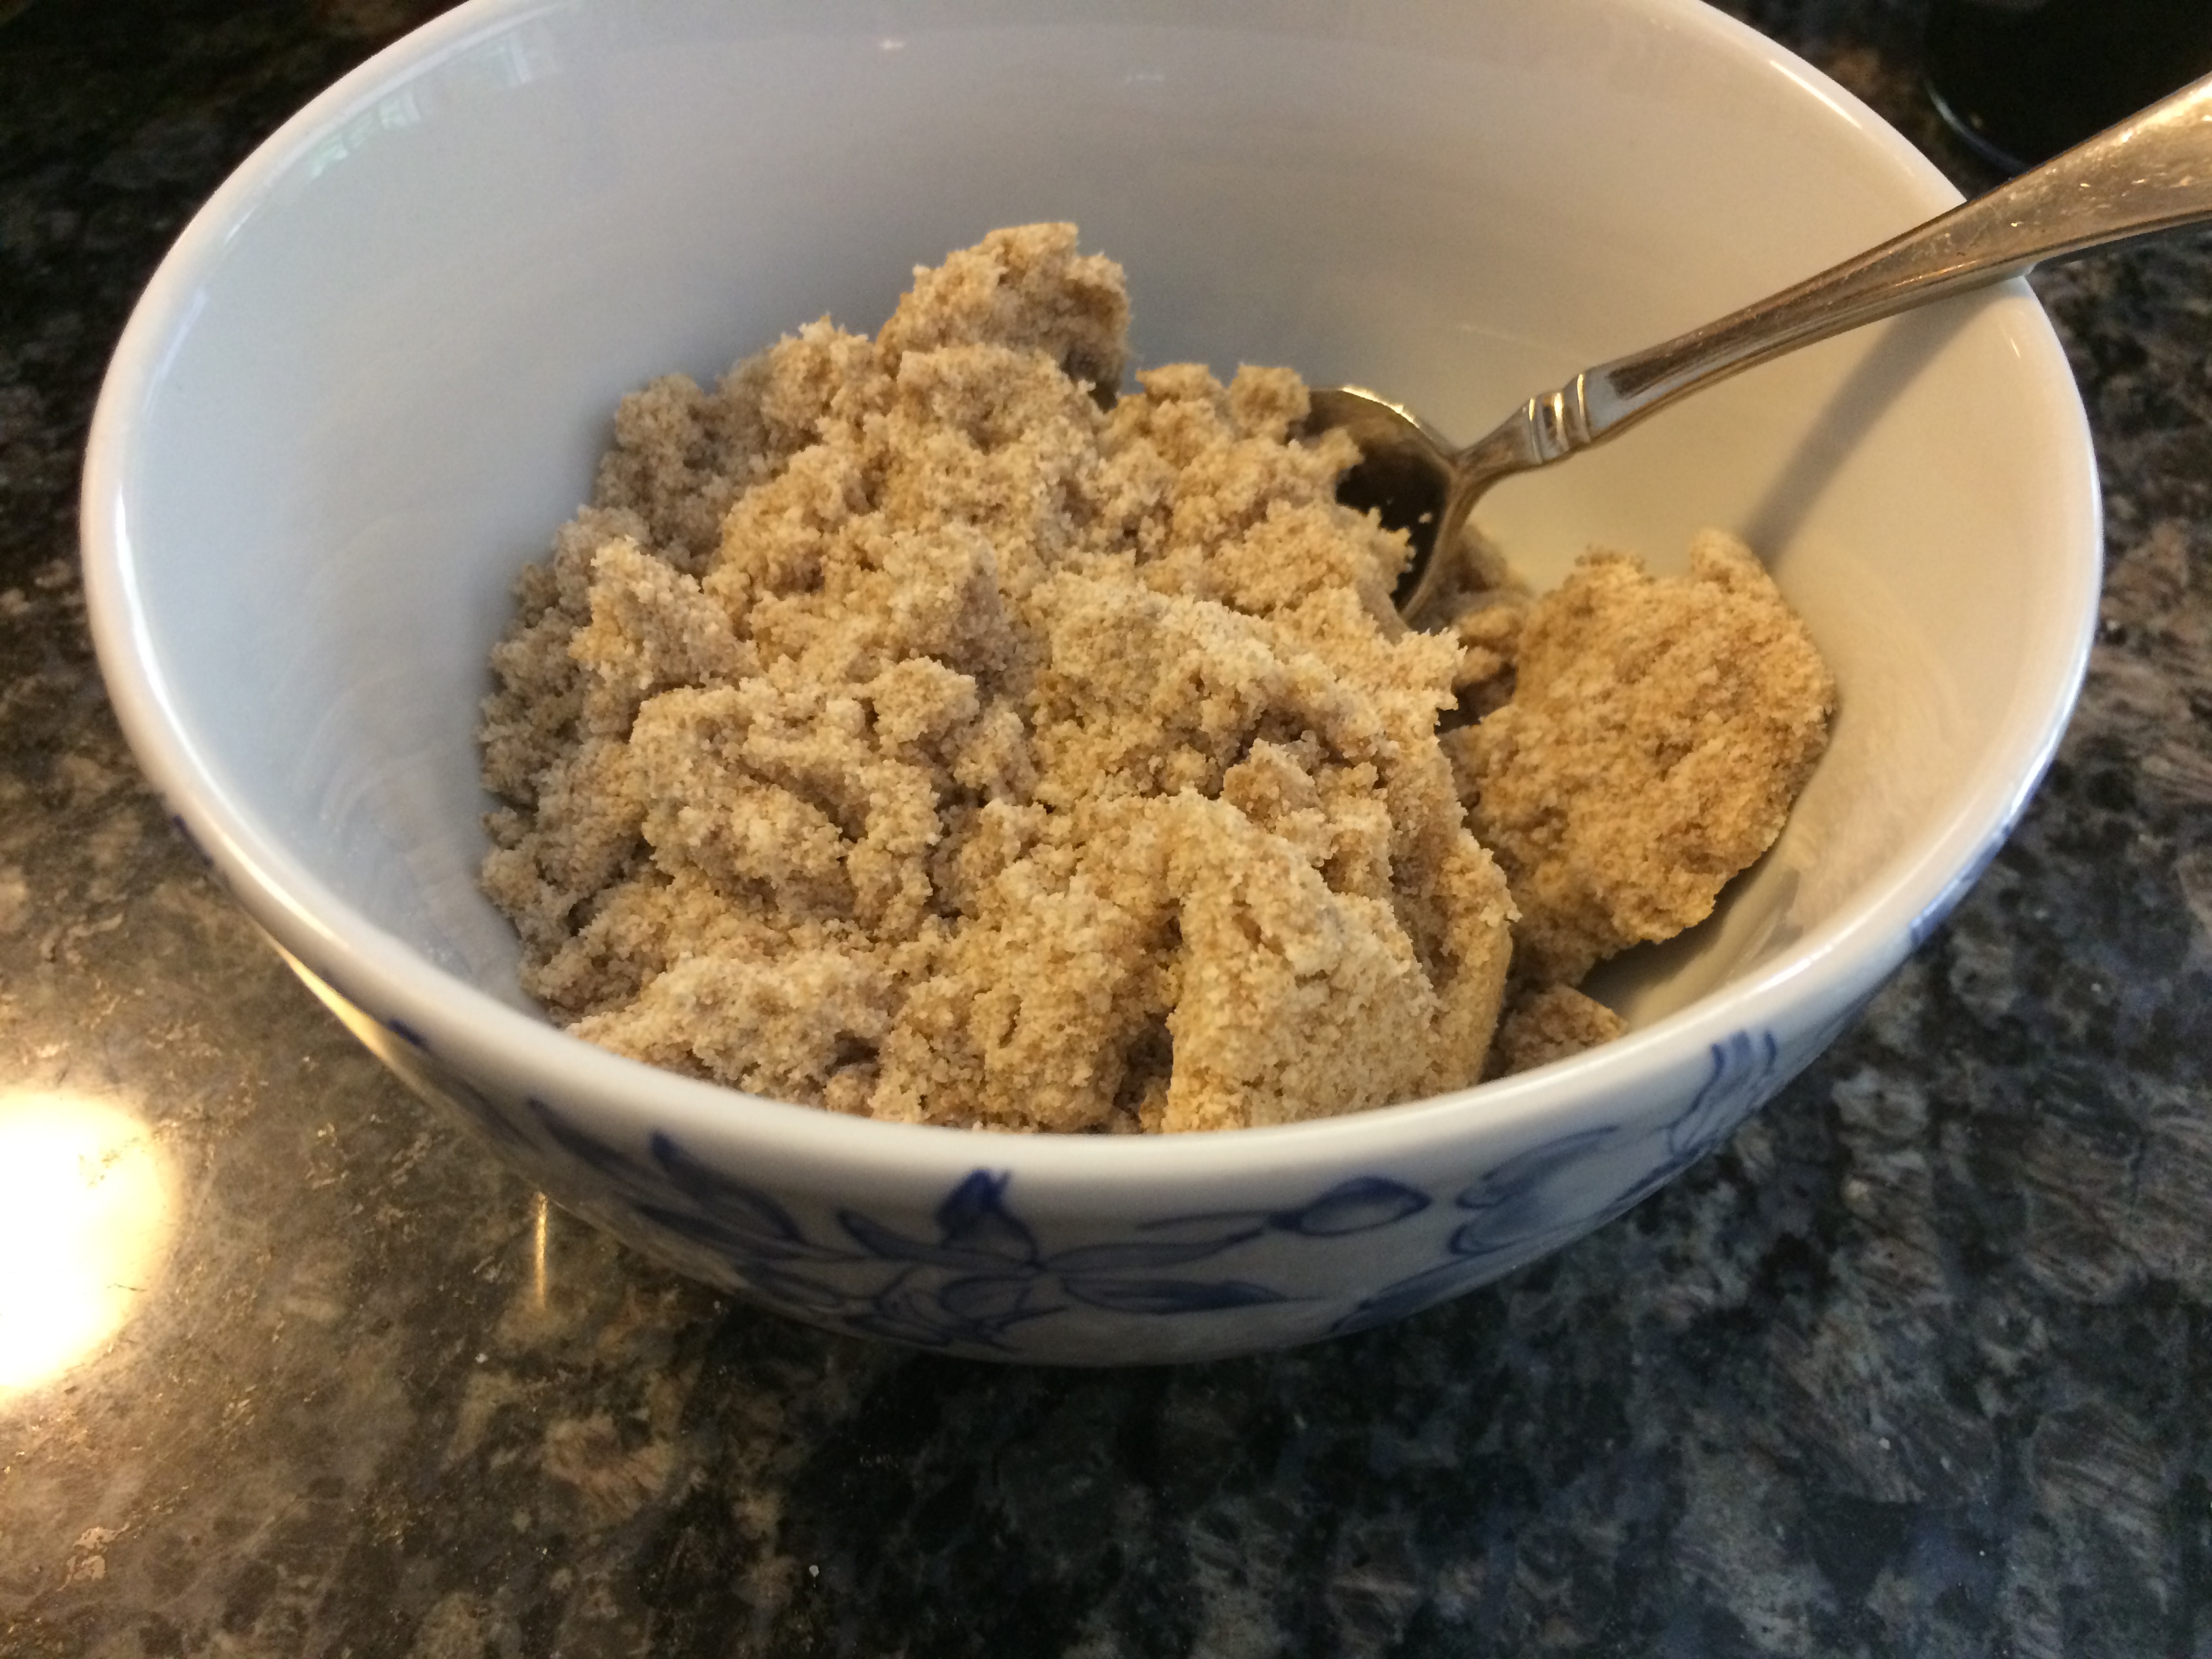
- 1/2 cups + 2 tablespoons (150 g) brown sugar, packed
- 1/2 teaspoon salt
- 1/2 cup (118 ml) neutral-flavored oil such as canola (in France, try huile de colza désodorisée)
- 1/2 cup (118 ml) molasses
- 1 cup (236 ml) boiling water
- 1 teaspoon baking soda


Preheat your oven to 350°F (180°C). Start with the flour in a large mixing bowl. Add the brown sugar and salt and stir to combine.


Add the oil and stir to incorporate. You may need to knead it with your hands at some point to achieve a fully homogeneous result. The texture will be similar to moist sand.
Reserve 1/2 cup of the crumb mixture to top the cake with just before baking. Set the large mixing bowl of dry mixture aside.


Take another large bowl for the wet mixture. Add the molasses, scraping the measuring cup thoroughly to get all of it out. Add the boiling water and stir to combine, then add the baking soda (the mixture will foam up, which is why it’s good to use a larger bowl).
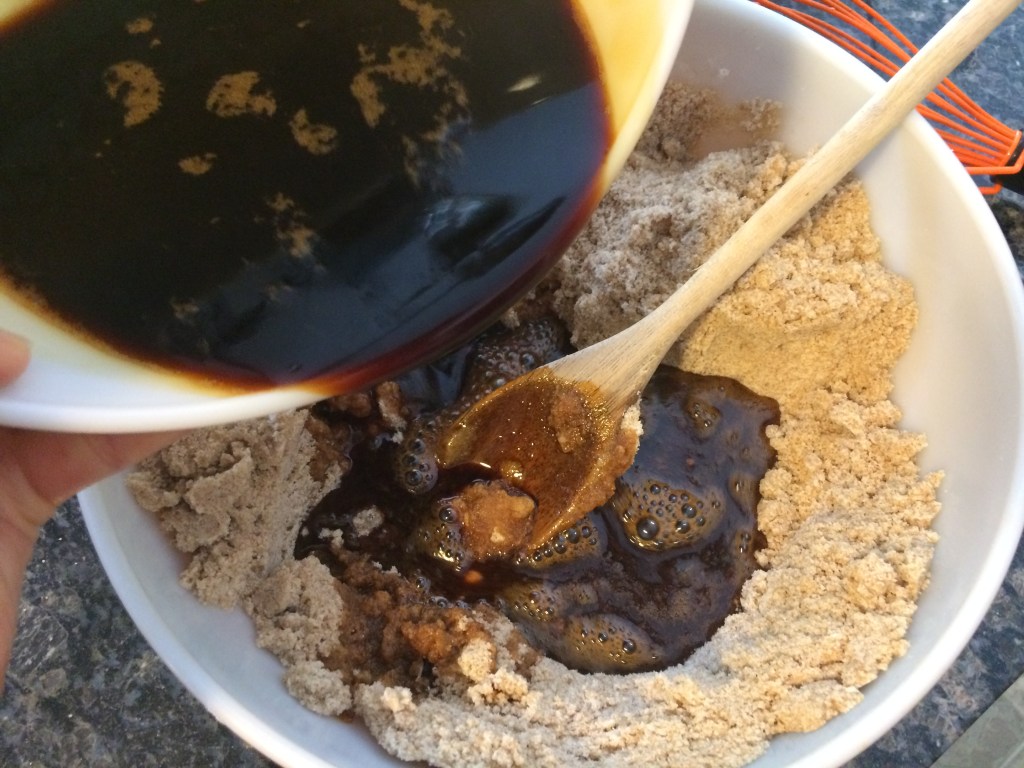


Now incorporate the wet mixture into the bowl with the dry mixture. Stir to combine, being careful not to stir too much as this can make the cake texture tough (it’s okay if a few lumps remain). Pour into a greased baking dish.


Sprinkle the reserved crumb topping over the the batter, taking care to ensure the coverage is even. Place in your pre-heated oven and bake for 35 minutes or until a toothpick inserted in the center comes out clean.
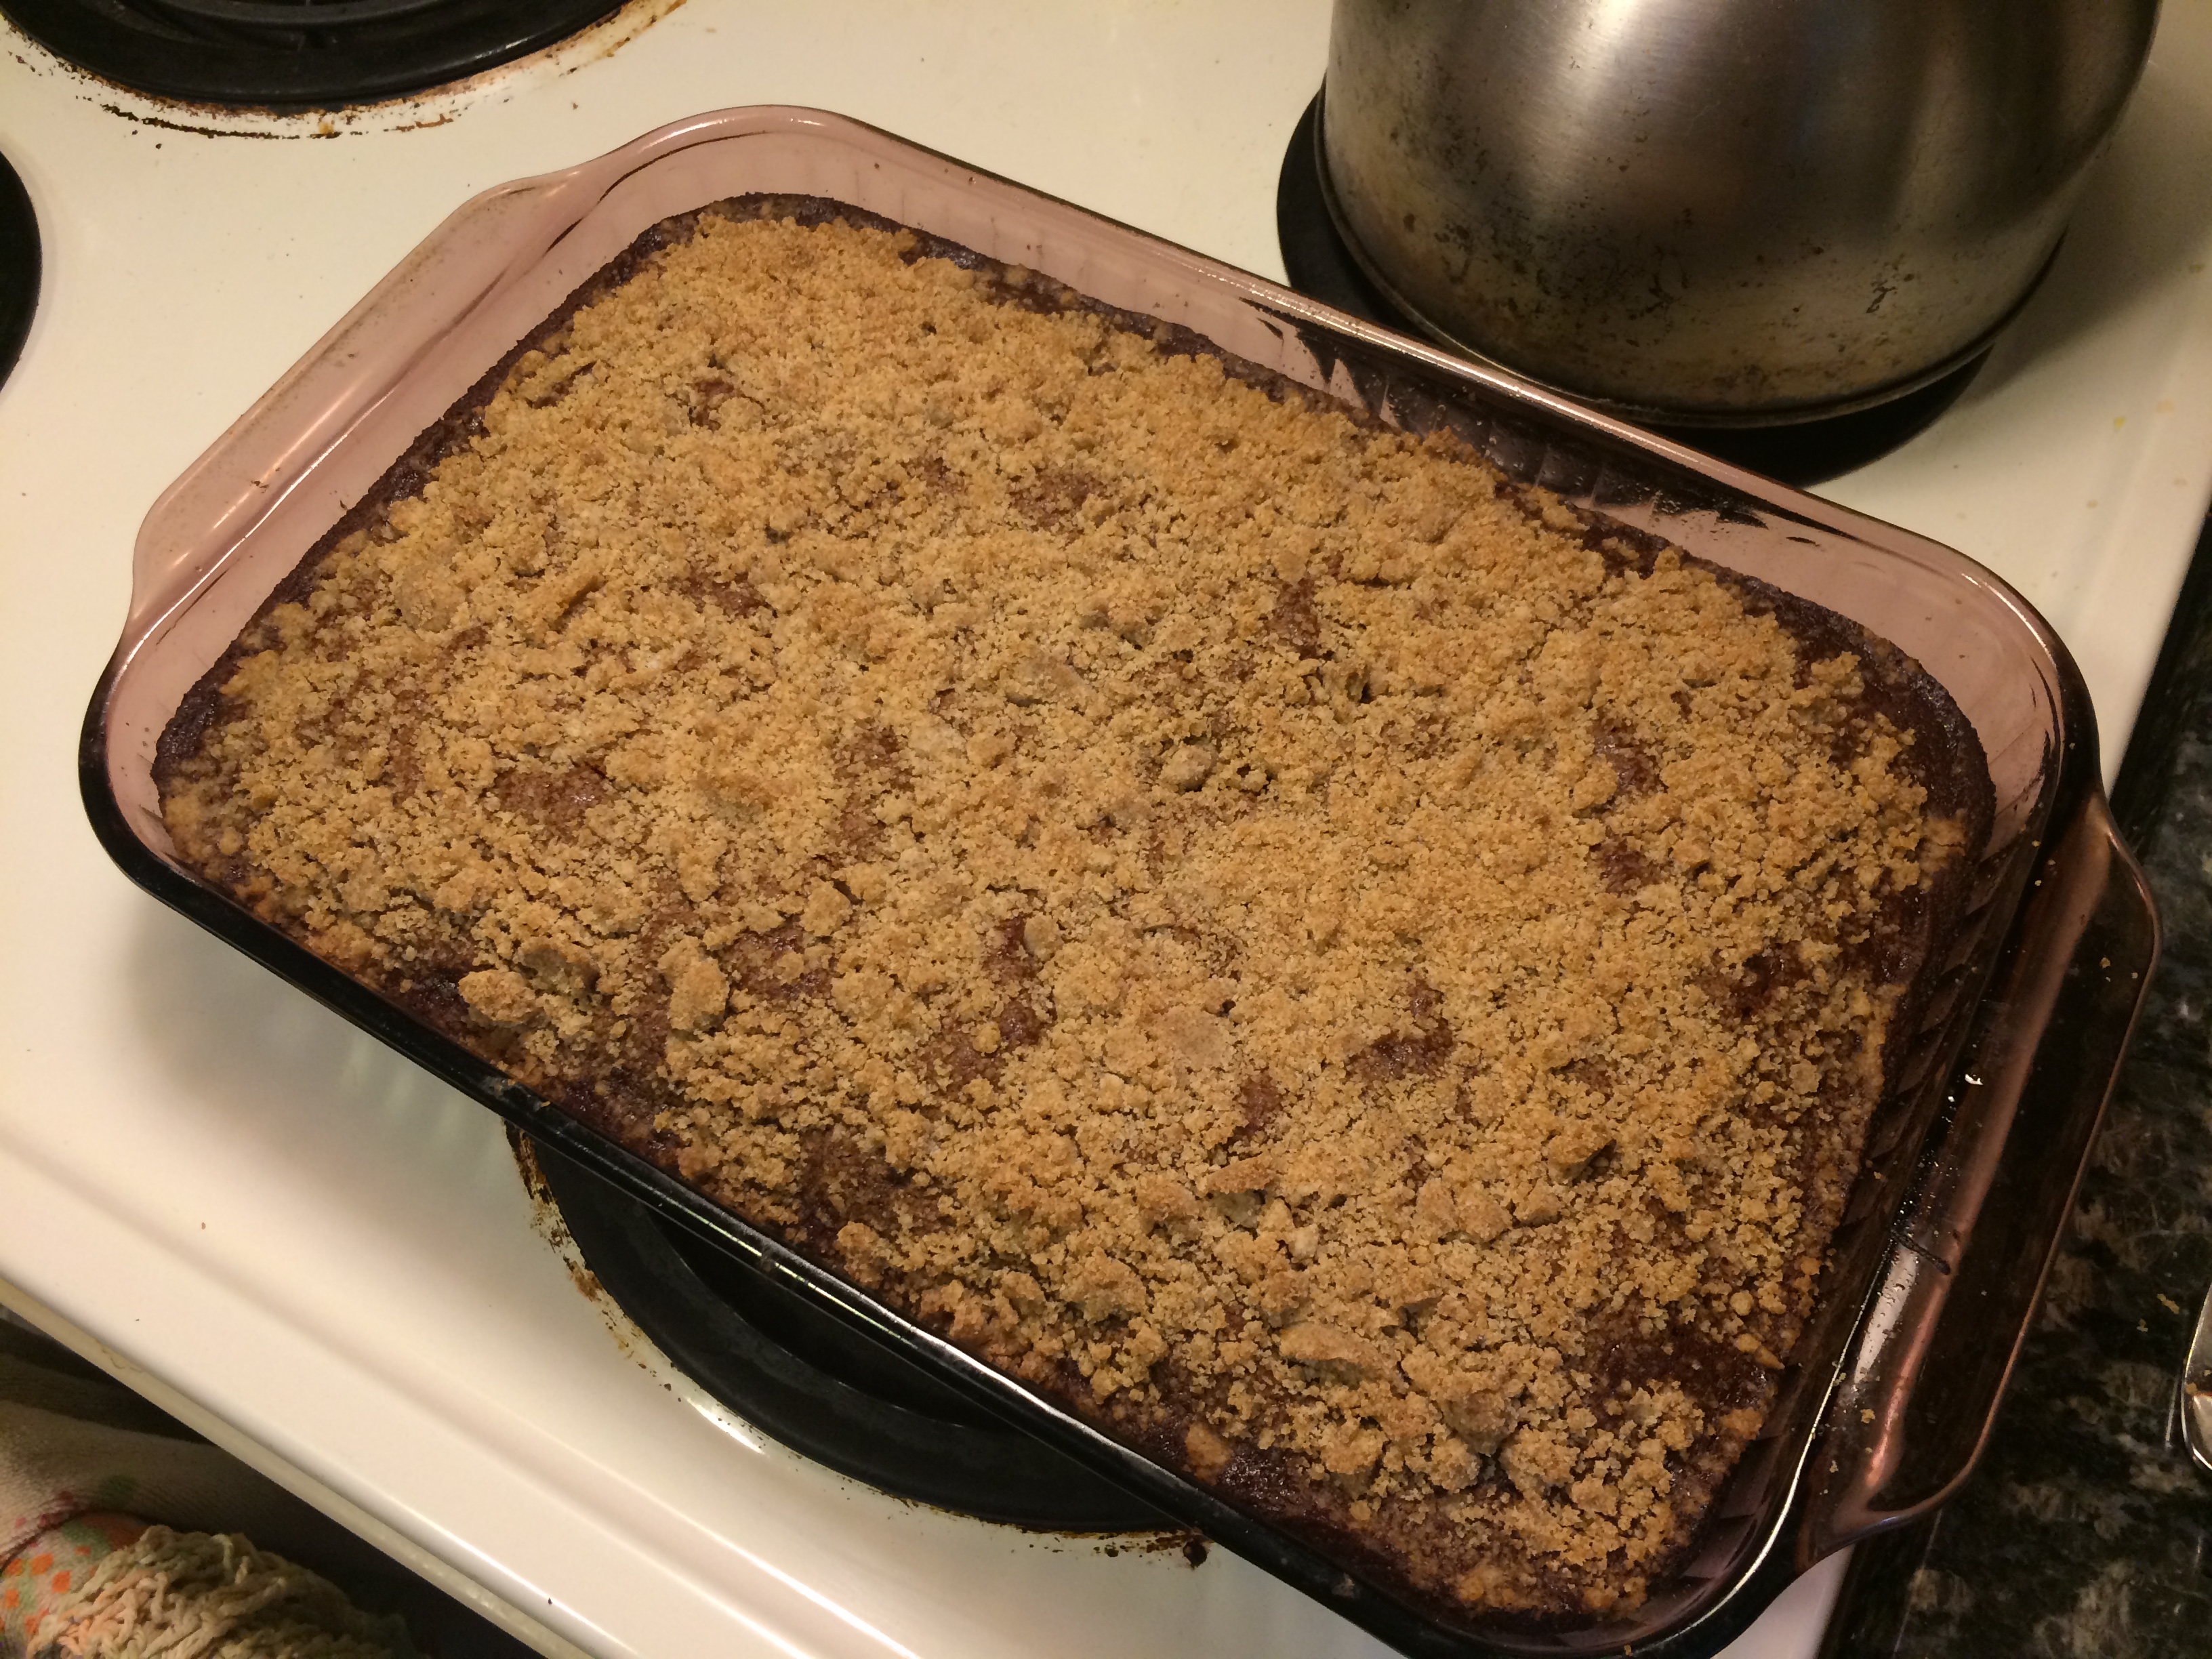
Remove from oven and let cool completely before attempting to cut into it, otherwise the squares may not keep their shape.
Cover the baking dish with plastic wrap or transfer leftover slices to a Tupperware container so the cake doesn’t dry out.


I hope you enjoy this one-of-a-kind cake! Who knows, it may just become one of your favorites, too.
Where to find ingredients…
In North America: Molasses and brown sugar can be found at most grocery stores with a wide range of products.
In France: Molasses (mélasse) and brown sugar (sucre semoule) can be found at organic food shops but not always at mainstream grocery stores. Note that sucre semoule is a very specific moist sugar that’s different from sucre roux and sucre complet (also known as rapadura), which are dry sugars. Then moistness comes from the presence of molasses, so if you’re in a bind, you can actually make brown sugar yourself. Still, it’s better/safer to get prepared brown sugar if you can. Baking soda (bicarbonate de soude alimentaire) is not as common a baking ingredient in France as in the US, but you should be able to find it at most grocery stores if you look around enough. This is something I stock up on whenever I make a trip back home. Be sure the label says alimentaire or that it’s otherwise safe to use in baking, as you might find it in a cleaning-product form with non-edible chemicals added.


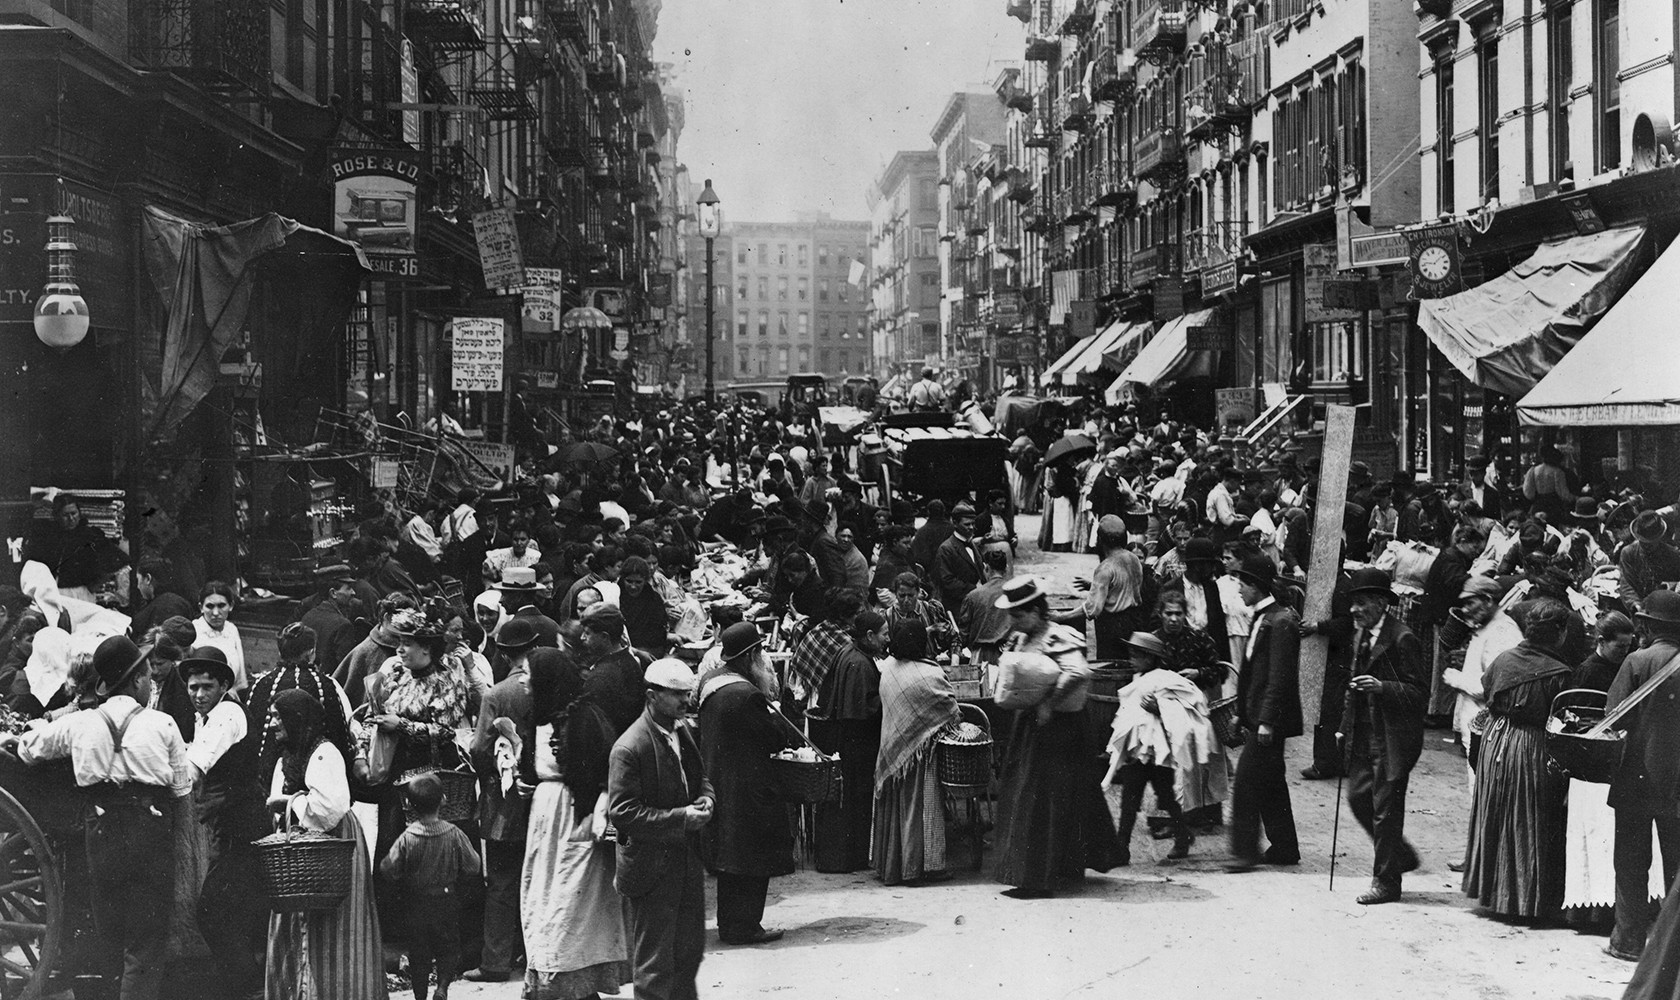
 First, I had the good fortune to be hosted on the Lower East Side of Manhattan by an old friend and former roommate from my undergrad days. Being roommates again was a high point of my stay, reminiscing about the good old days and learning about this new-to-me city from someone who’d already explored it a fair amount.
 But it turned out that while the reputation Paris has is (generally) well deserved, New York City’s isn’t. Throughout my entire stay, I consistently heard Excuse me, Sorry and Thank you, and on several occasions people spontaneously offered me help when I looked like I needed it. On my way into the city, loaded down with a heavy suitcase, I was looking at a flight of subway stairs in dismay when a passing woman volunteered that there was an escalator a bit further down the hall. Another time, I was sitting on a bench applying band-aids to my blistered heels when another passerby offered to supply me with more band-aids should I need them. And on the train to the airport on my last day, my fellow travelers (who could see from my luggage where I was going) helped me figure out what to do when the train service was temporarily halted, without my even having to ask.
 But on several occasions, locals actually did strike up a conversation. One afternoon, taking a break from a street art expedition in Brooklyn, I sat down in a café with a matcha latte and pulled Orlando out of my bag. The middle-aged gentleman working on a laptop at the table next to mine took his headphones off to remark on a coincidence: he was in the middle of writing an opera based on another of Virginia Woolf’s books! We spoke for a few minutes about the smallness of the world and the difficulties of adapting stream-of-consciousness literature to a musical form. When I asked when he expected to finish the piece, he chuckled and said sometime in the next decade. We each went back to our respective occupation and, making a mental note to pay more attention to operas, I wondered if he were somebody famous.

 The district has been home to


")

")
")
")
")

")


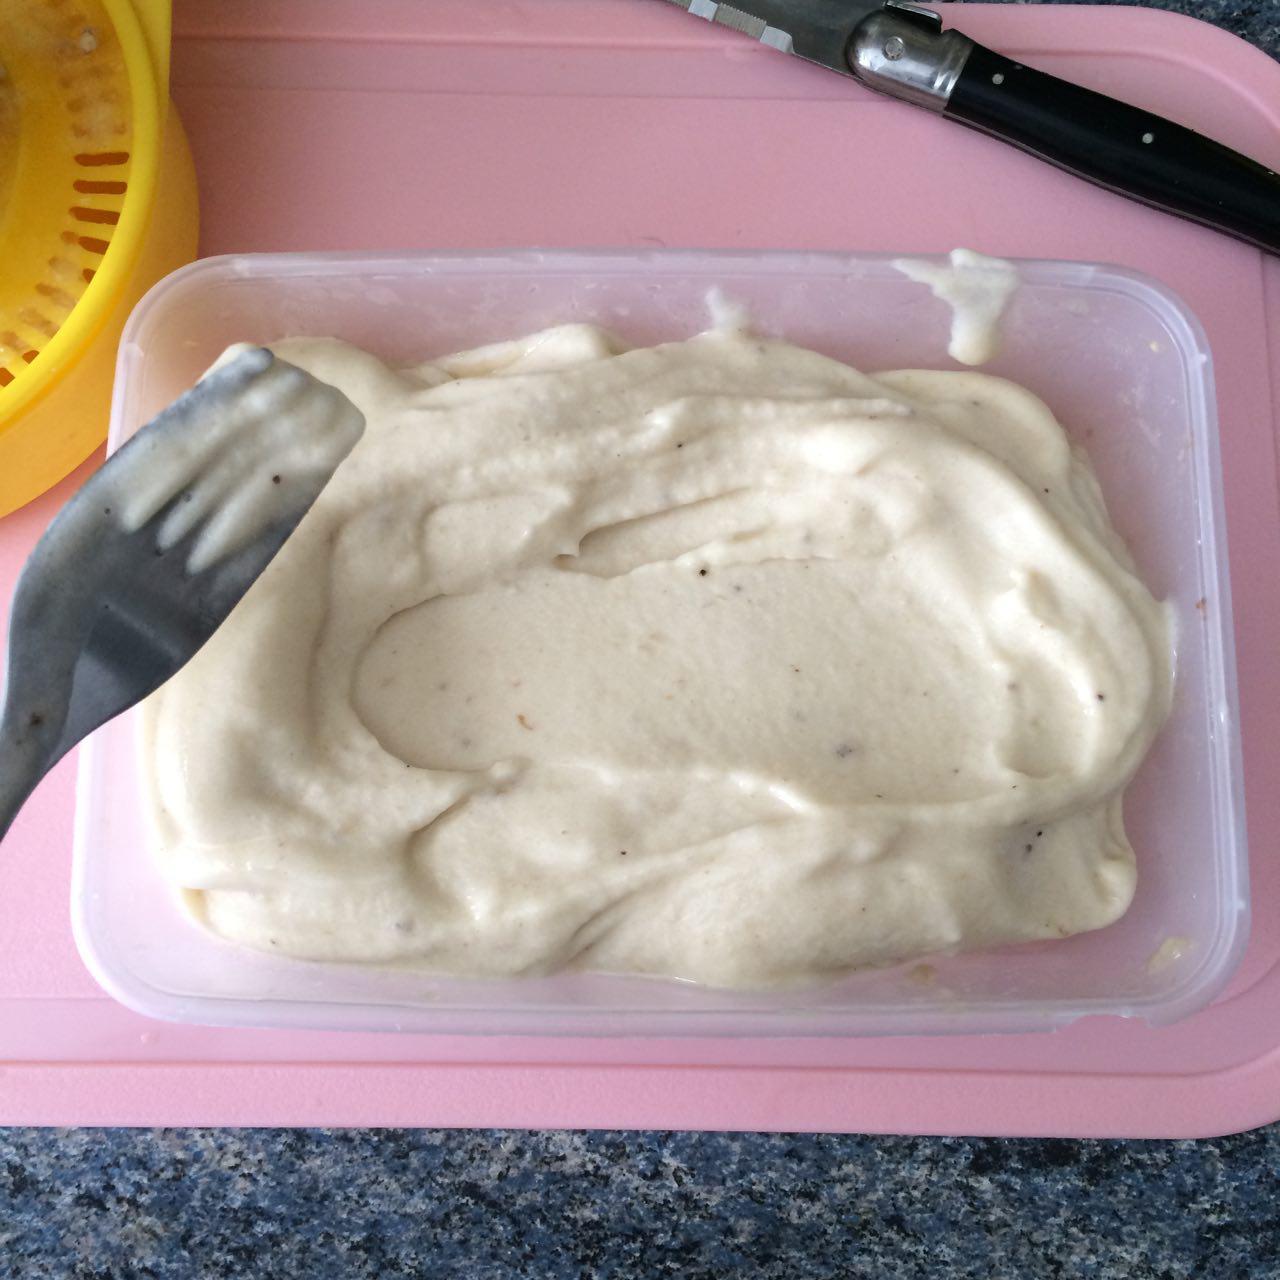


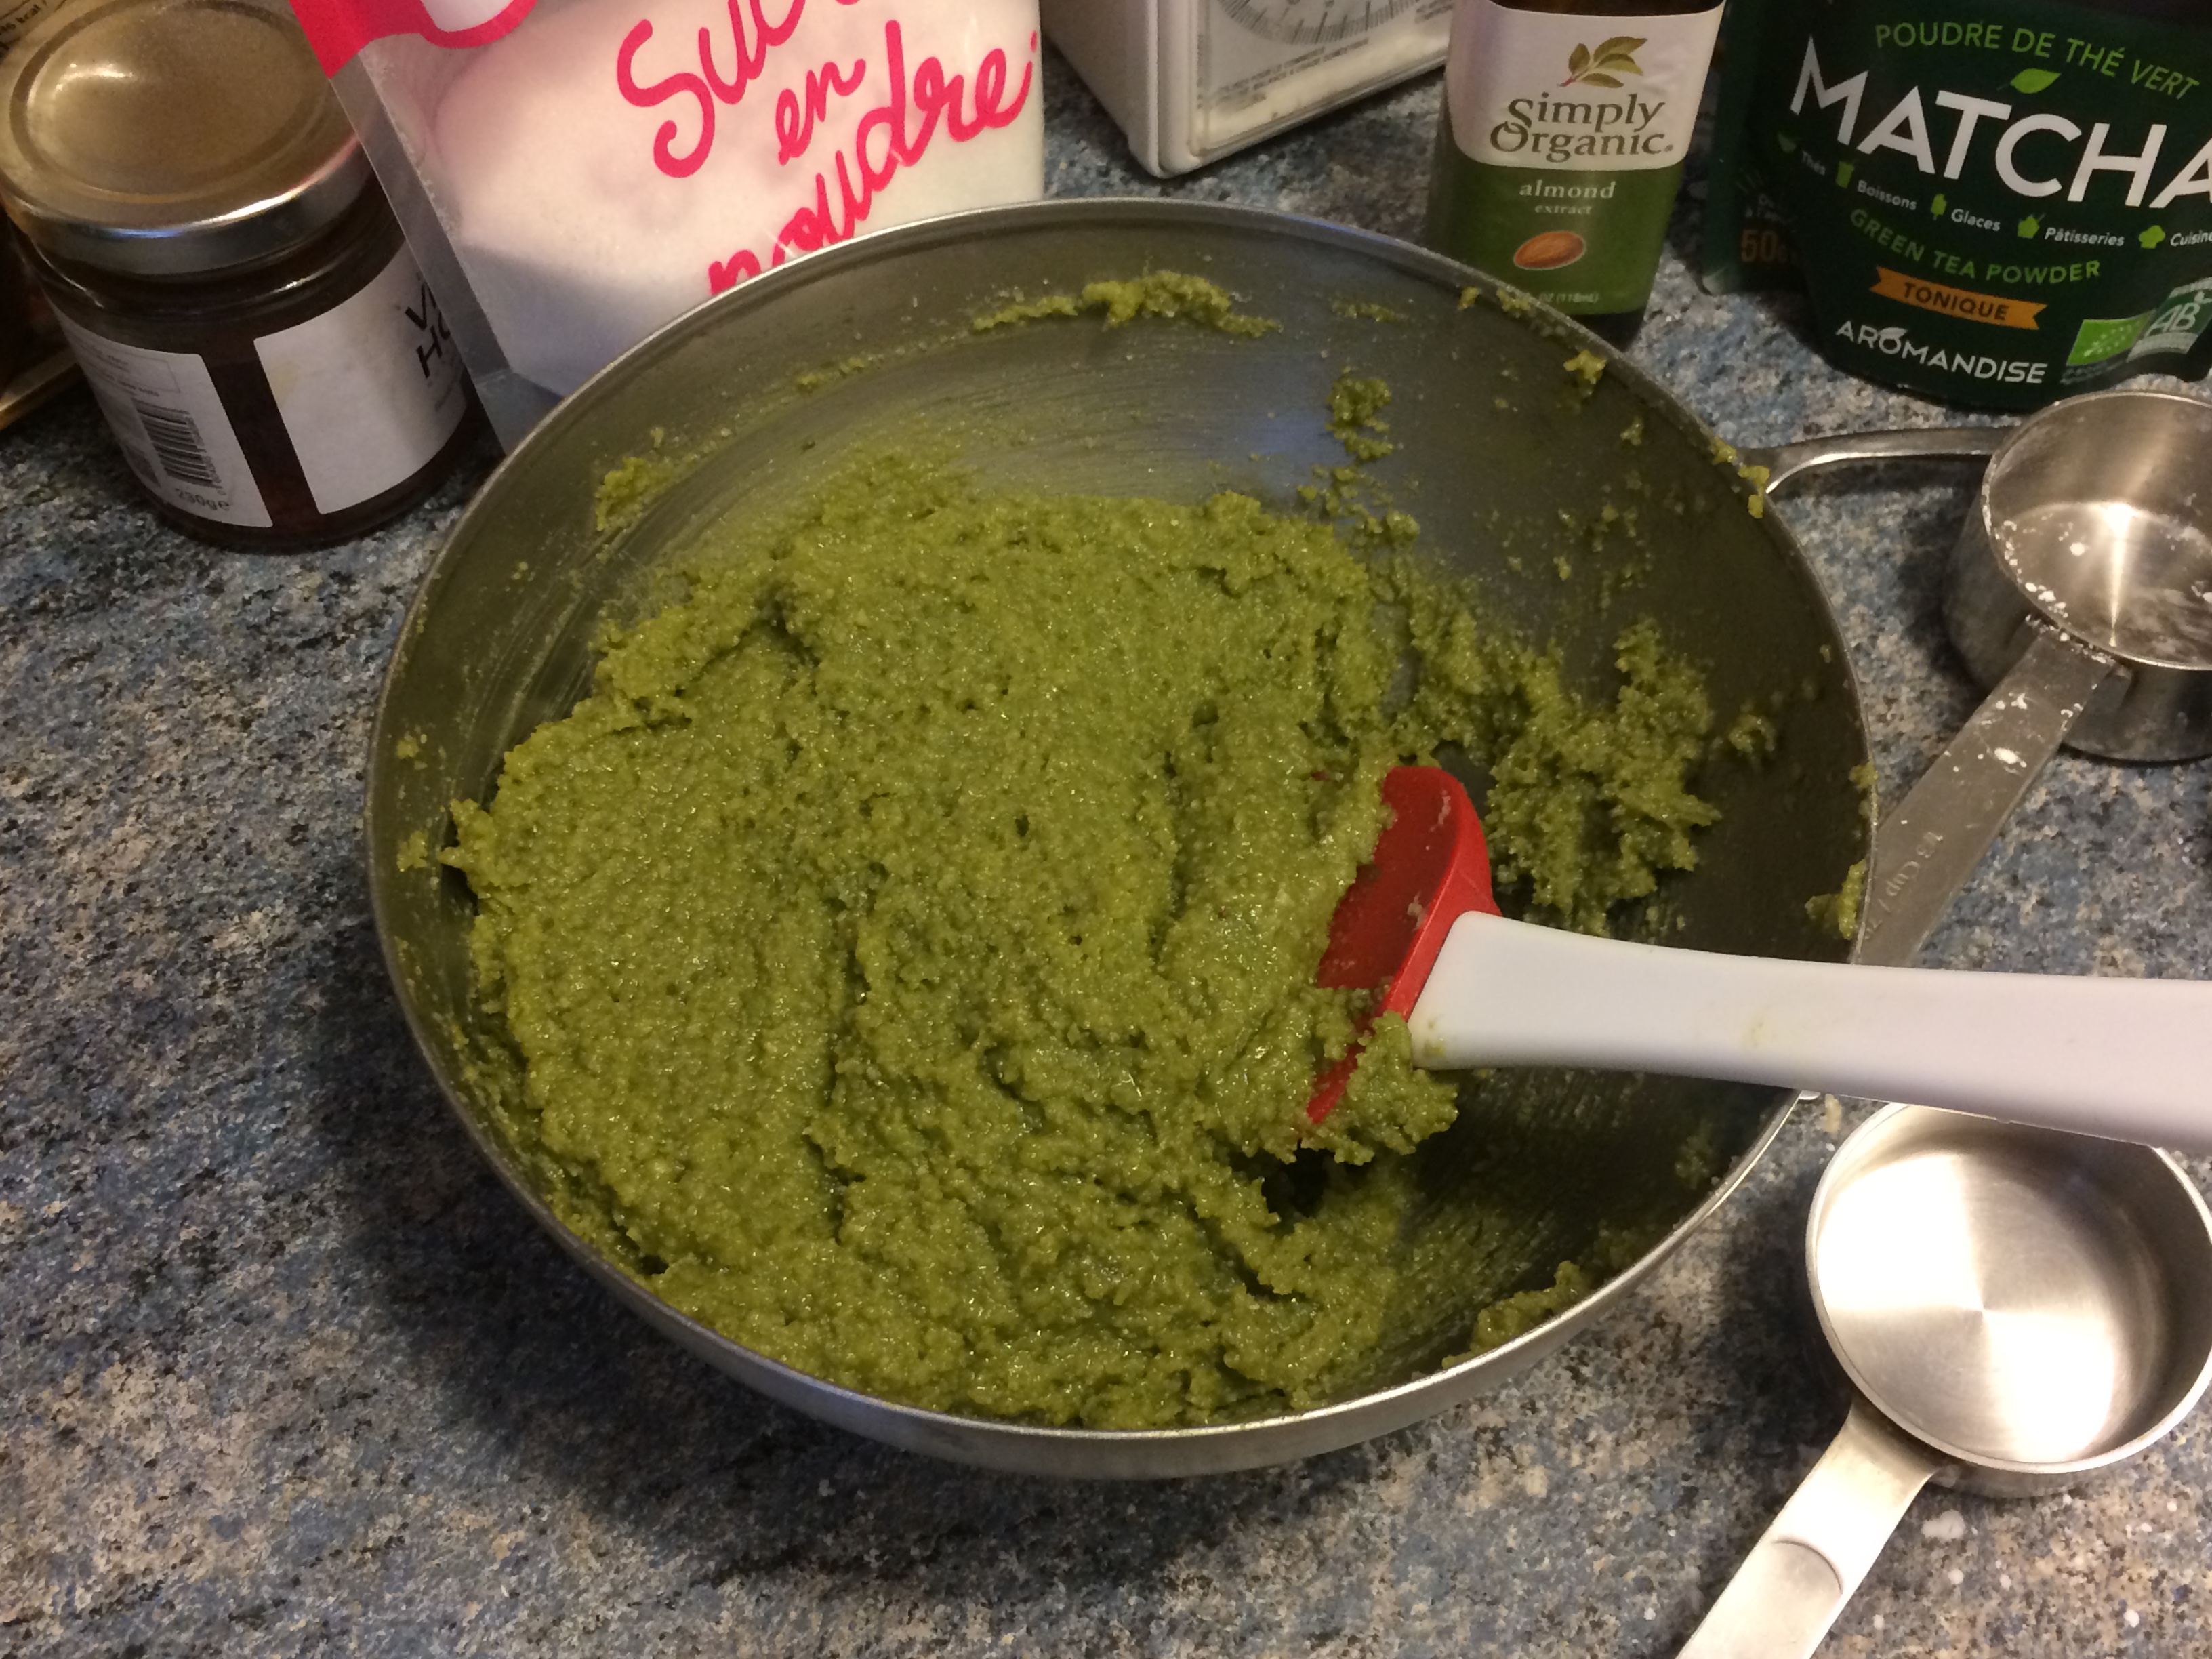 In a separate small bowl, combine the cream, milk, oil and almond extract, whisking with a fork. Add this liquid mixture to the dry mixture and stir thoroughly until you have a thick uniform paste. Taste it to check the sweetness – as matcha is fairly bitter, you may find you need a bit more sugar.
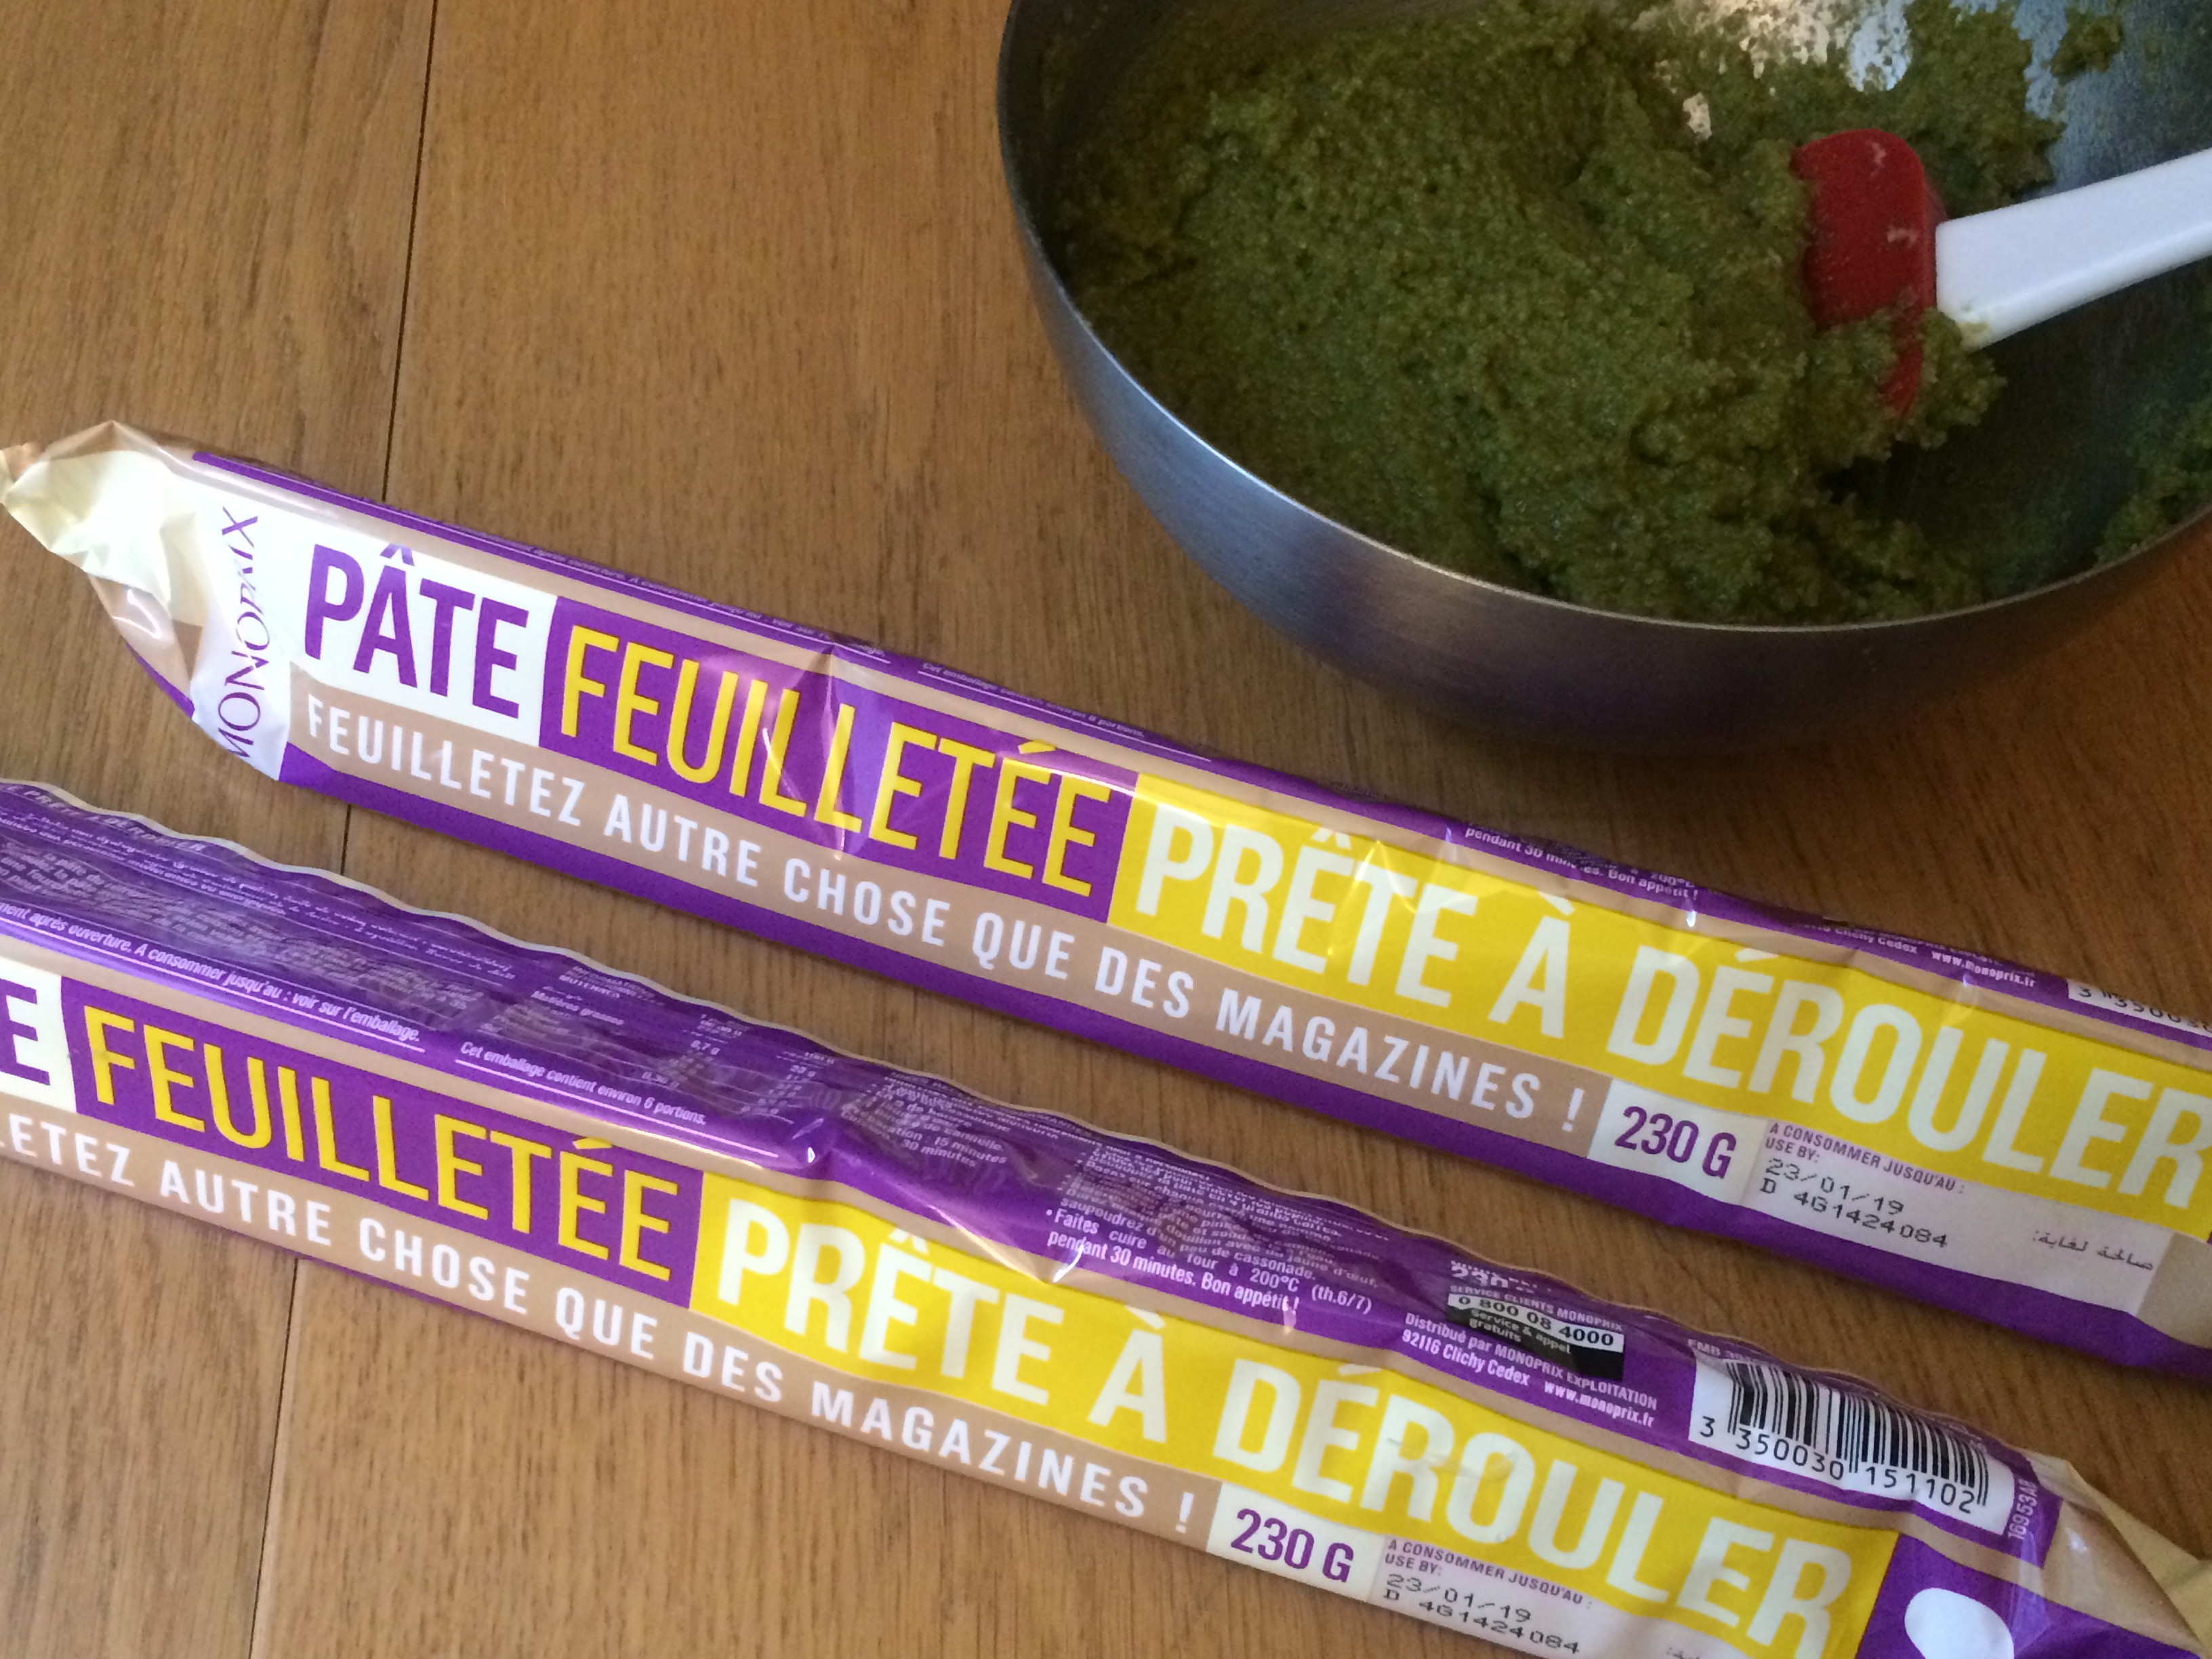 Preheat your oven to 350°F (180°C) and take your first pastry crust out of the fridge. Unroll it on a large surface.
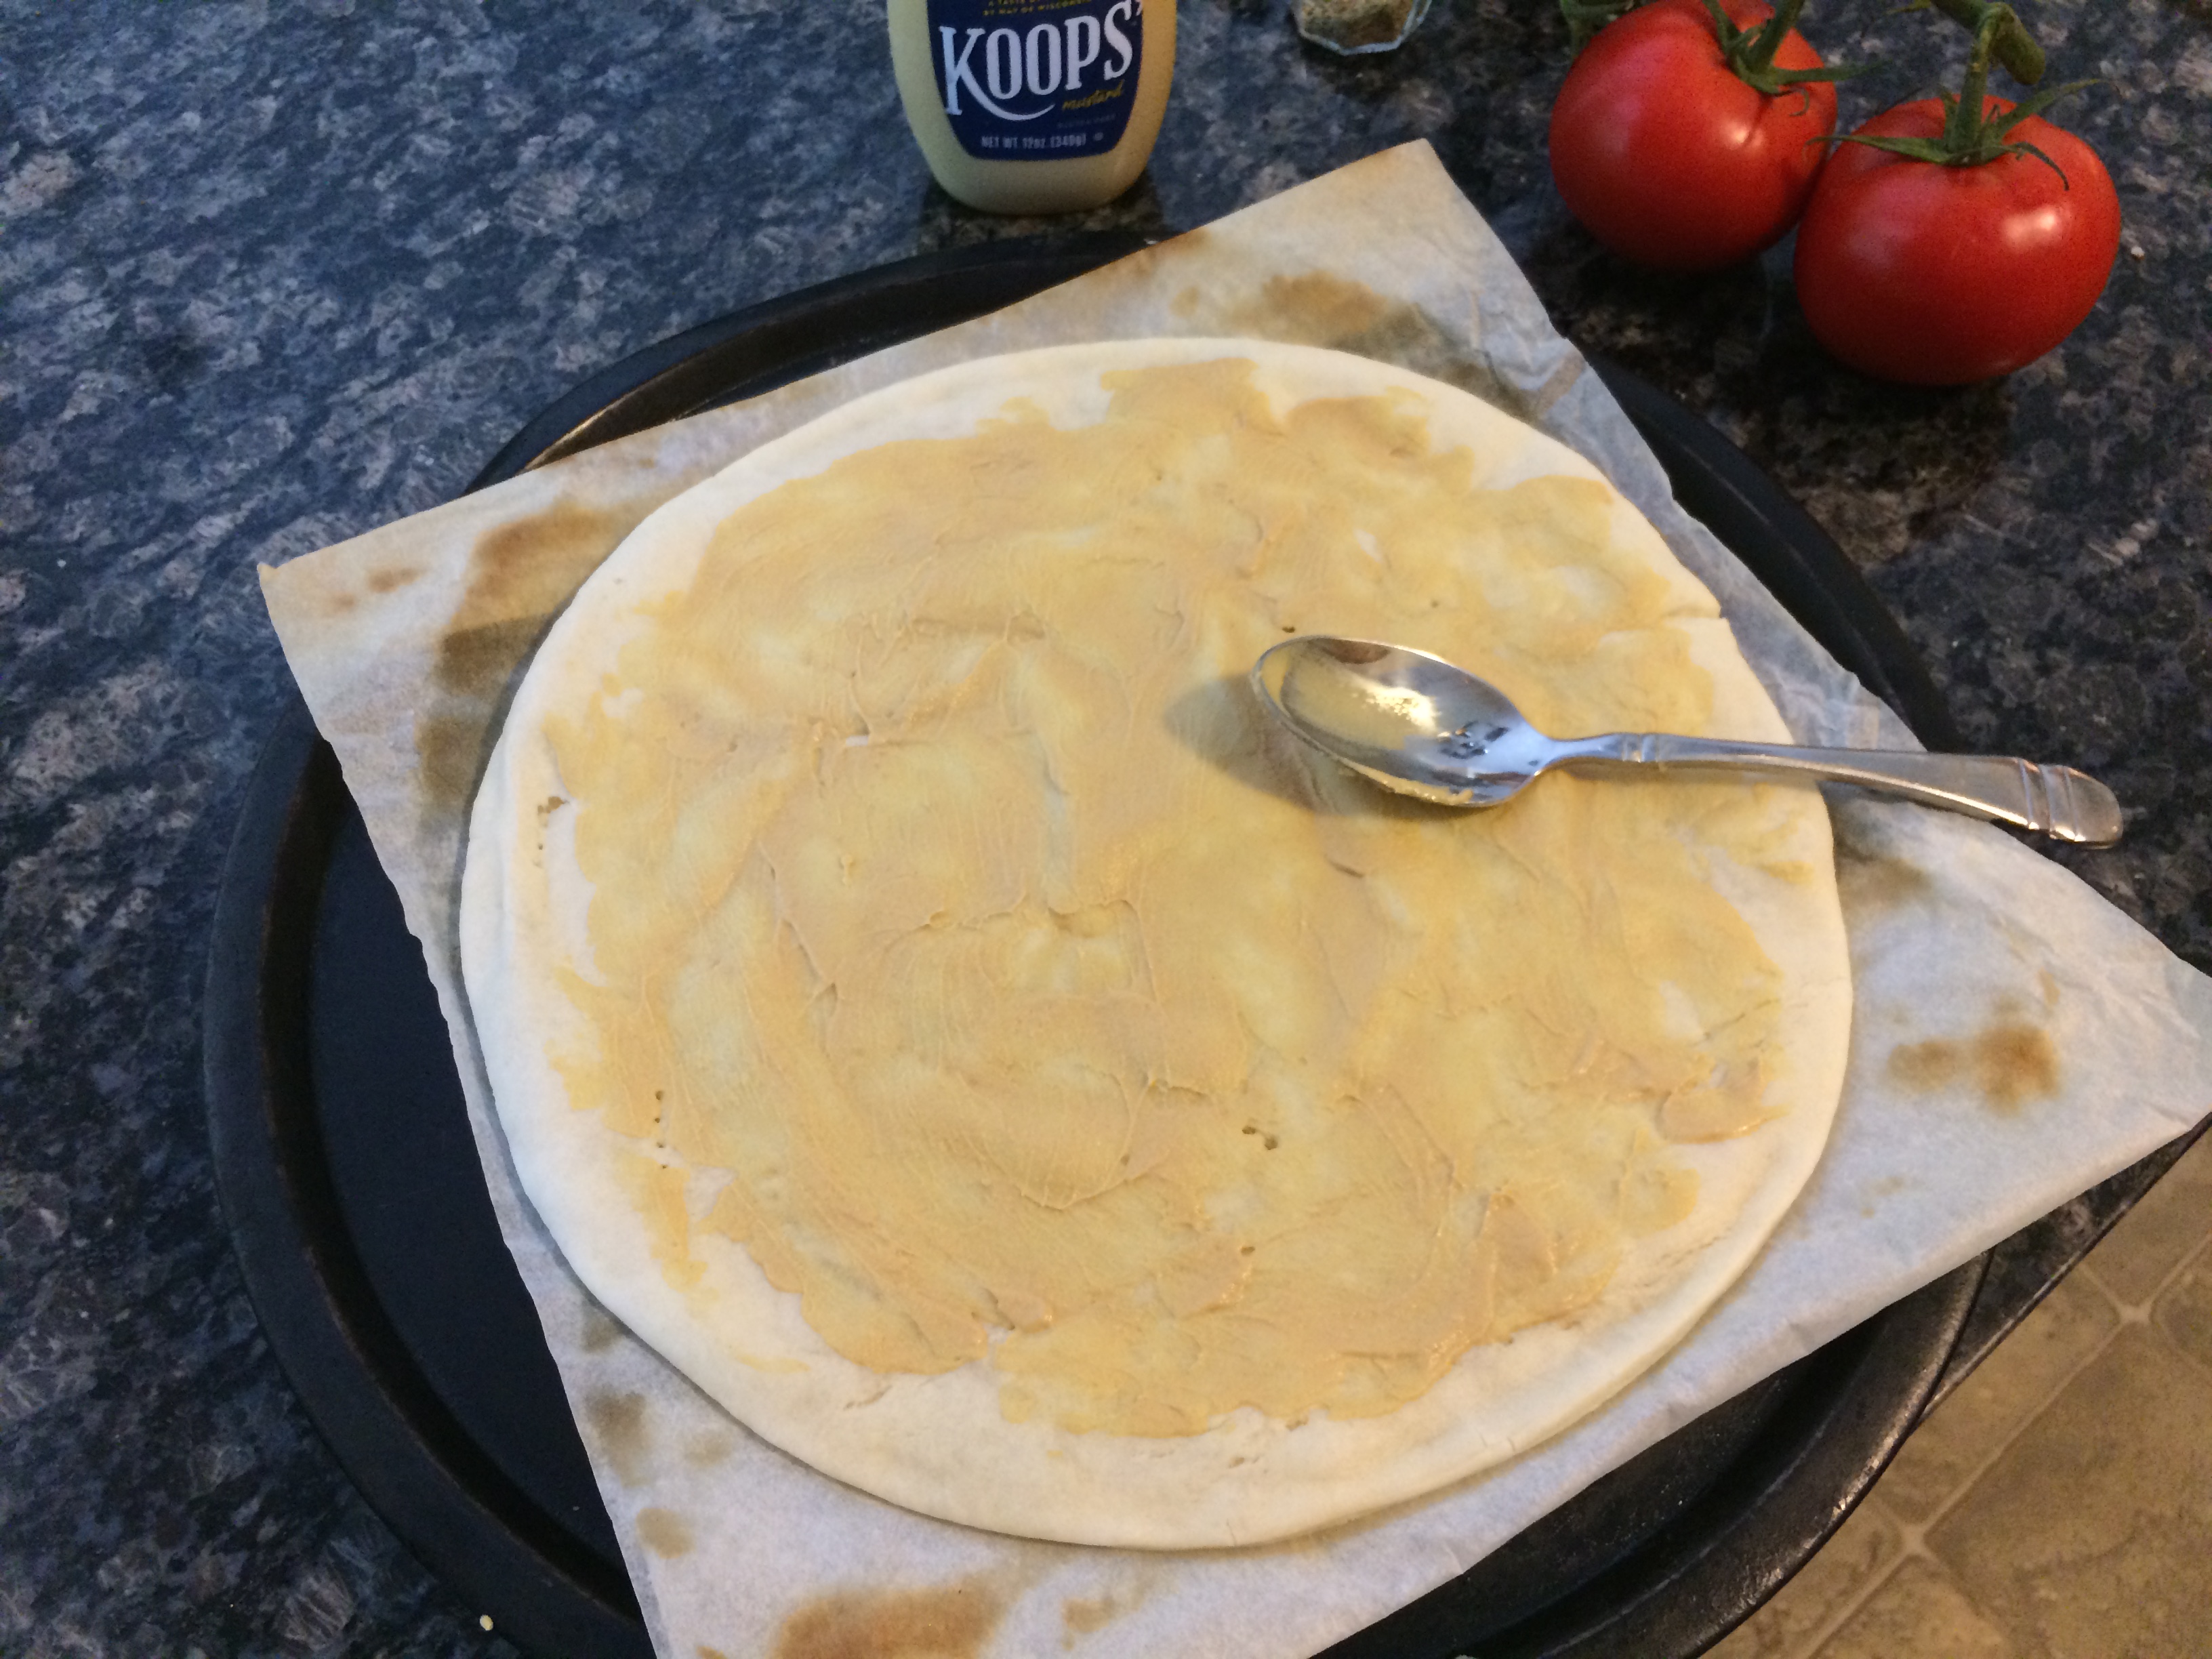
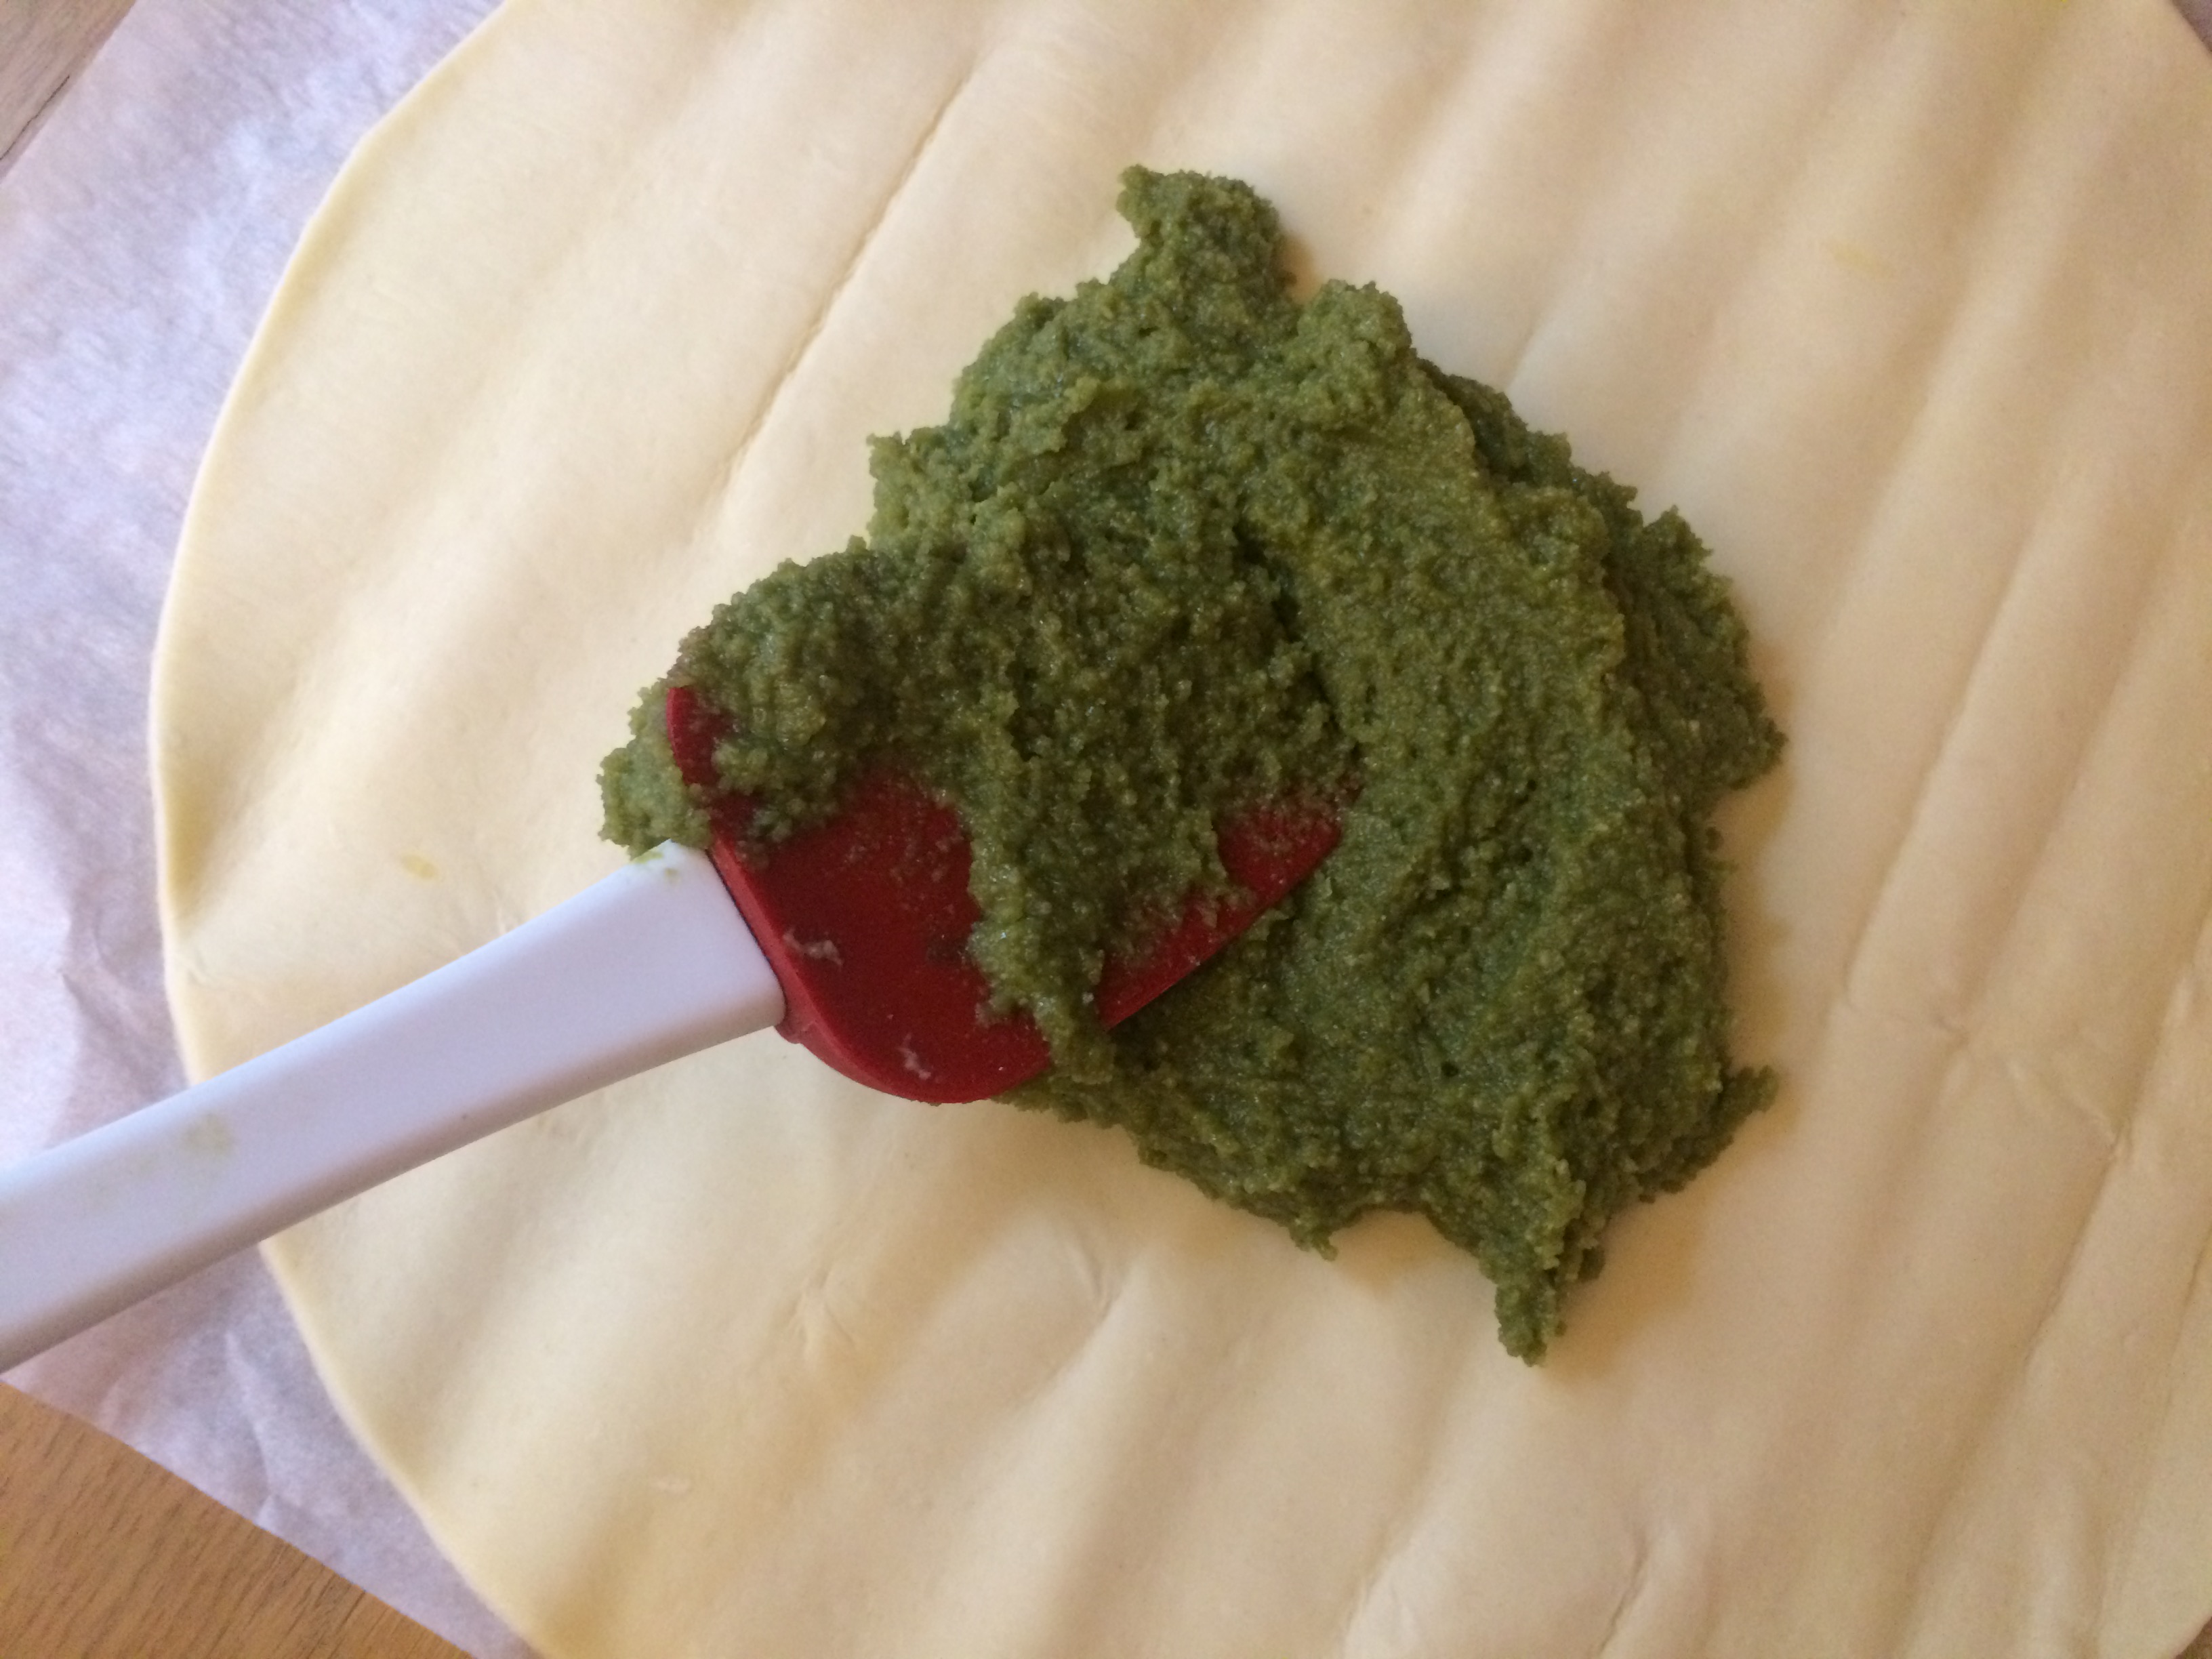 Transfer your matcha almond paste to the center of the pastry and gently spread it out with a spatula to a uniform thickness.
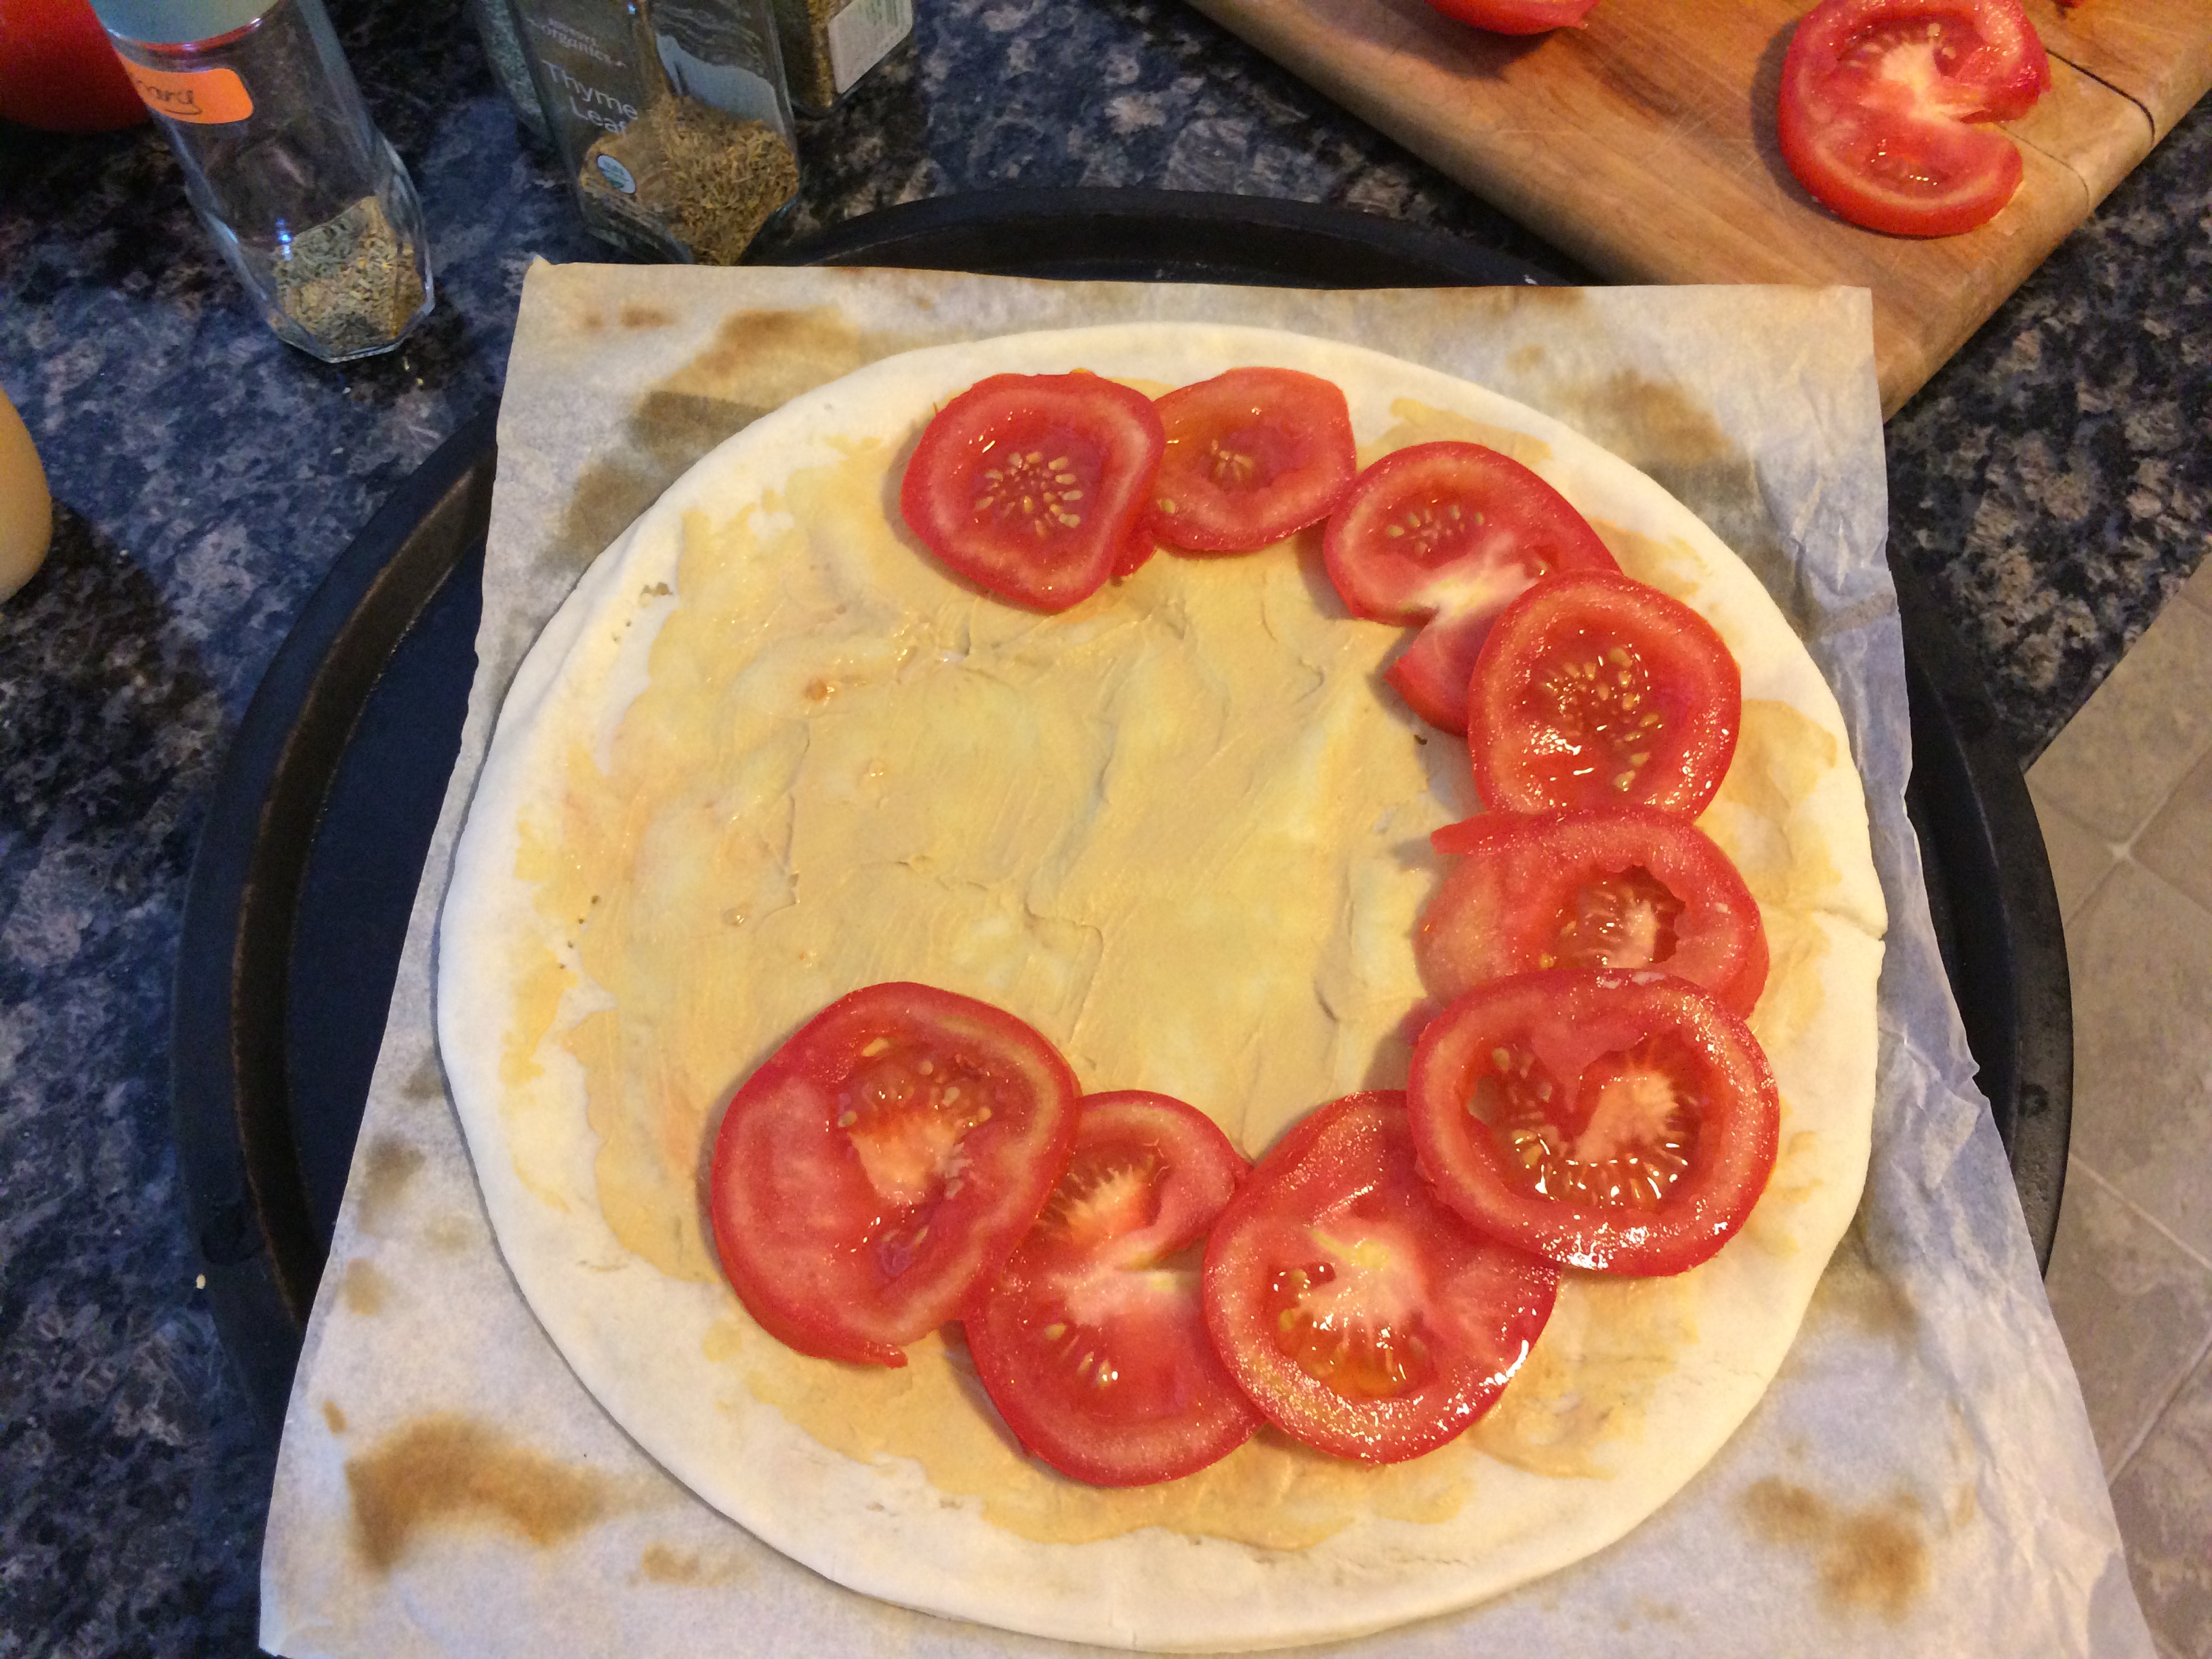
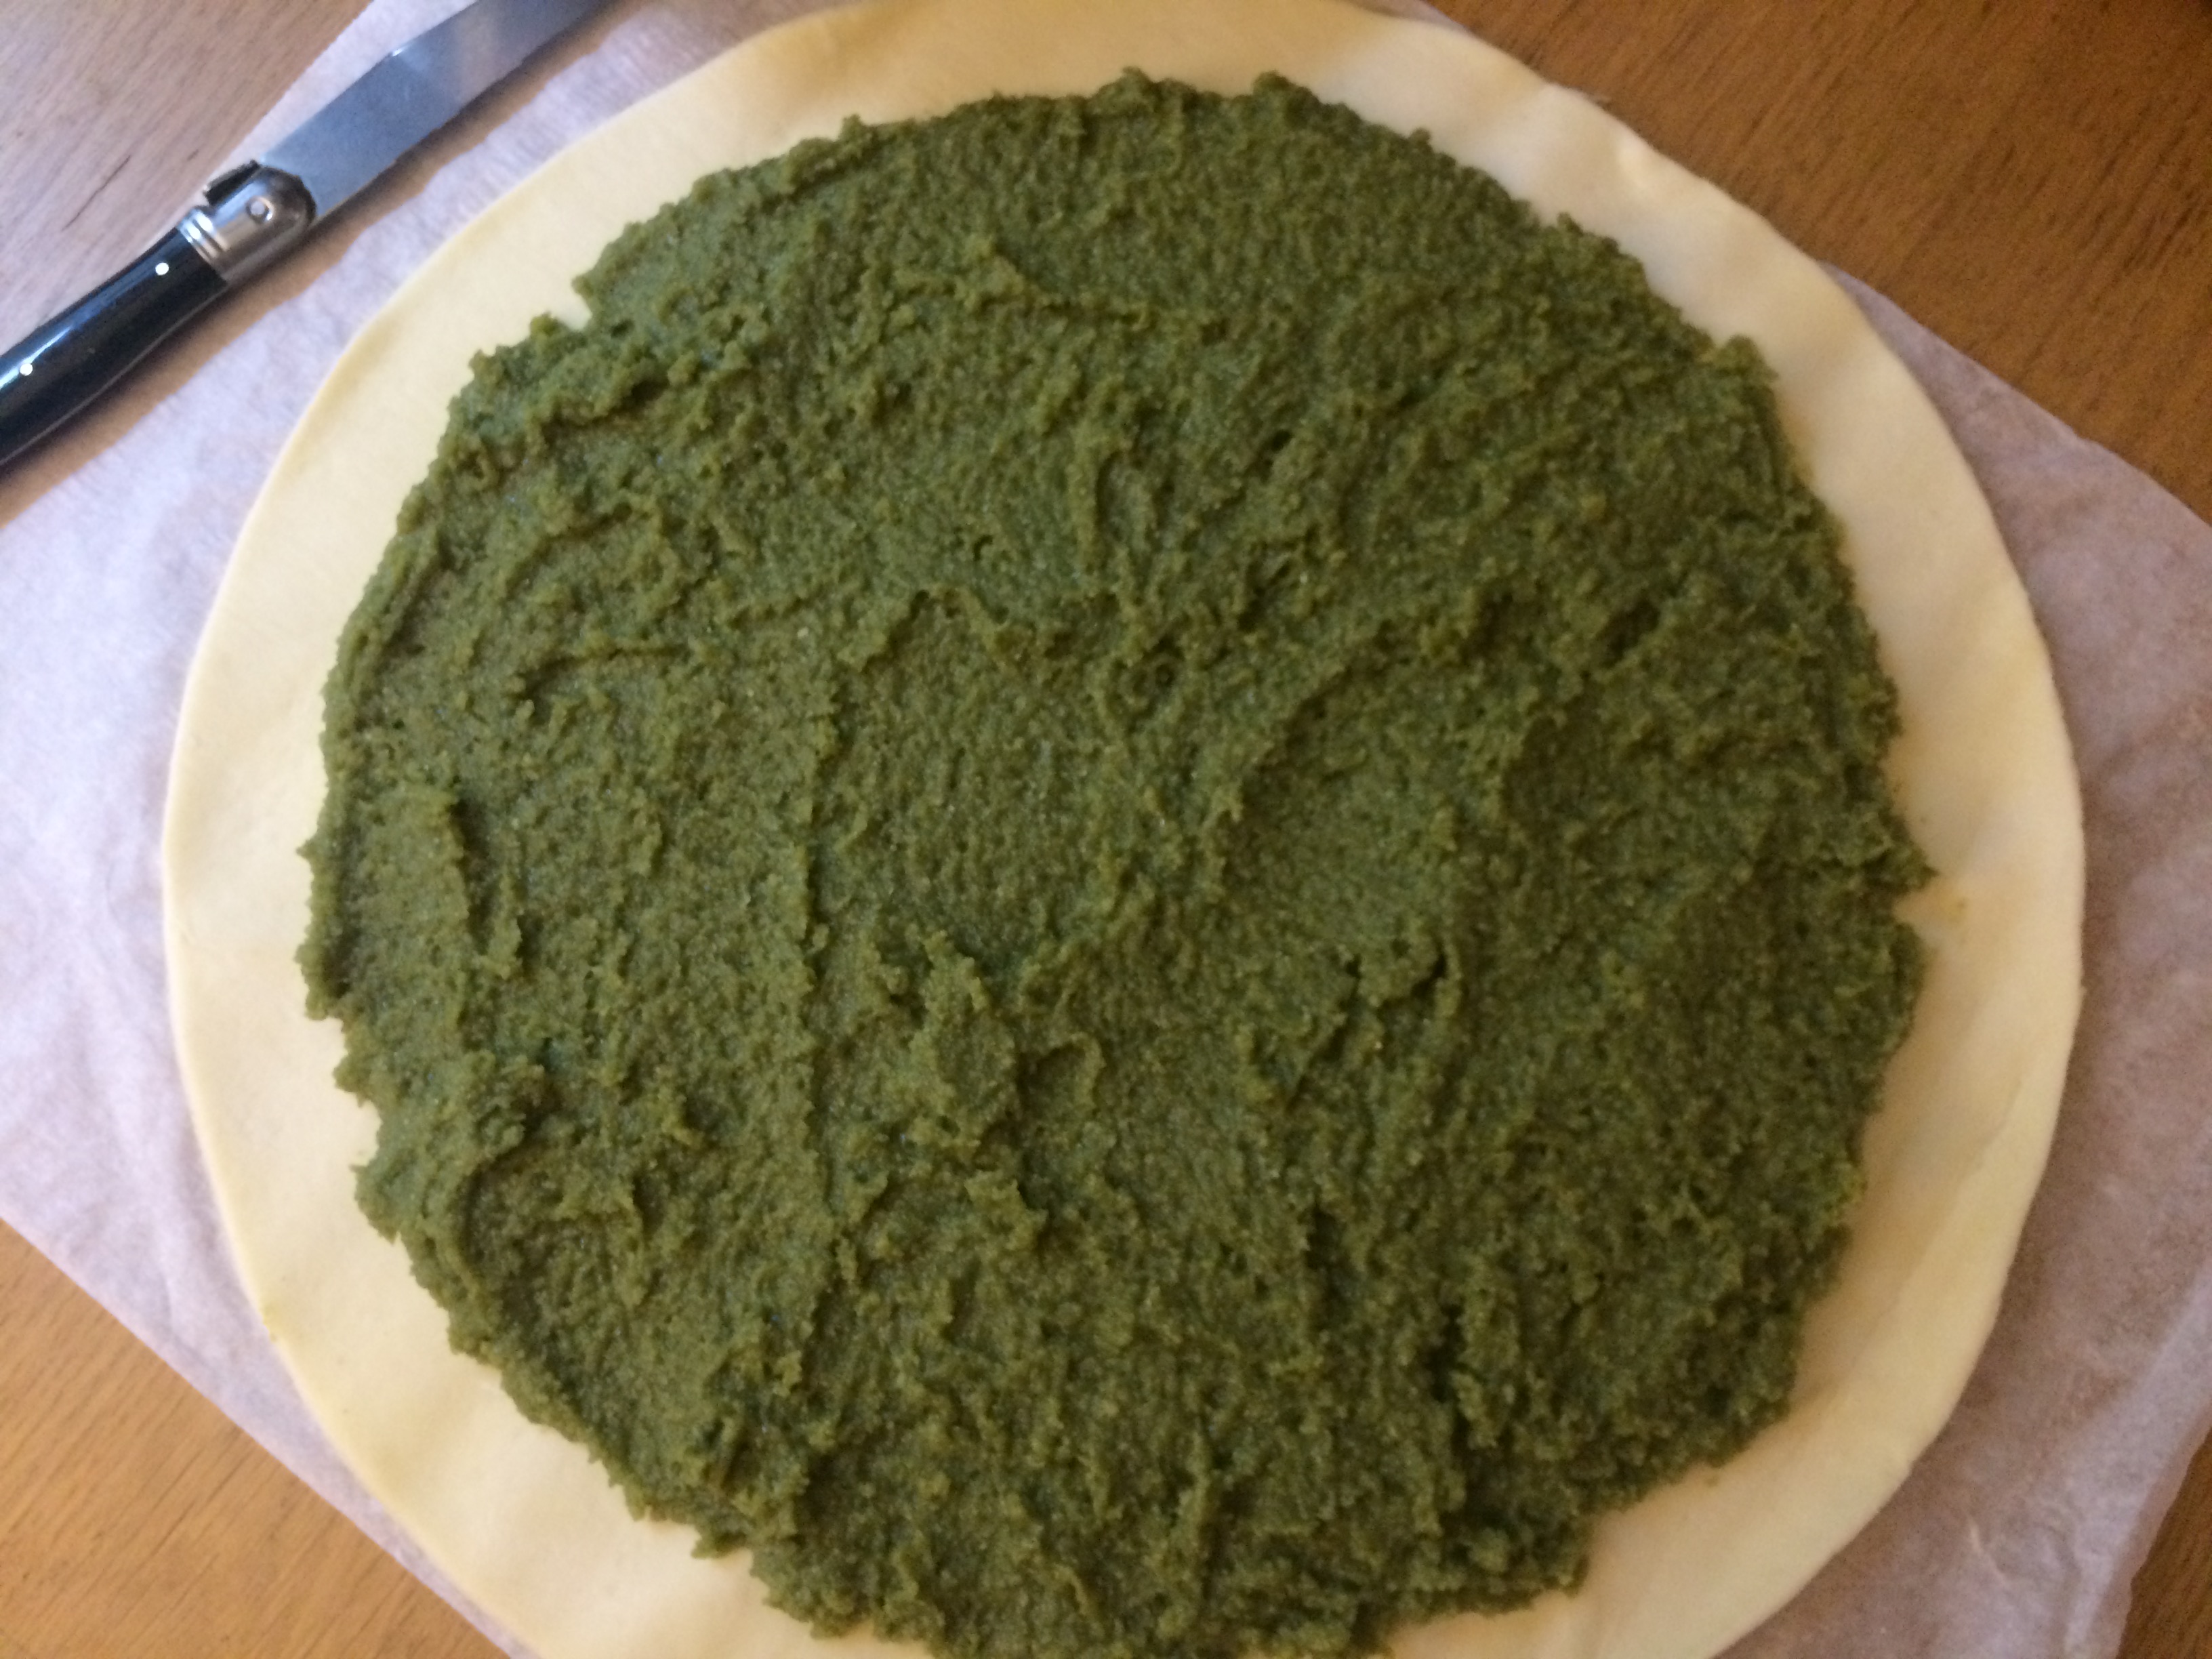 Leave a margin around the edge, as you’ll be folding it upwards to seal the galette.
 Gently press your fève into the matcha almond paste. Choose a spot closer to the edge than the center.
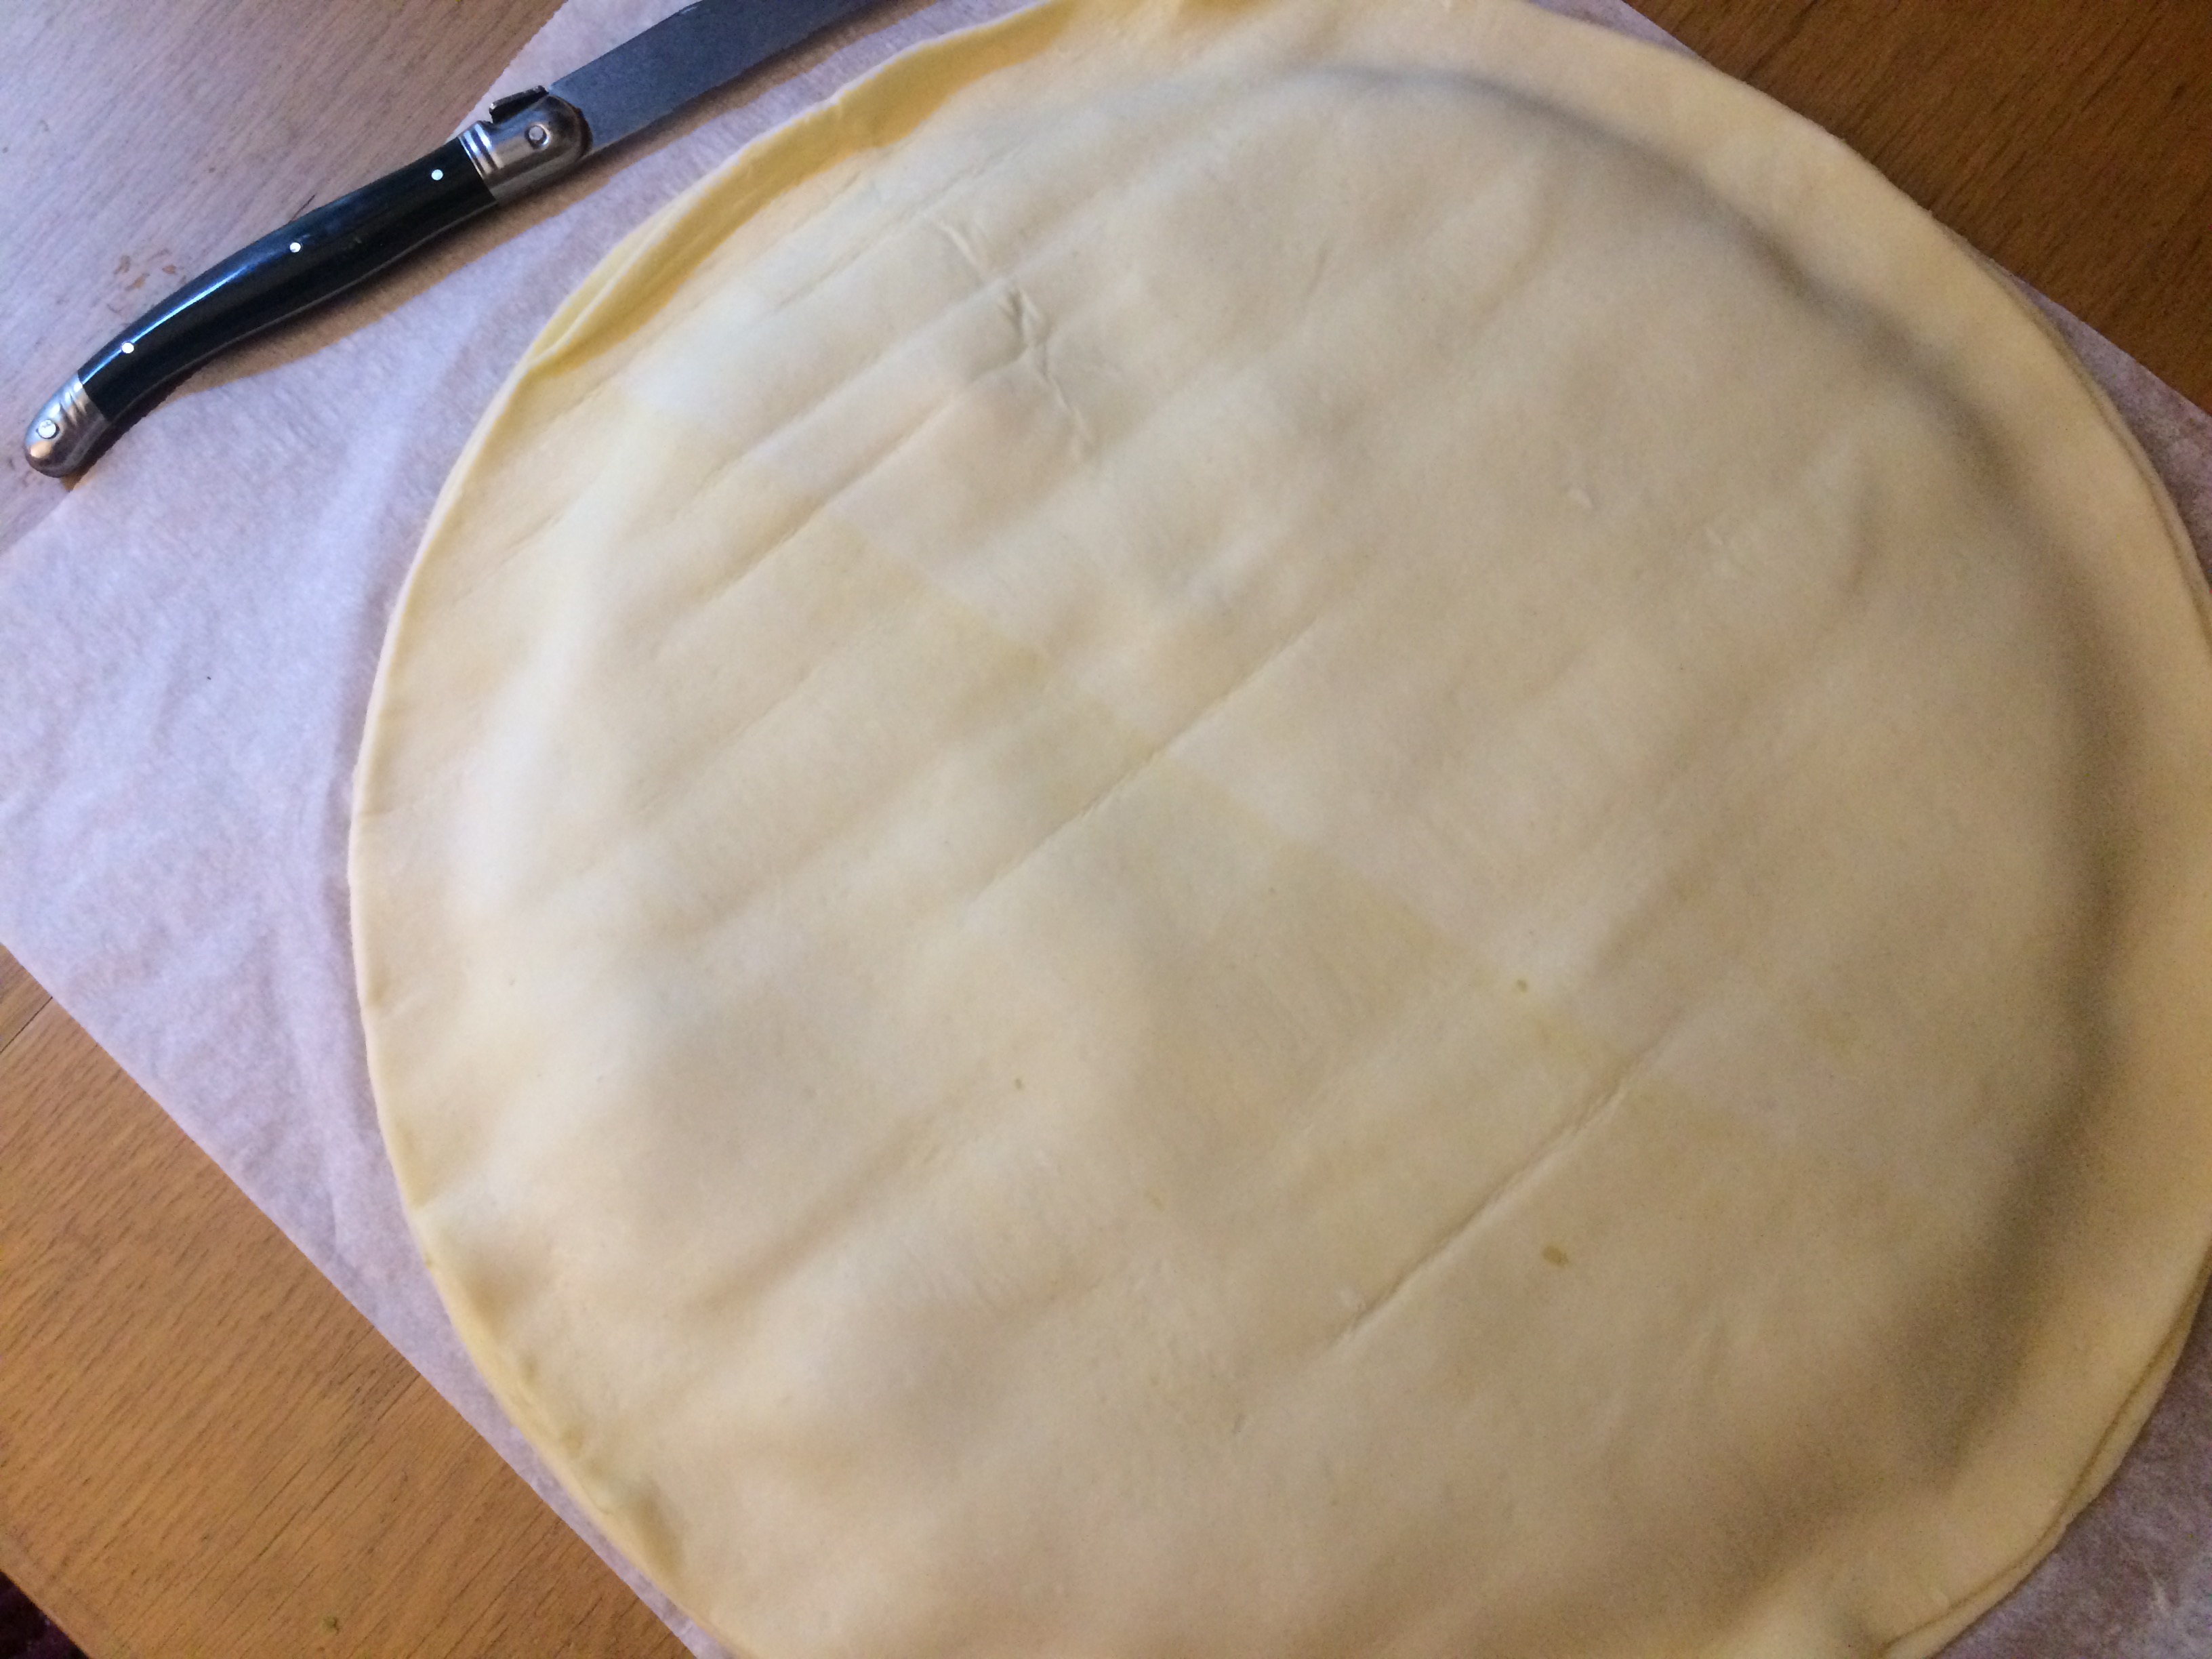 Take your second pastry crust out of the fridge. Carefully place it atop the bottom one so that they align as closely as possible. Push the top pastry down gently around the edge of the almond paste underneath. If you want to make sure that a certain person ends up with the fève, find a way to remember where you’ve put it. 😉
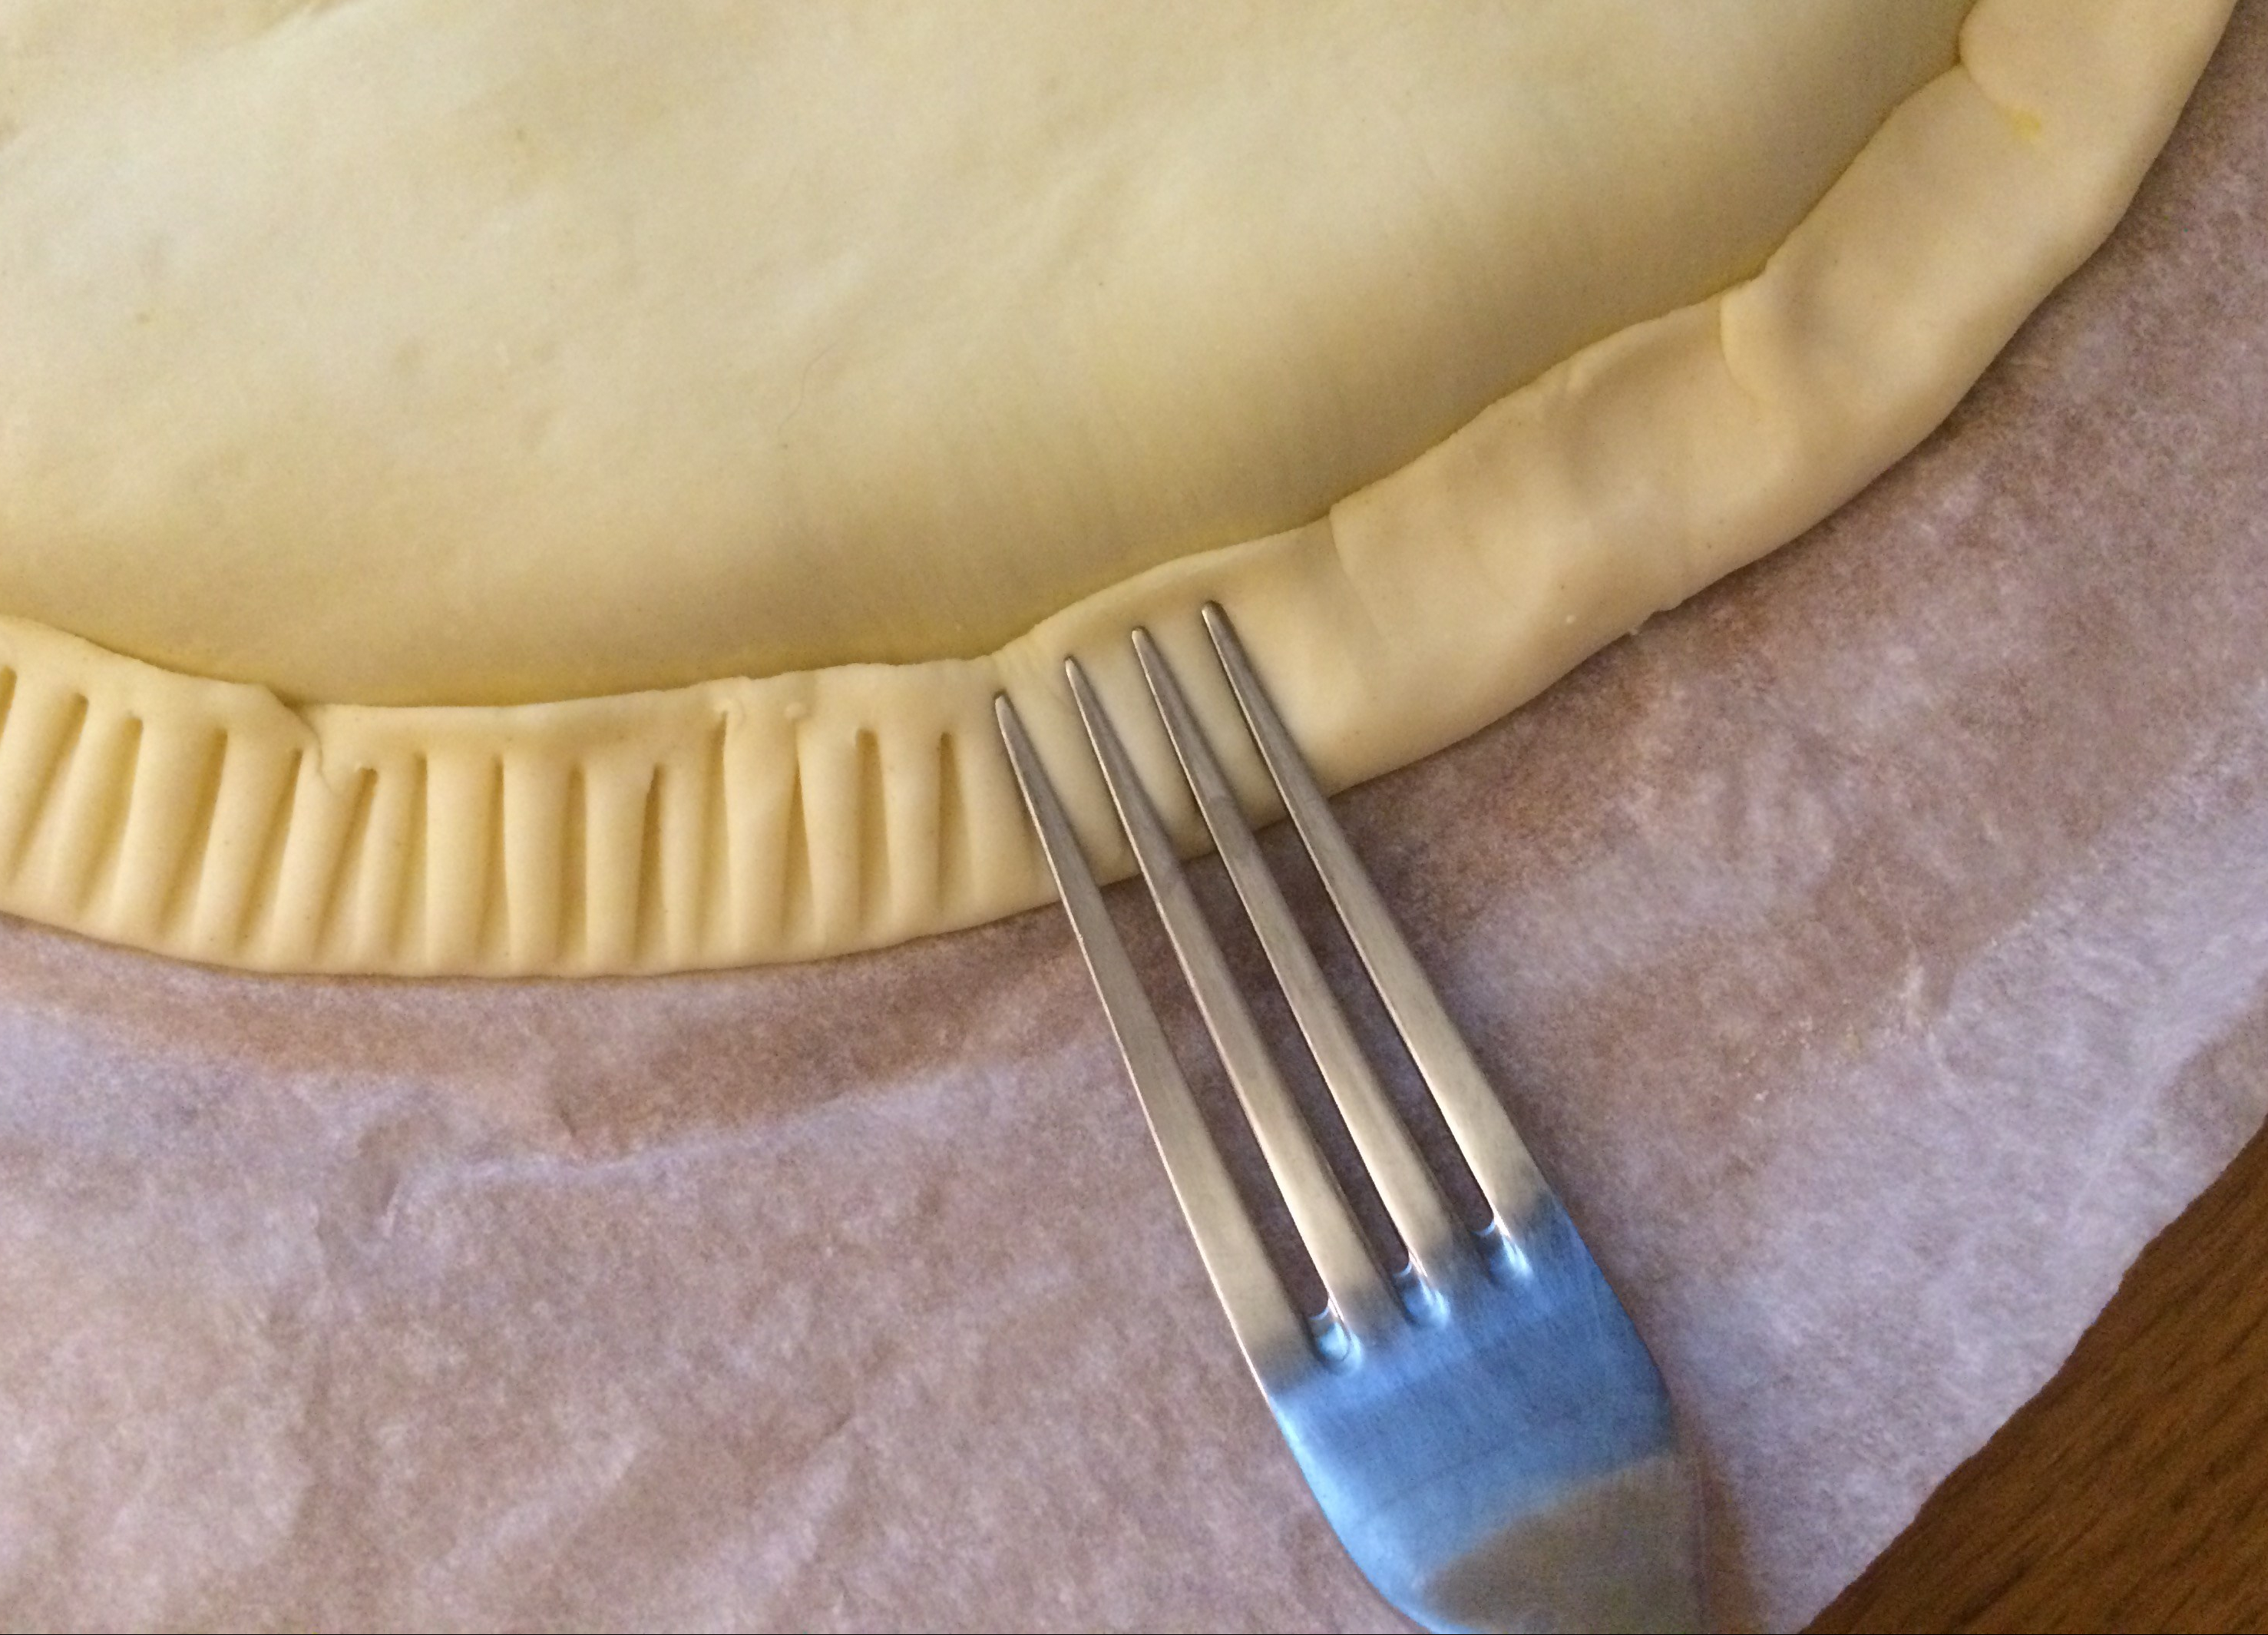 Fold the edges of the bottom and top pastries upward together and seal with the tines of a fork.
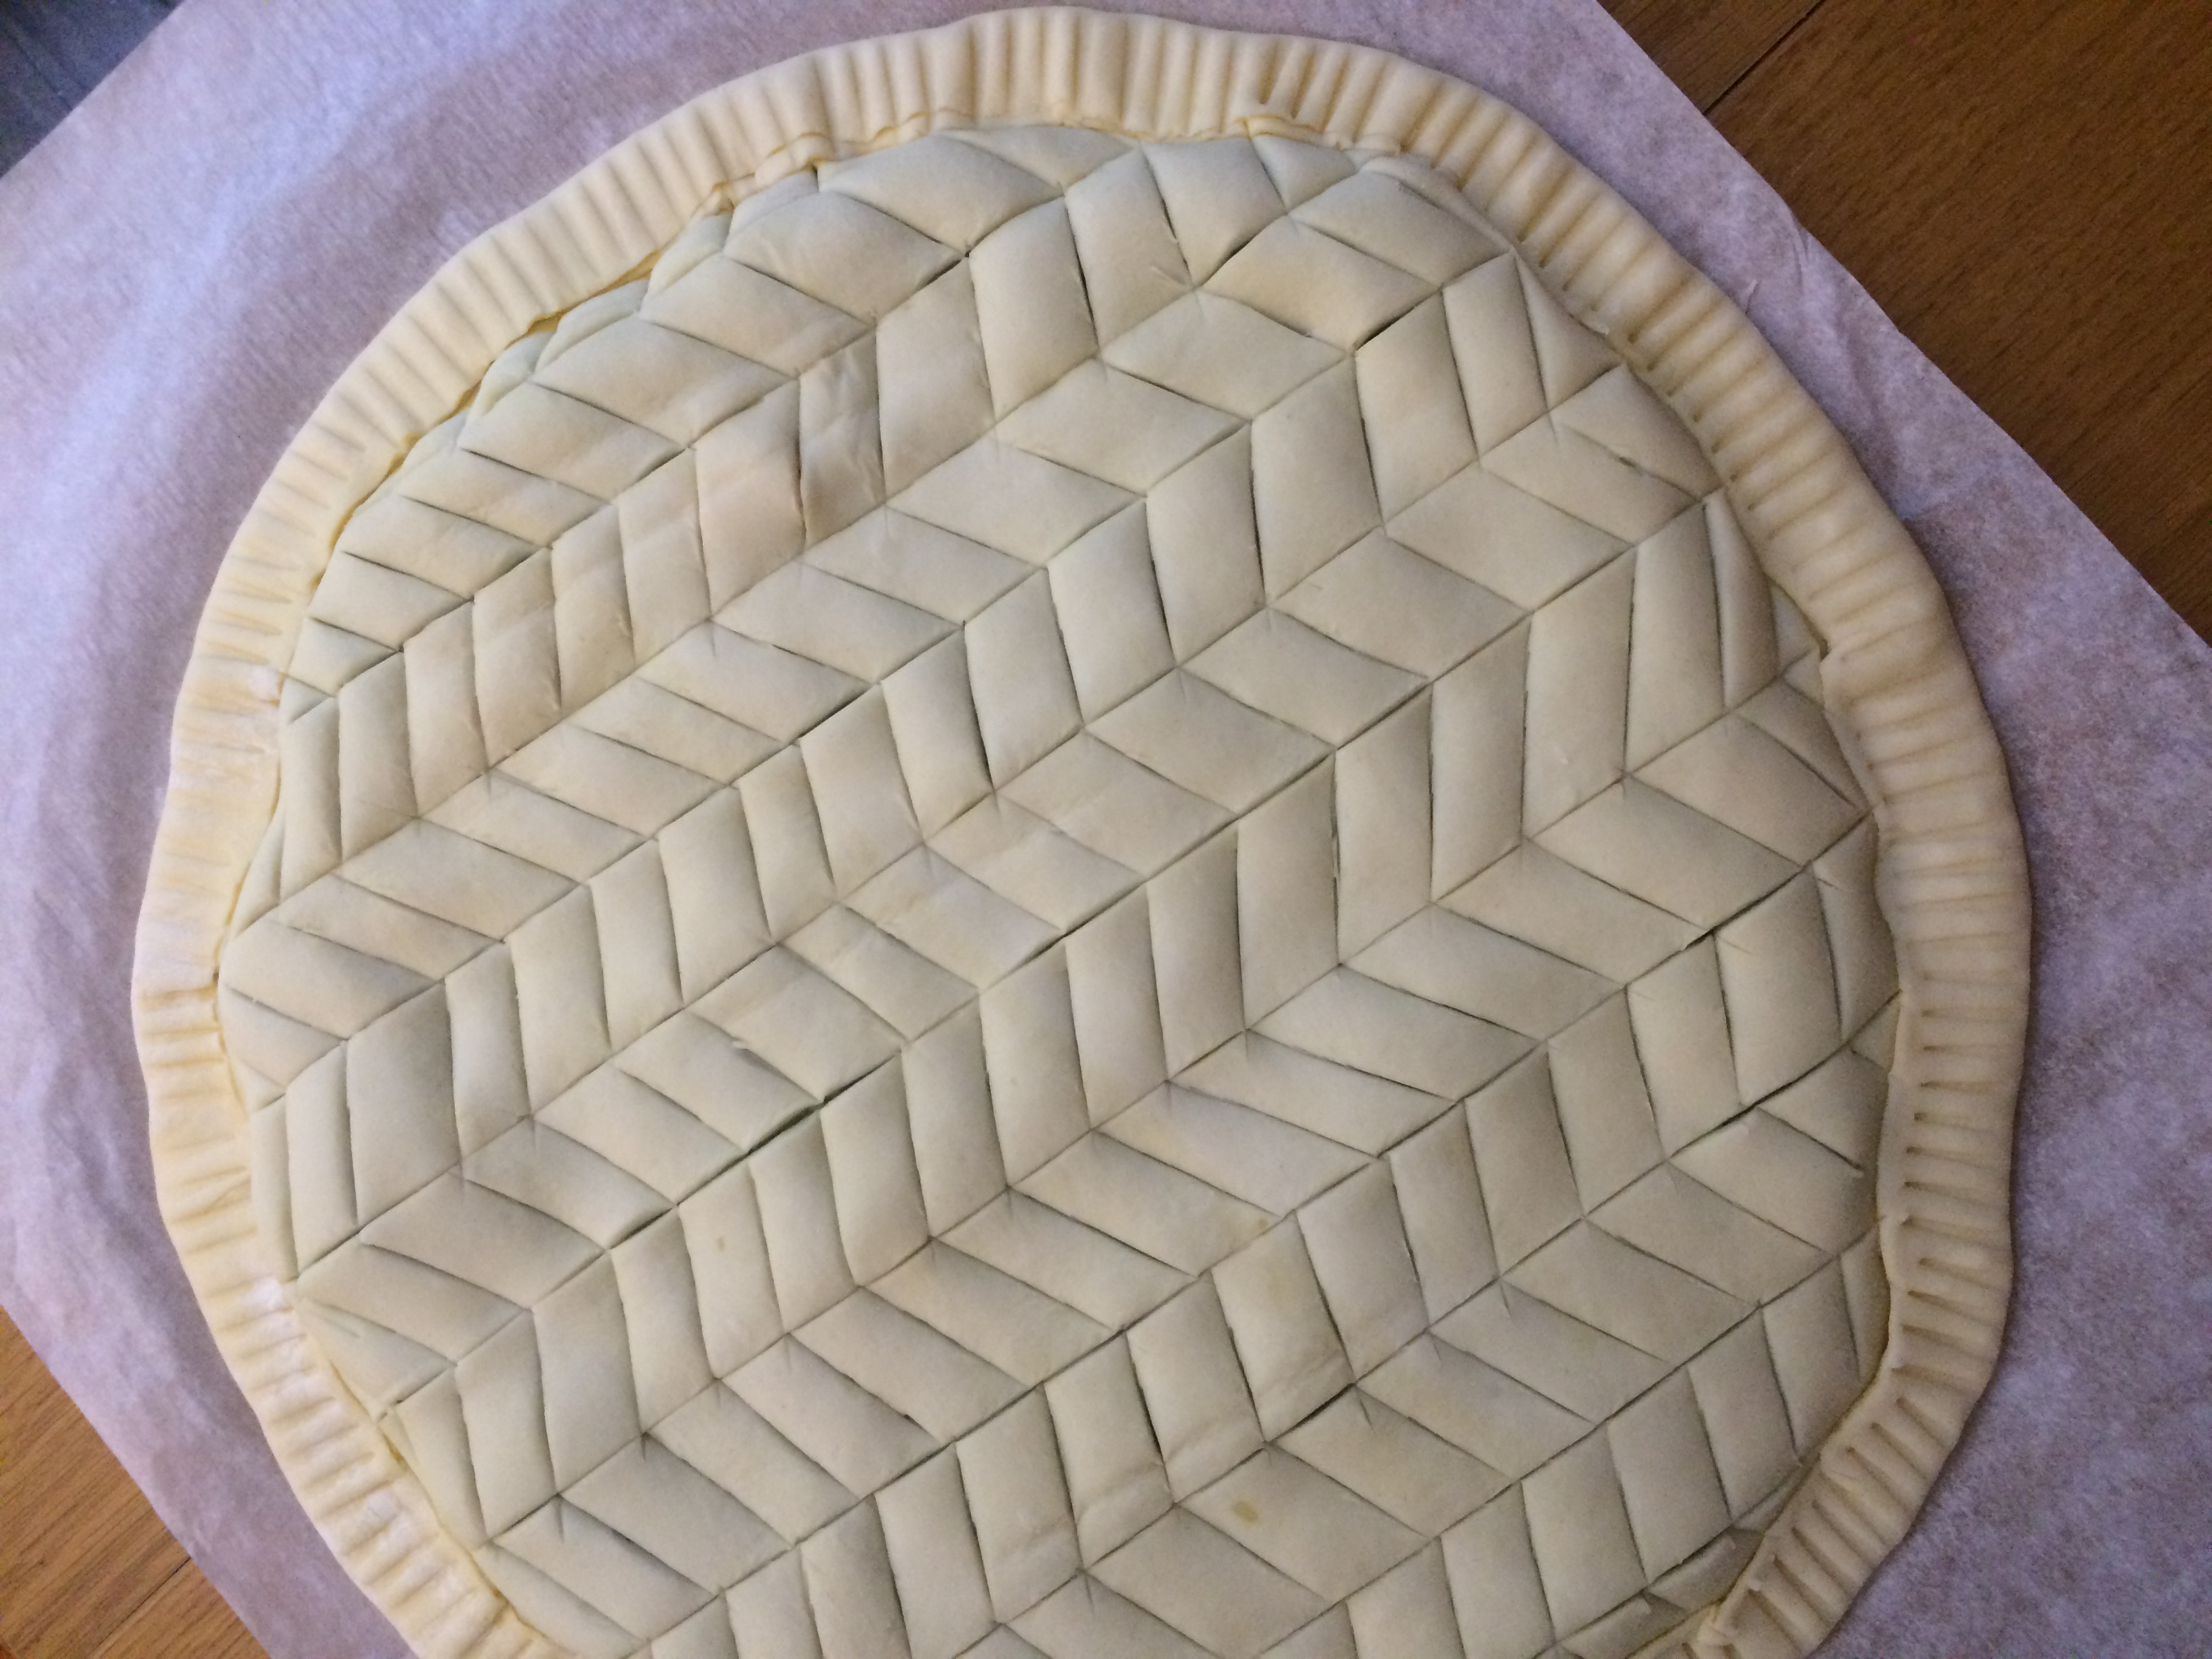
 With a sharp knife, trace a design into the top pastry. Try to occasionally cut through the top pastry to allow steam to escape while the galette bakes, but take care not to cut through it too continuously or pieces of the top crust could break off when you slice the baked galette. You can get creative at this point and make a fancy design of your choosing (swirls, flowers, geometrical lines). Do a Google image search to see the different galette des rois designs that are out there.
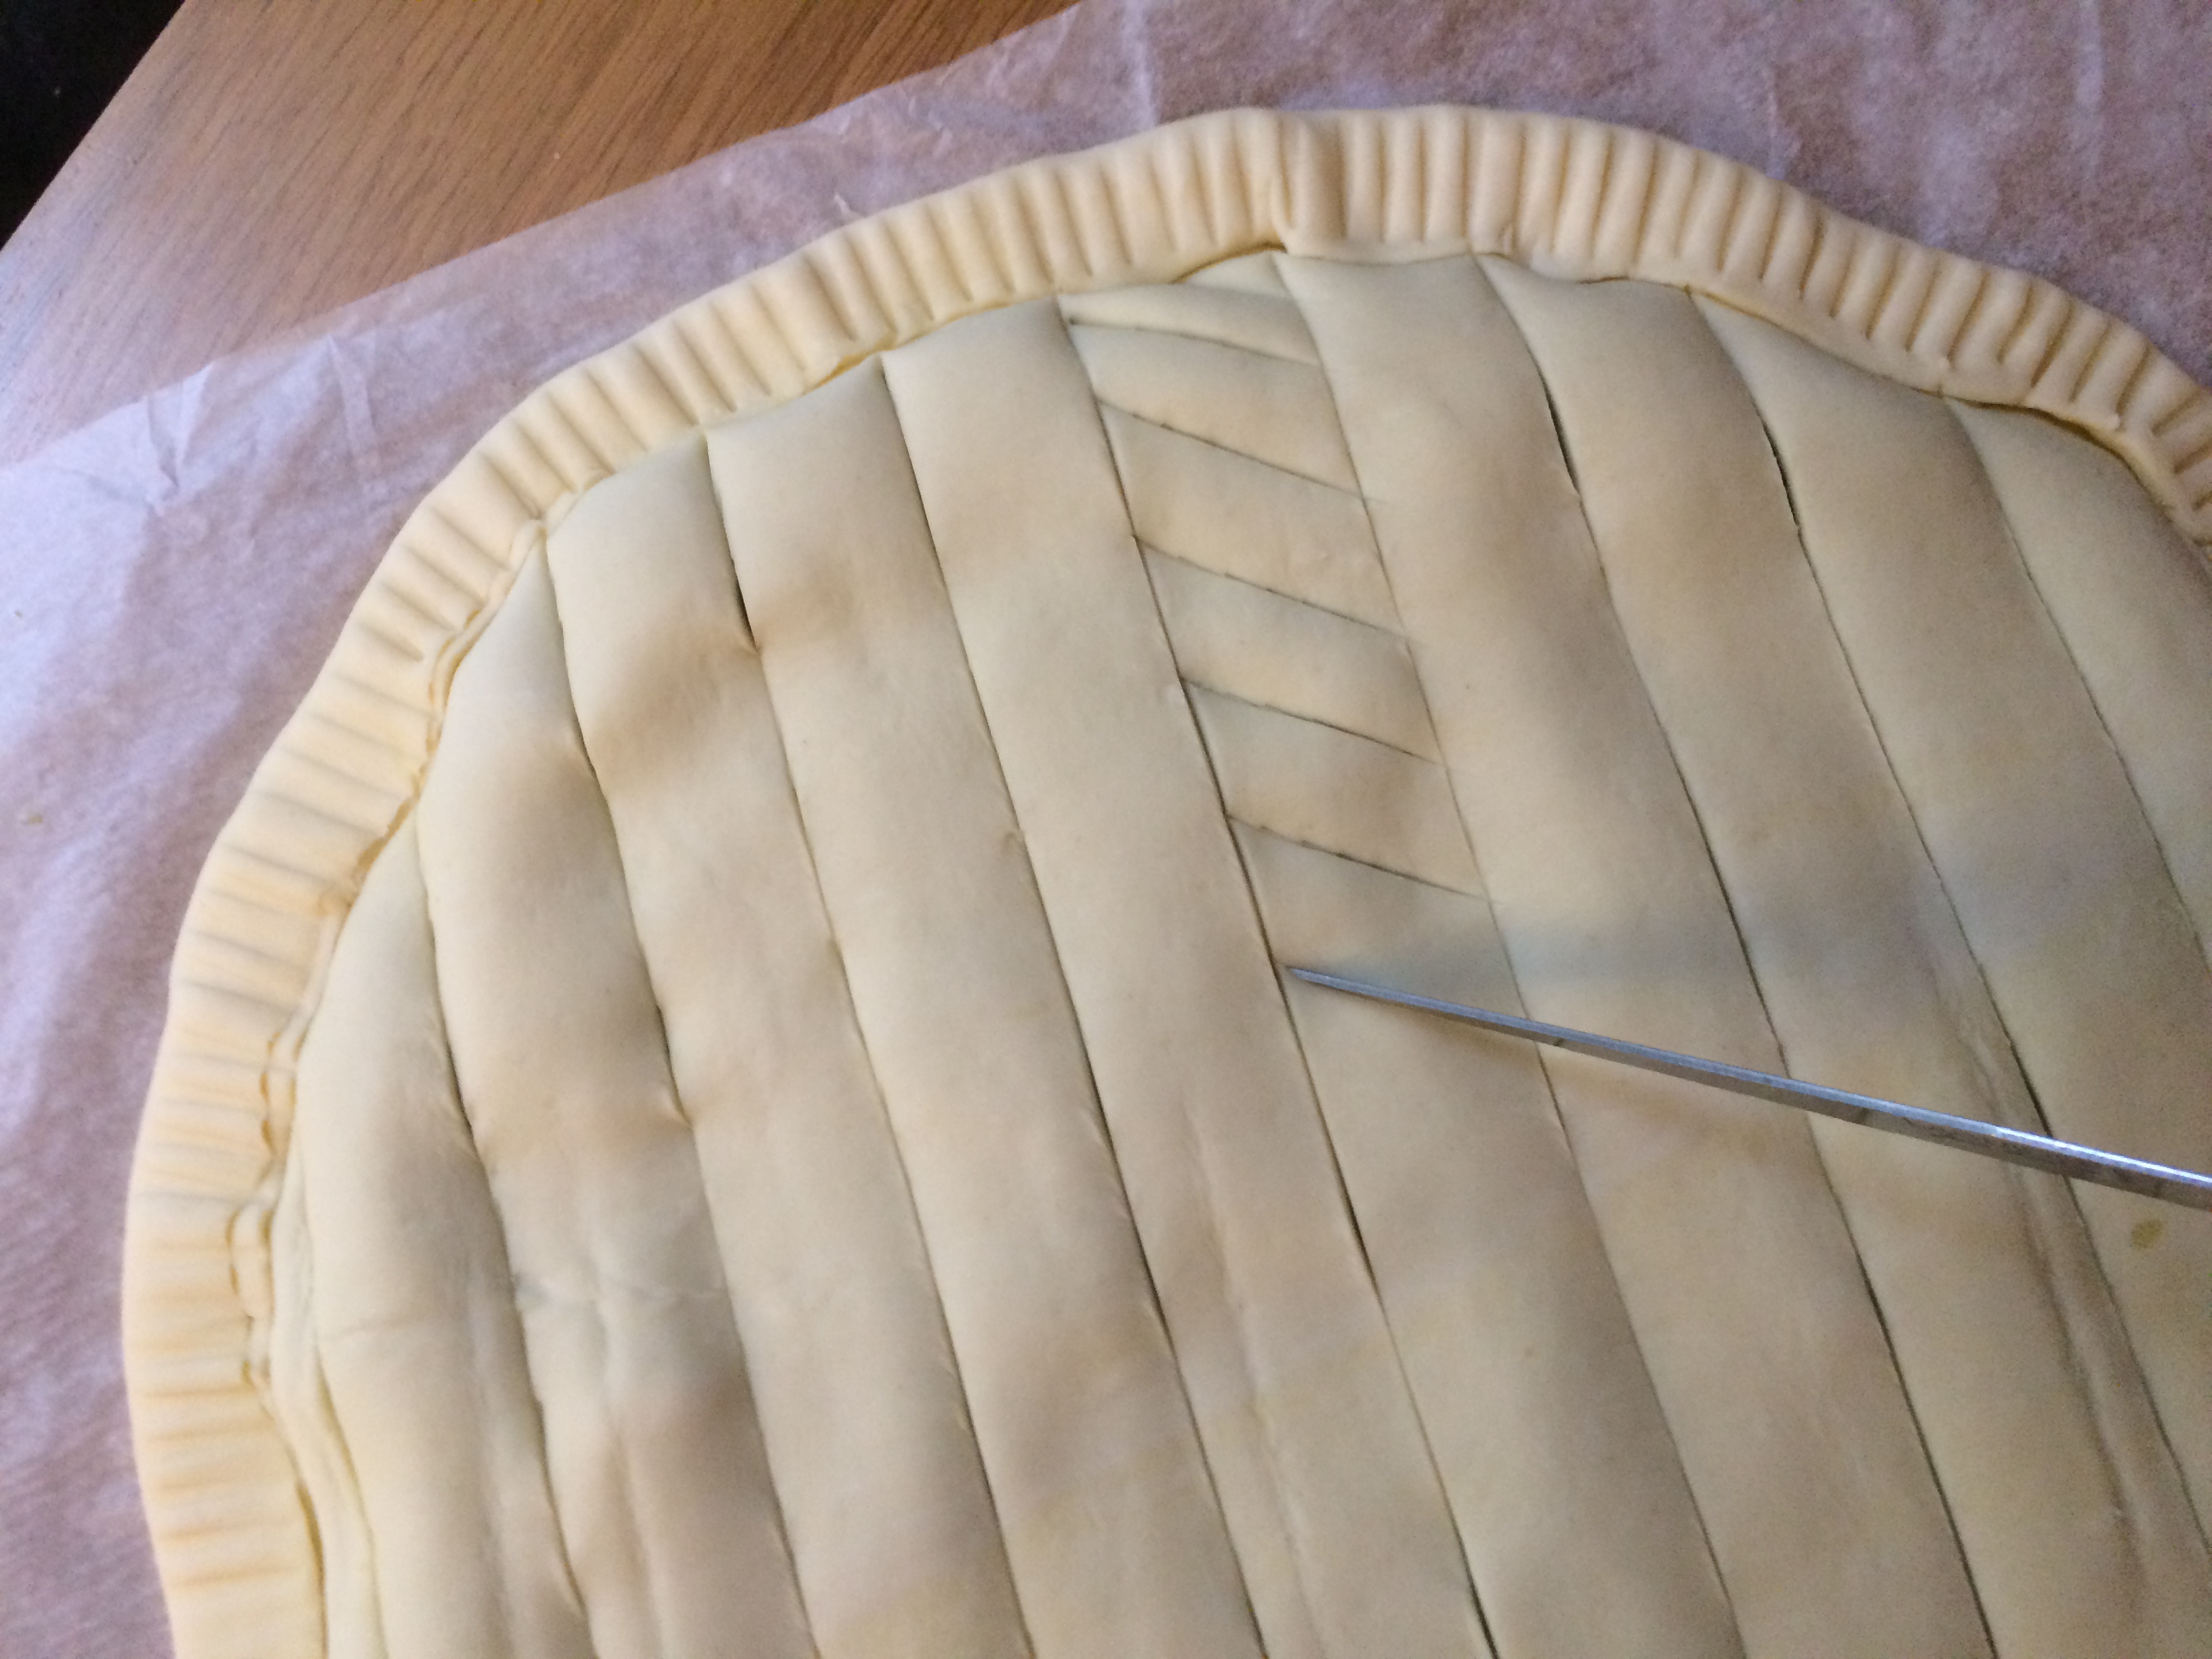

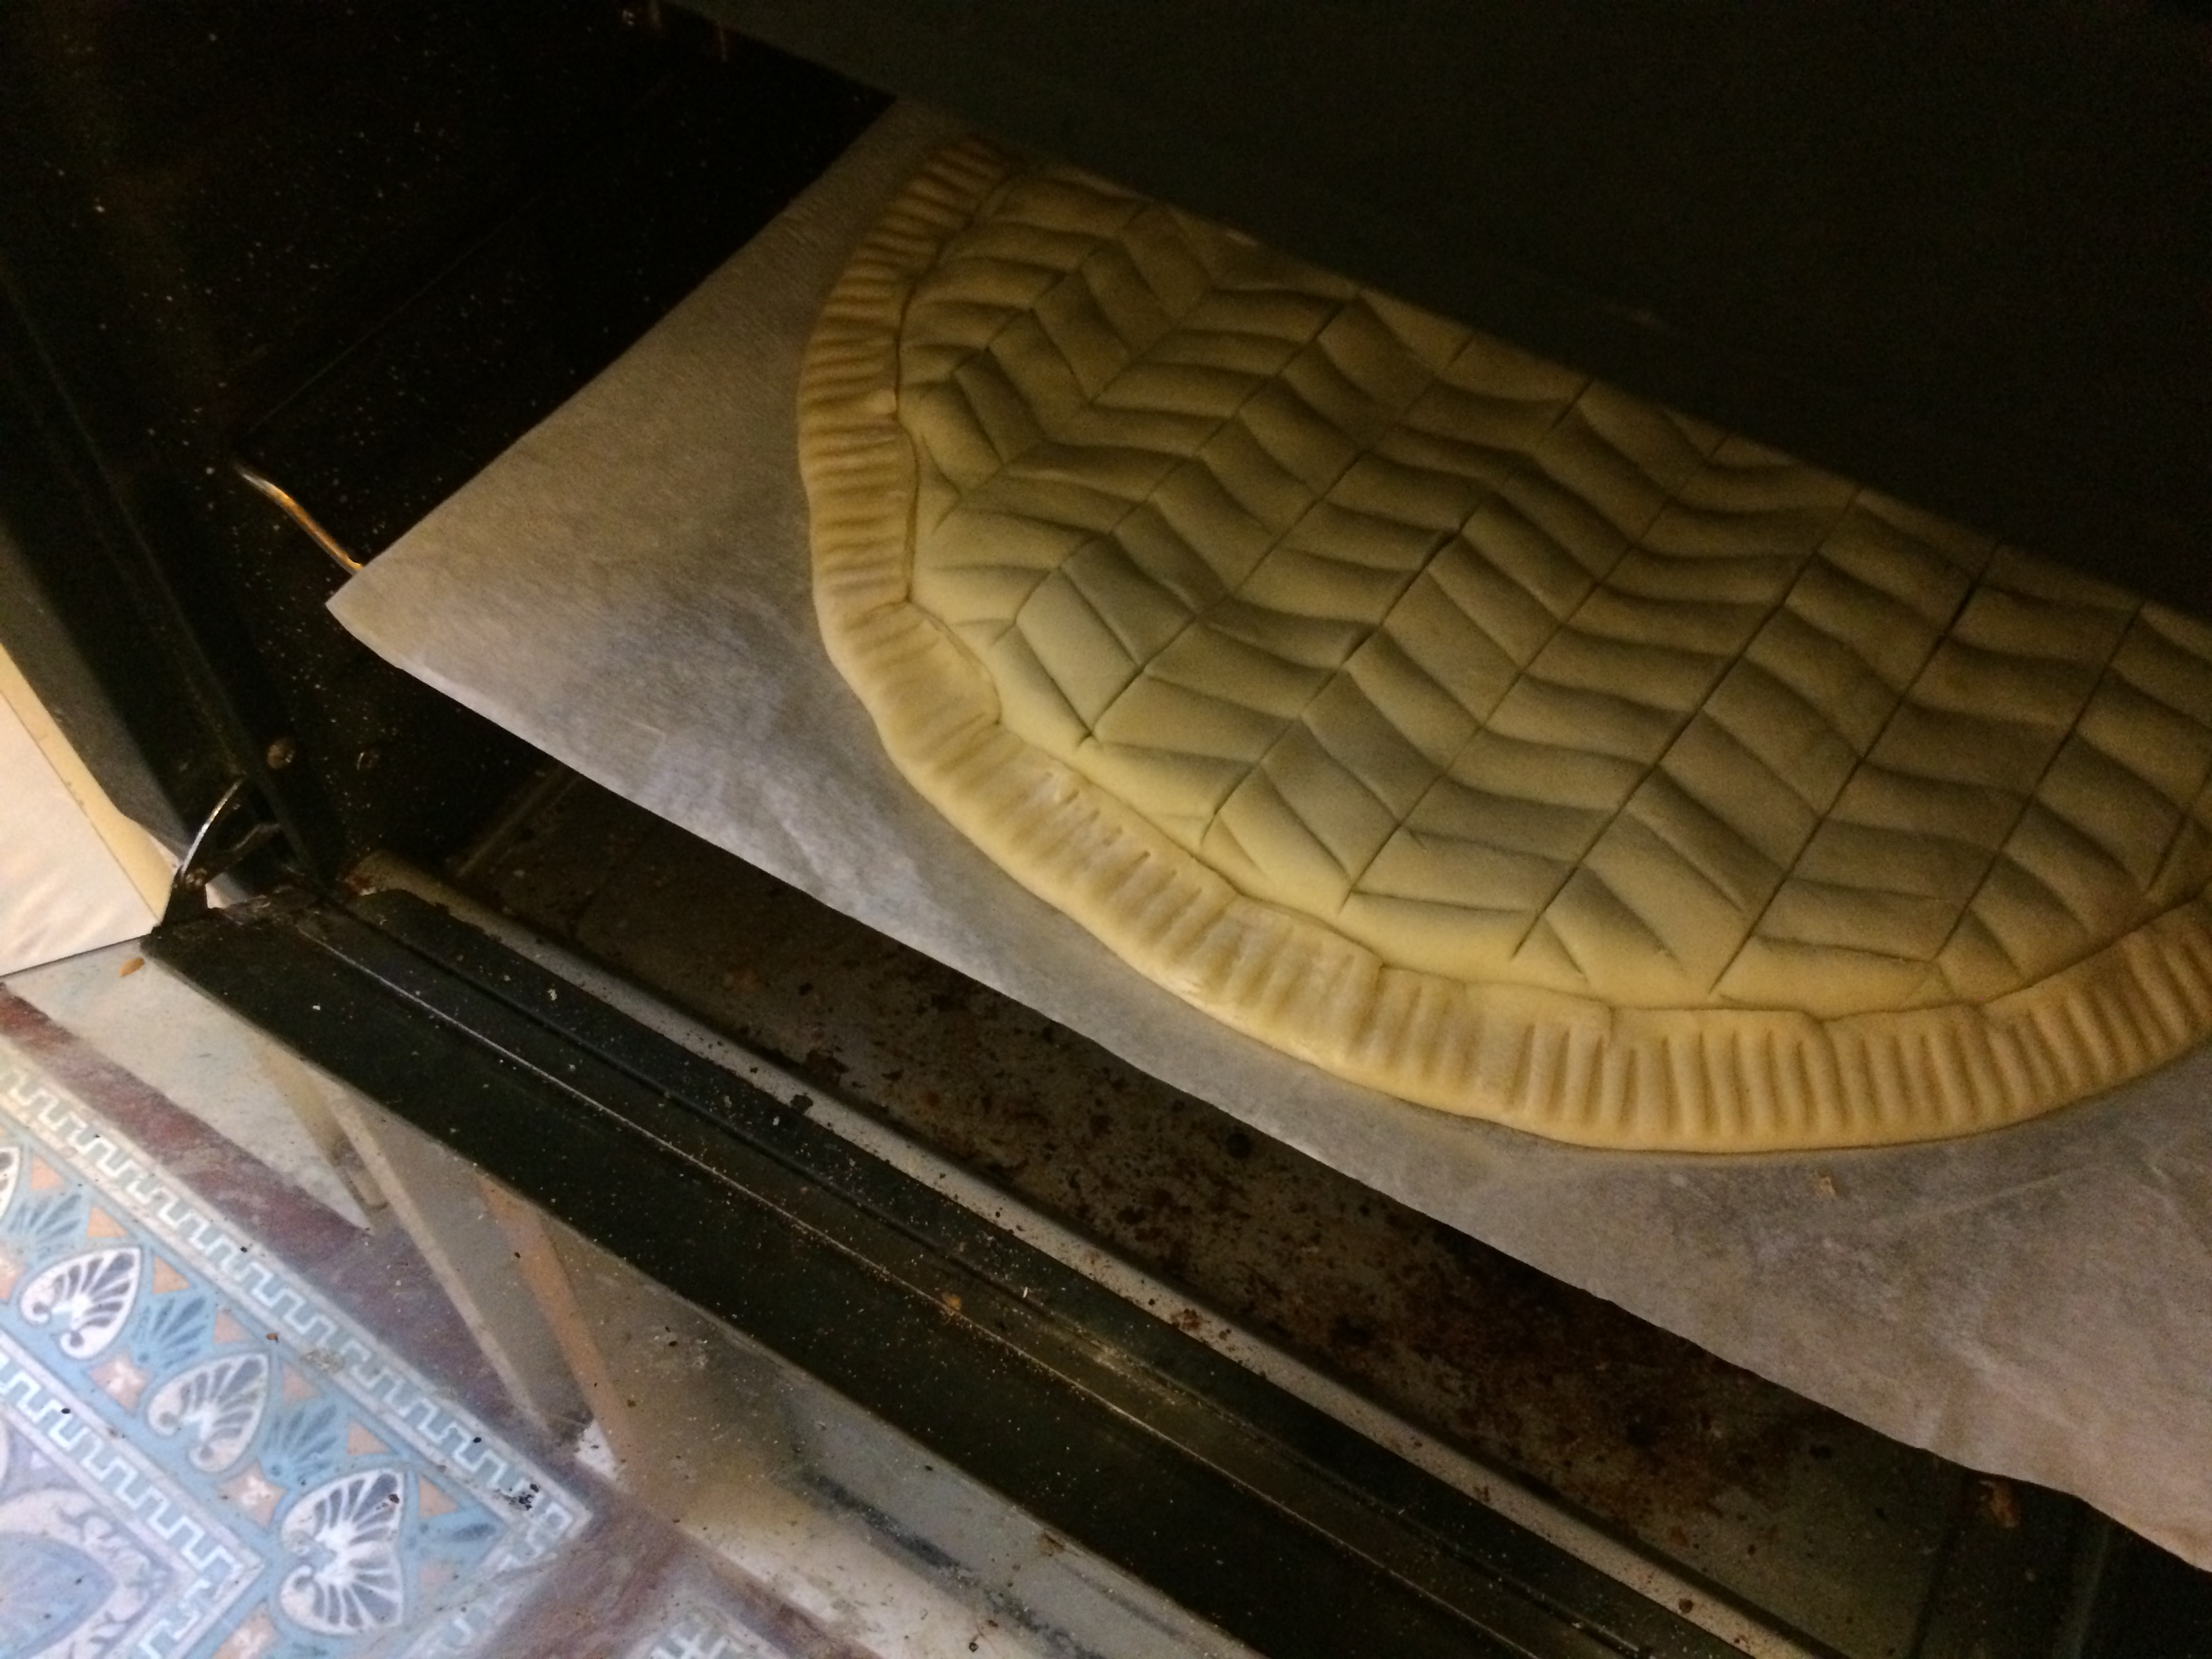 Place your galette into the preheated oven (on a baking sheet, if you like, but I put mine directly on the rack as my baking sheet is too small). Bake for 25 to 30 minutes, until the top is golden brown but not too dark. Begin checking it at around 20 minutes to make sure it doesn’t get too dark.
 While the galette bakes, you can prepare the (optional) apricot glaze.
 Place 1 to 2 tablespoons of the jam in a small saucepan over medium heat with a couple tablespoons of water. Bring to a boil, then turn the heat down low and simmer for a minute or two, stirring constantly to break up the lumps. Try to remove any unbreakable lumps or bits of apricot skin.
 When the galette is done baking, remove it from the oven and place it on a cooling rack. Brush a thin layer of the apricot glaze across the top, including the top of the edges. At first it may seem that the jam is too sticky and shiny, but once it’s dry it will be fairly dry to the touch and more matte. Remove any jam clumps that collect in the crevices of the pastry design.
 Allow the glaze to dry (5-10 minutes) before serving. If not serving immediately, you can pop the galette in the oven again to warm it just prior to serving.
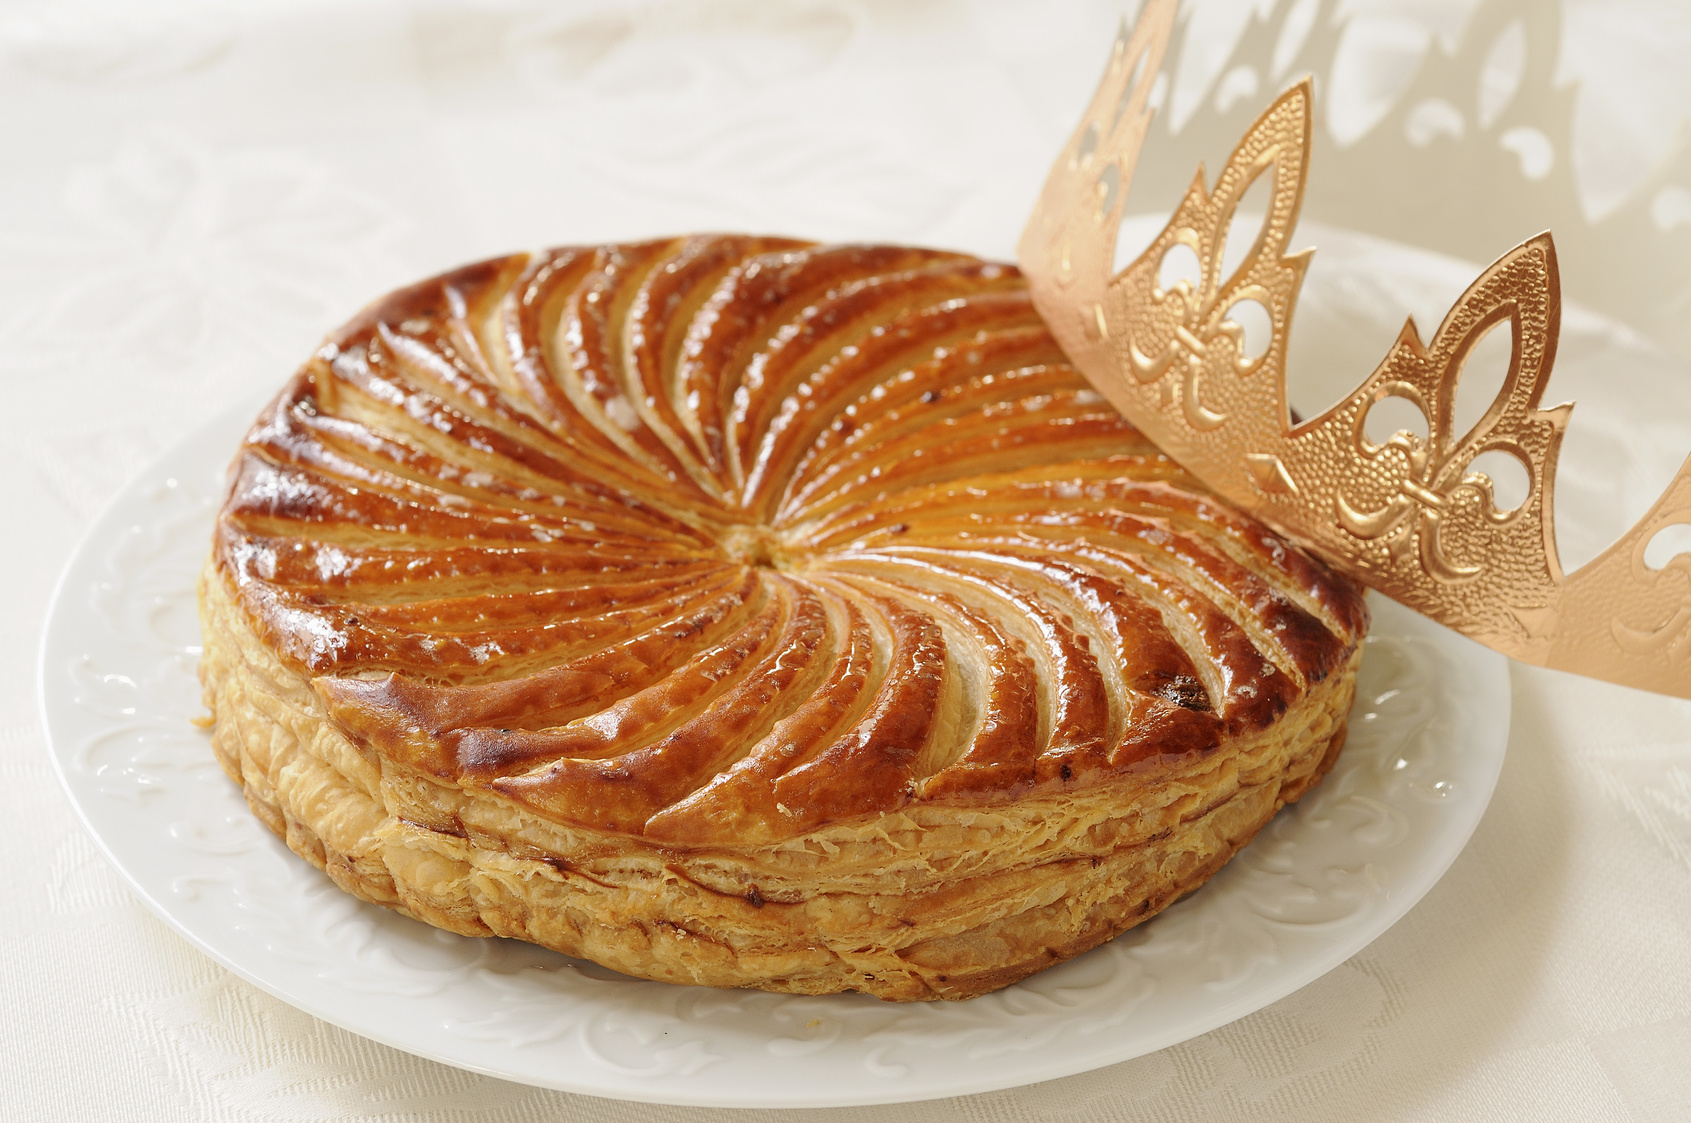
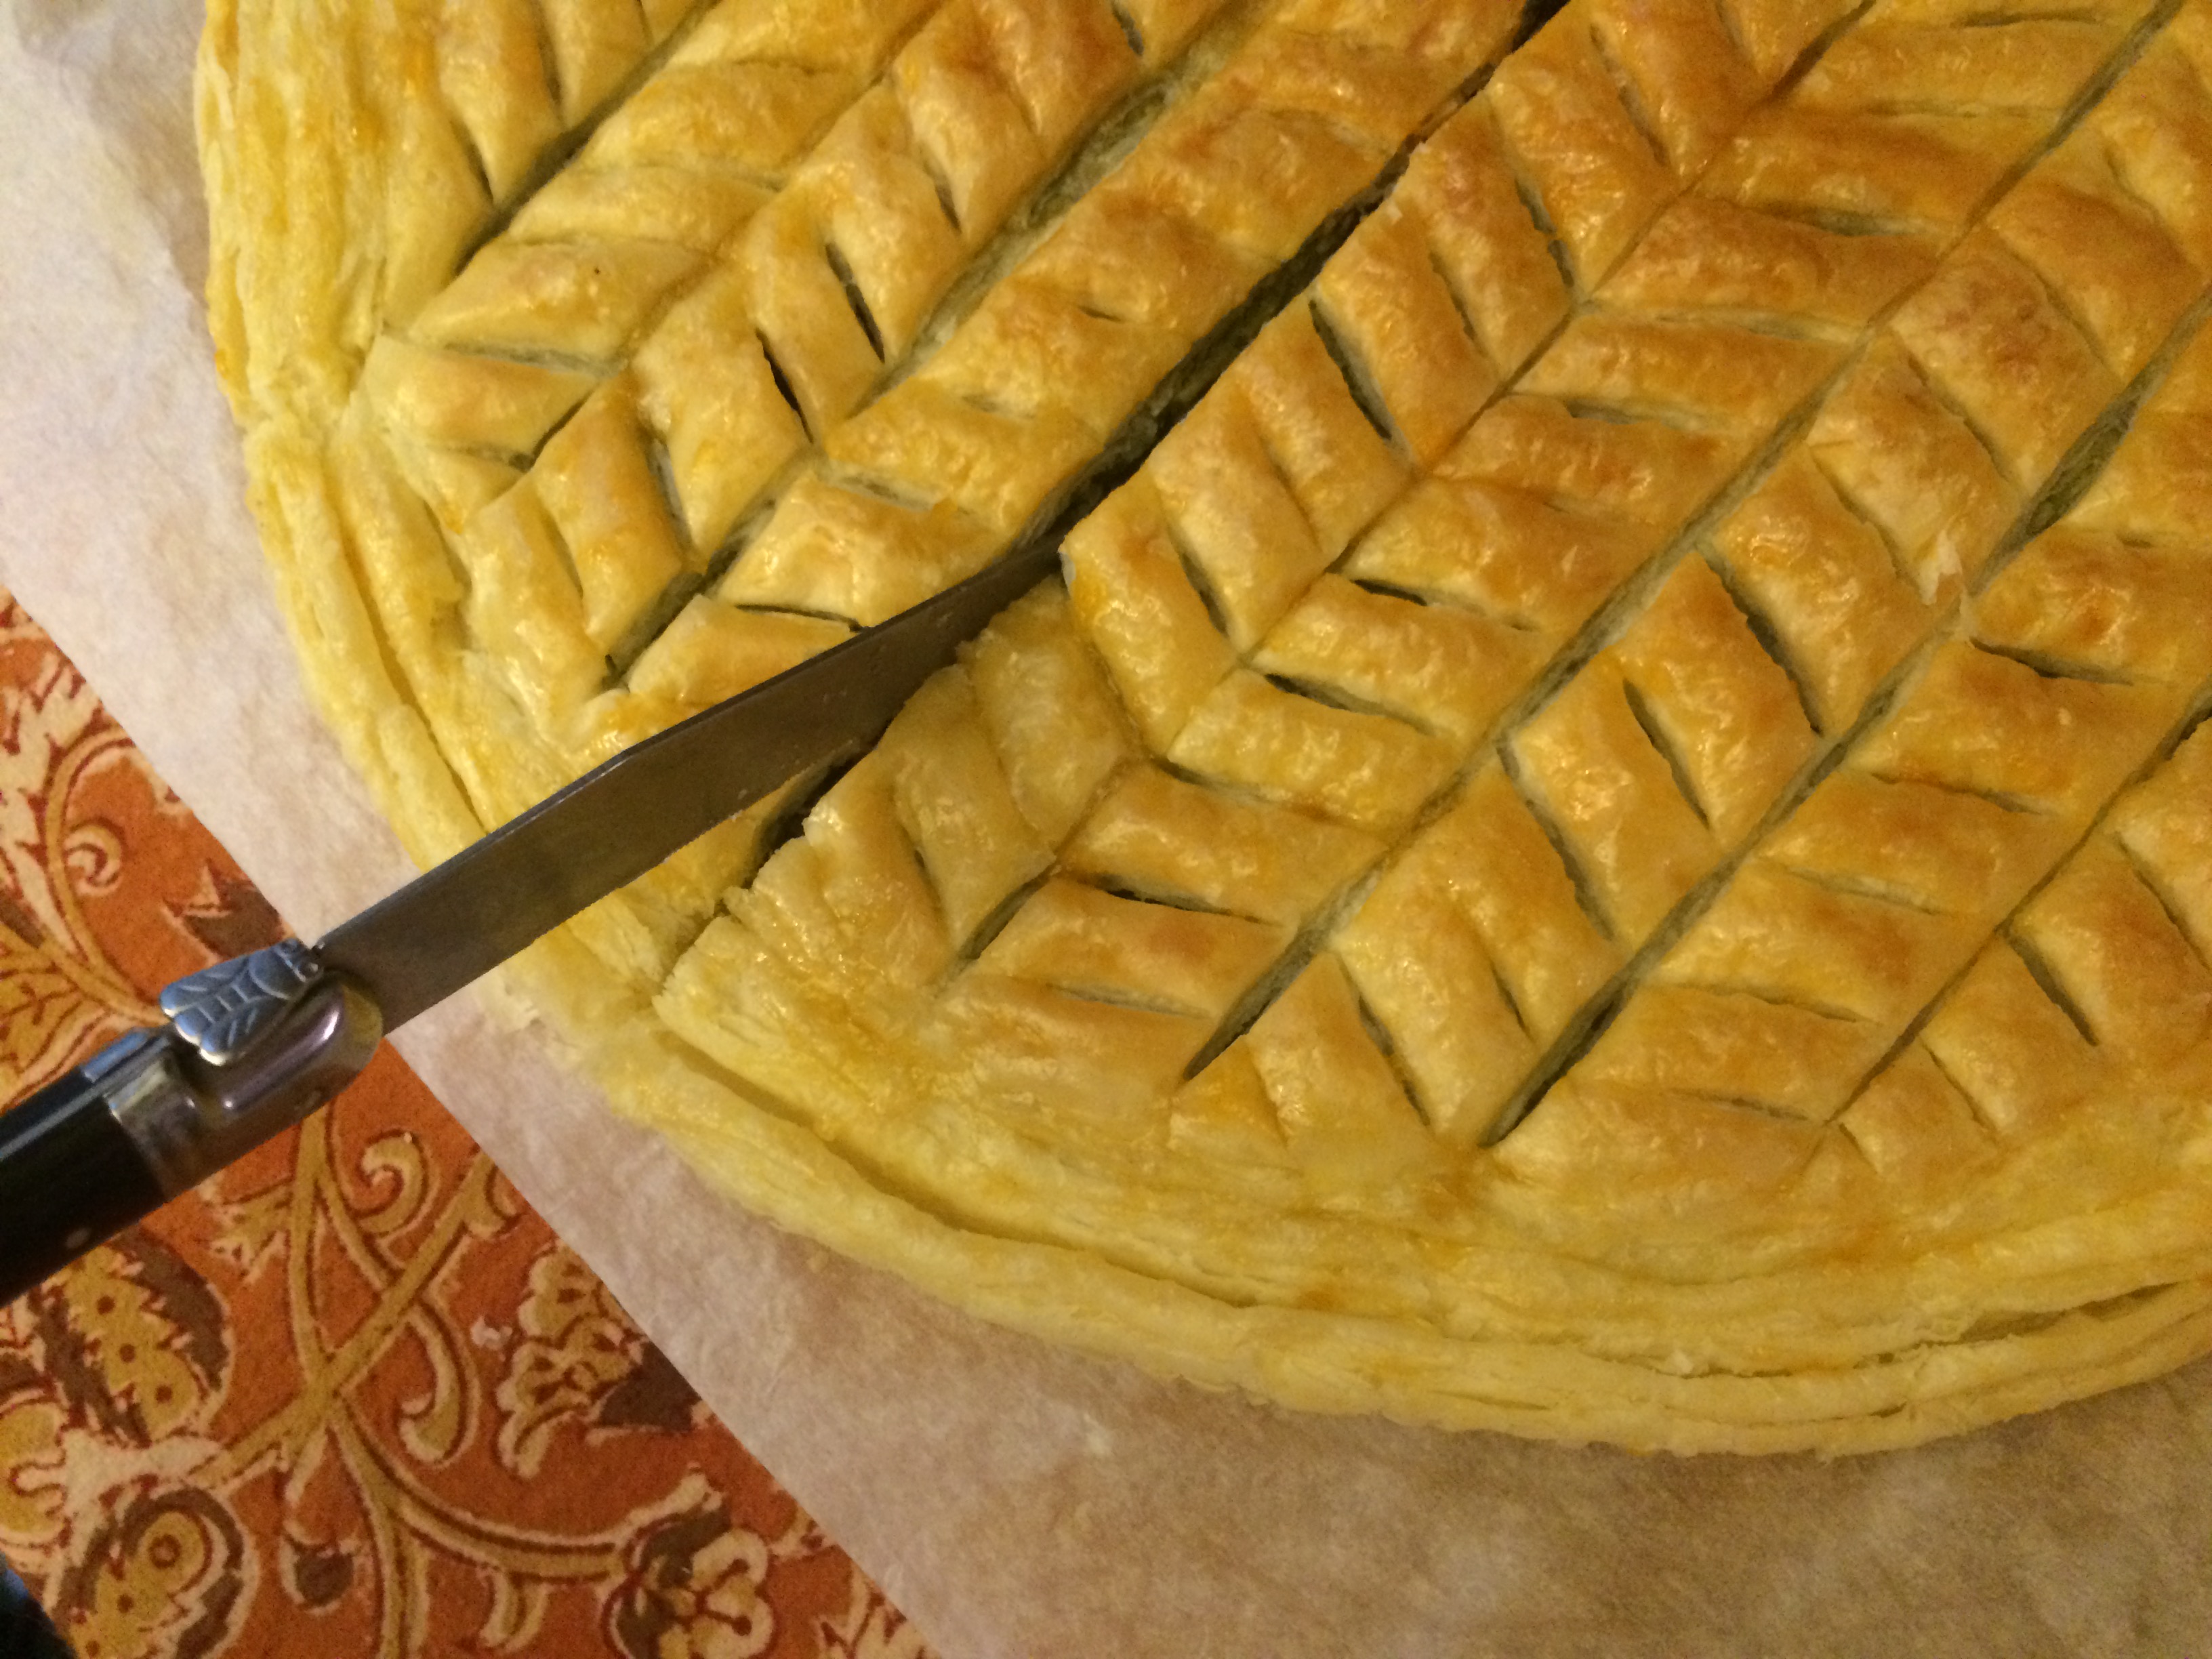 A design like this one, with the first line traced right down the center, makes it easy to slice up.
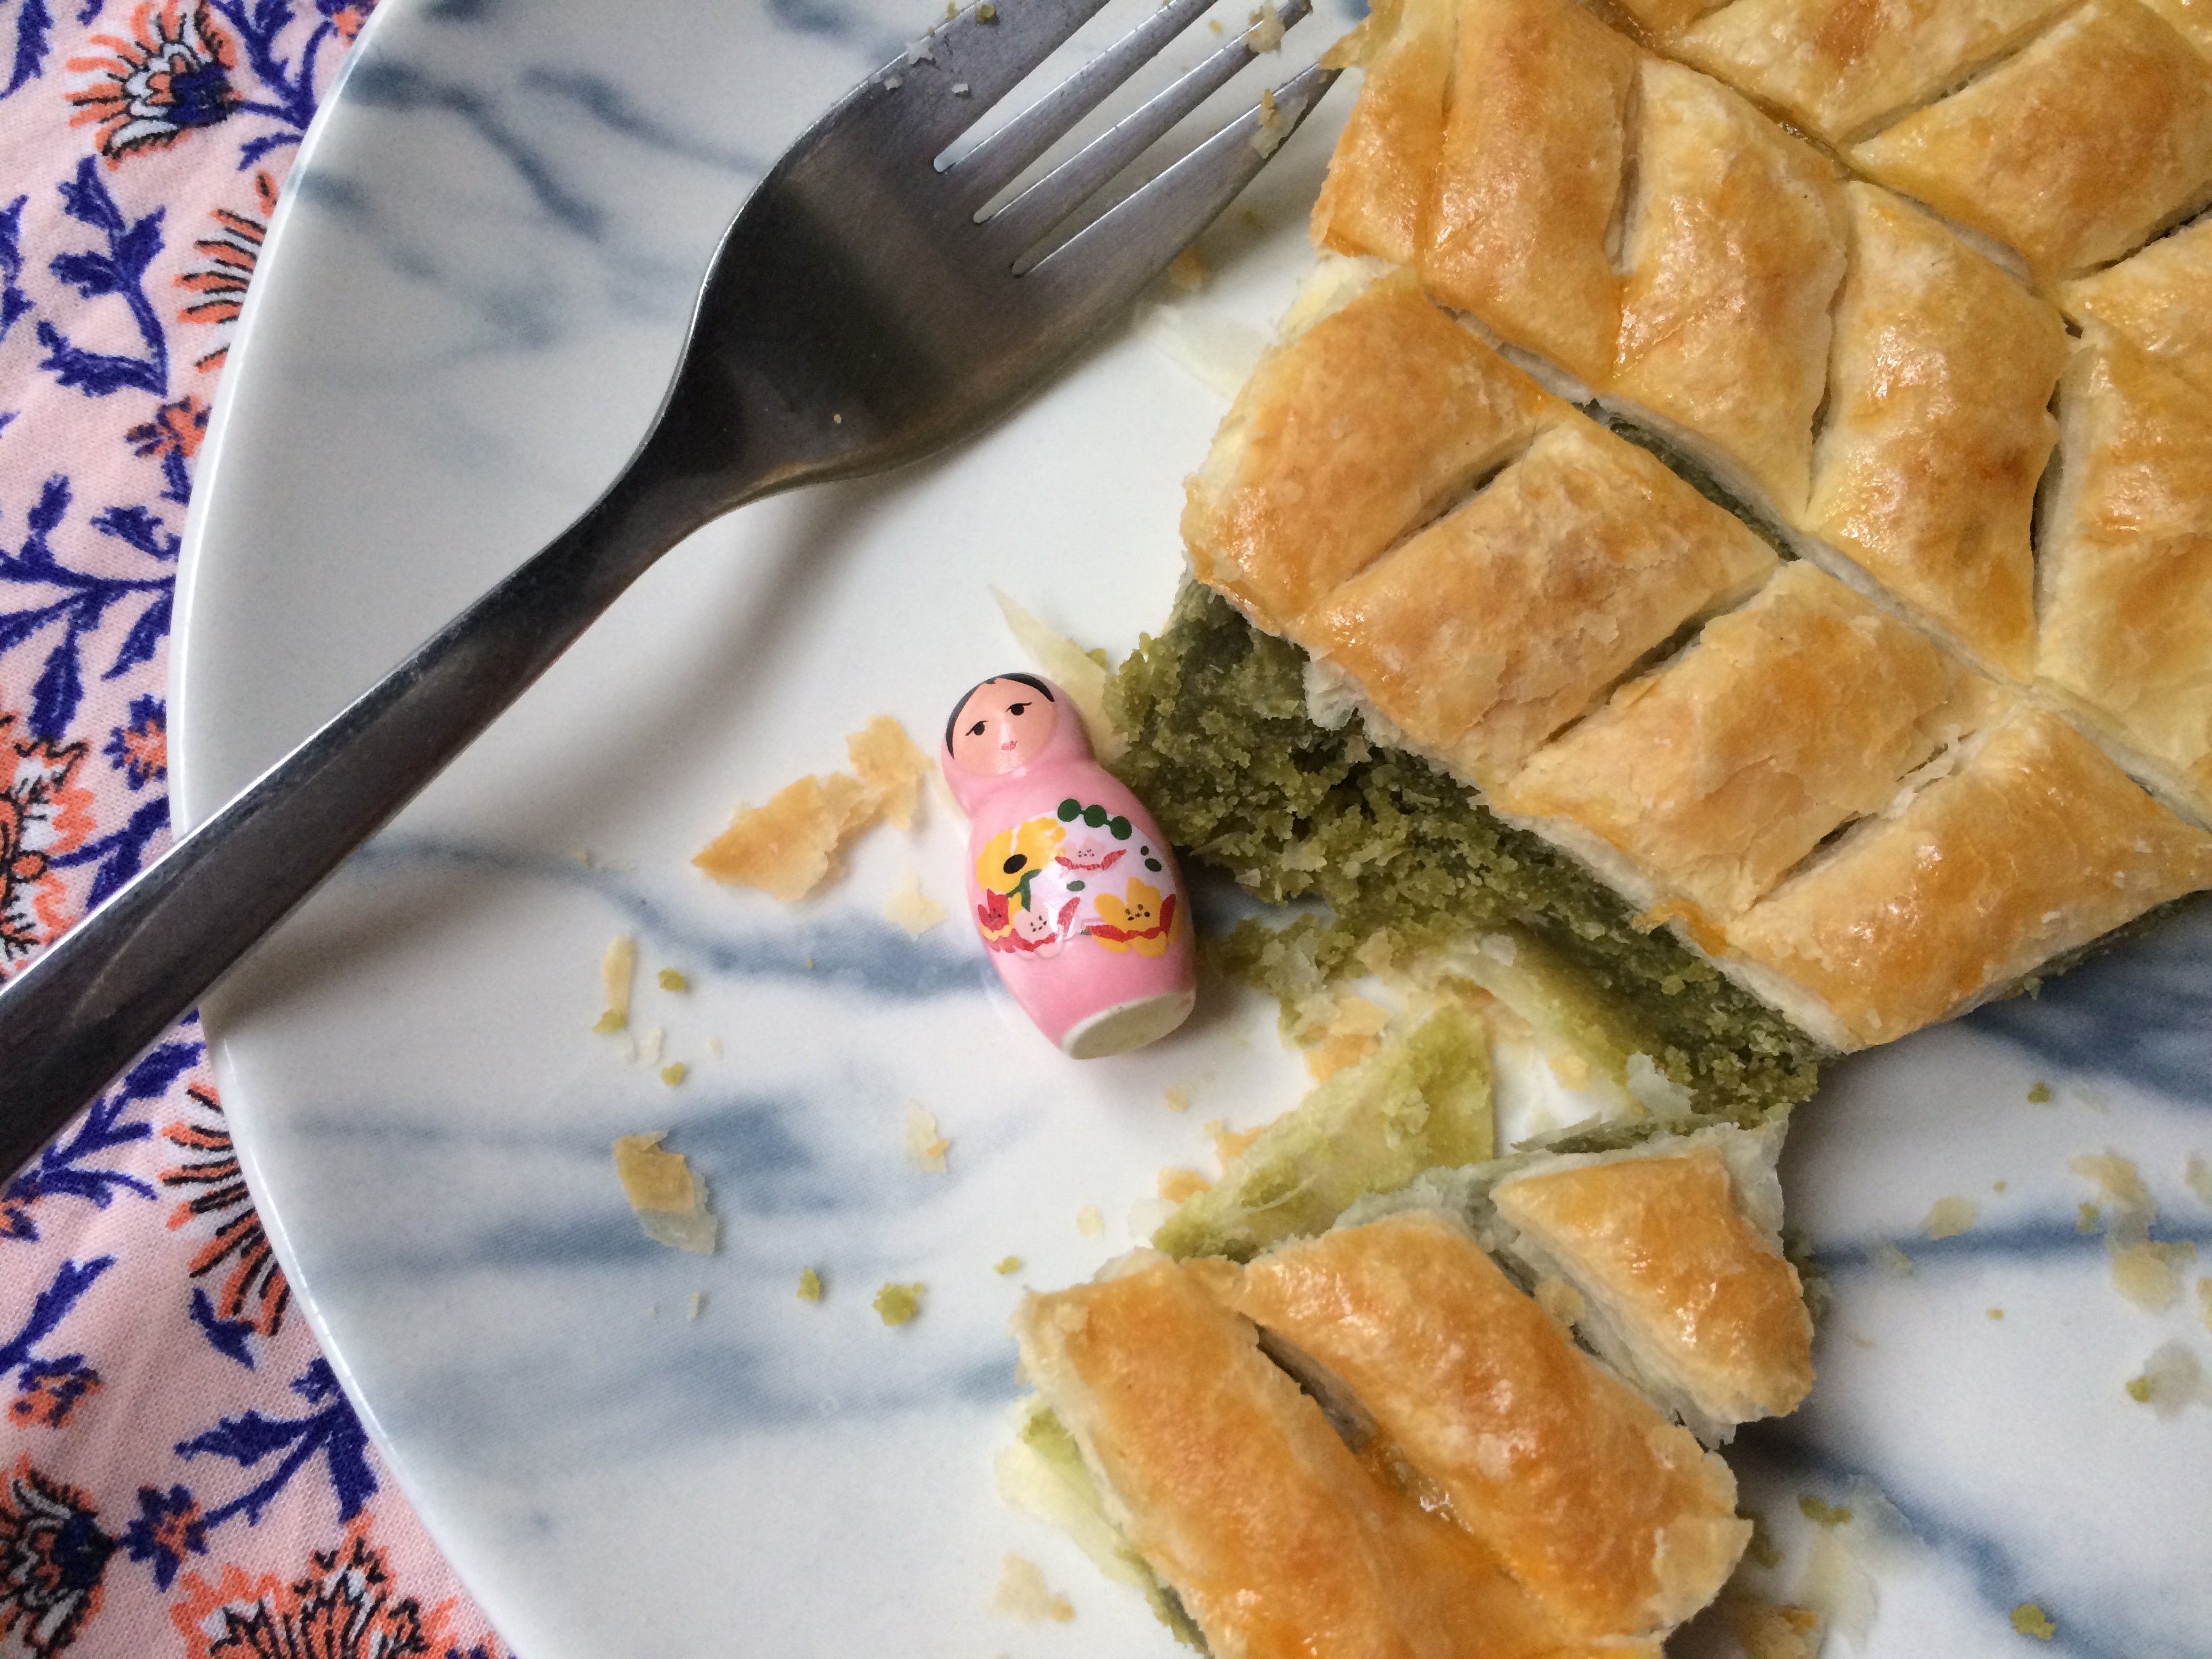 Hey, you found the fève! Congratulations, you’re the queen! Or king!
 Since you’re making your own galette, you may want to make a crown to go with it (or look for one at a costume shop). I decided to make things simple and design a kitty-sized one (toilet paper tube + aluminum foil).
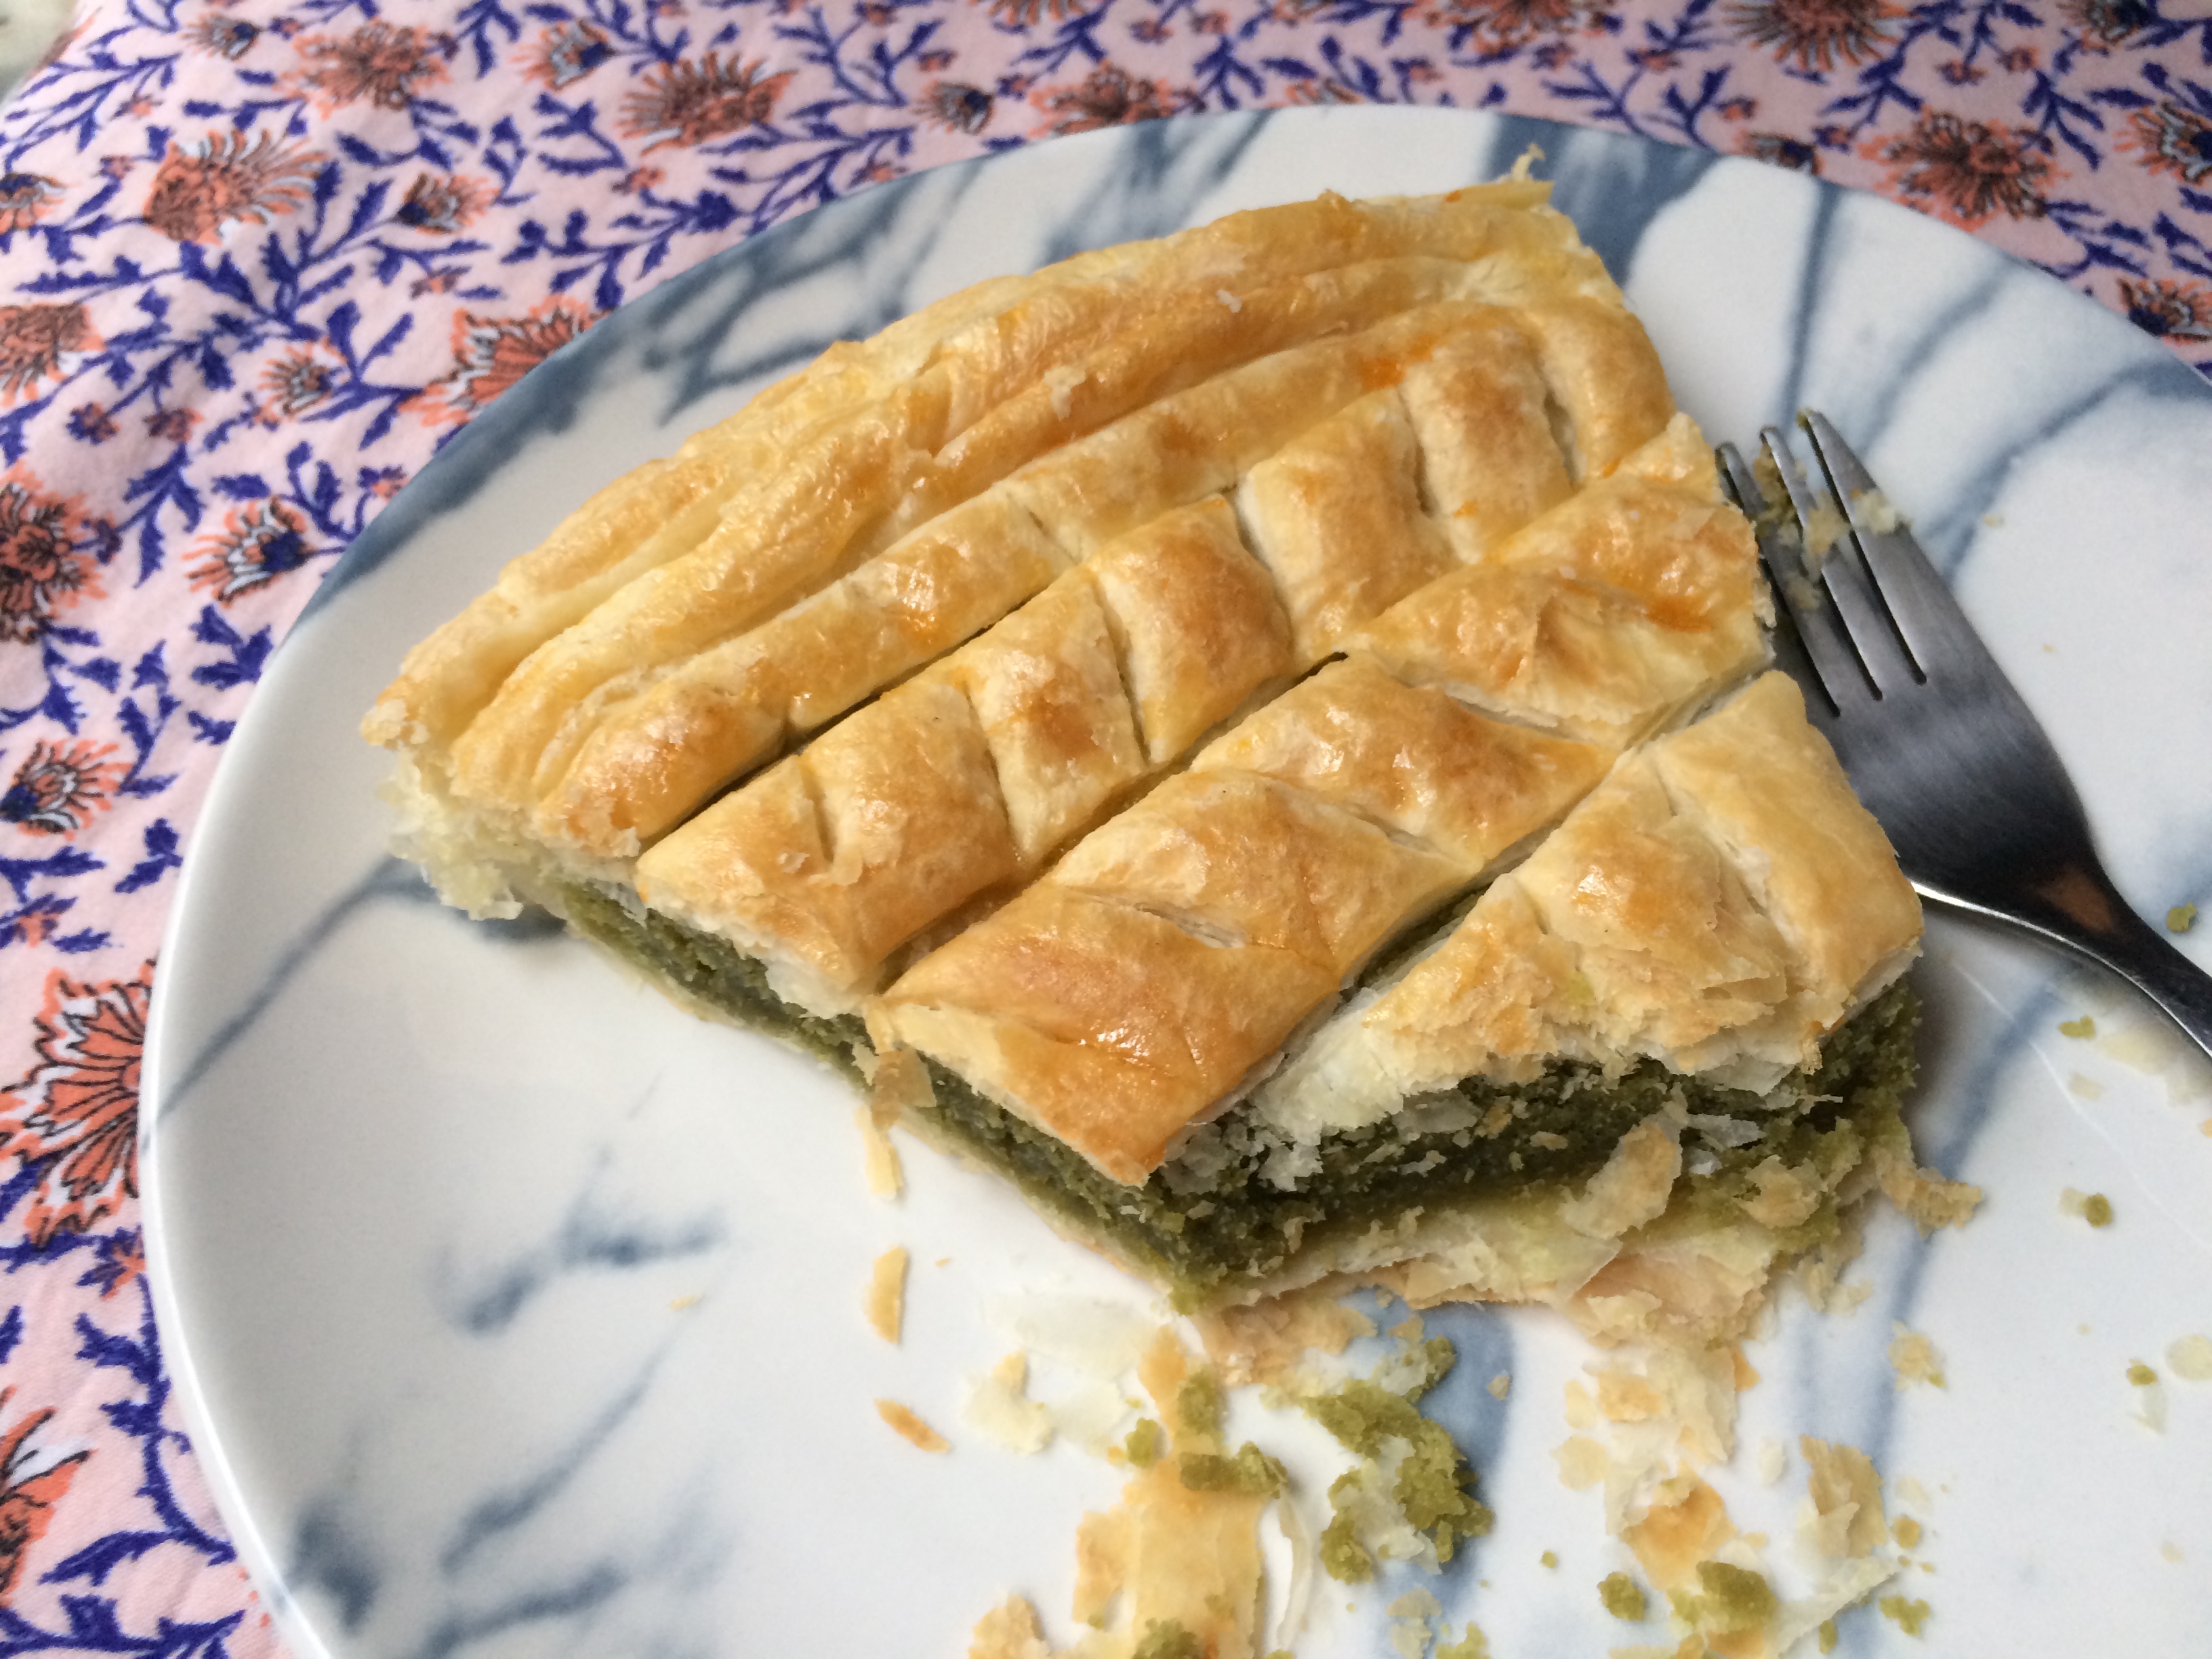


 At the store, I had some trouble finding the hummus (every vegan’s lifesaver) and began to worry there wouldn’t be any, but in the end emerged with enough provisions for an evening meal and breakfast the next morning.


b")


